Bigger Fields

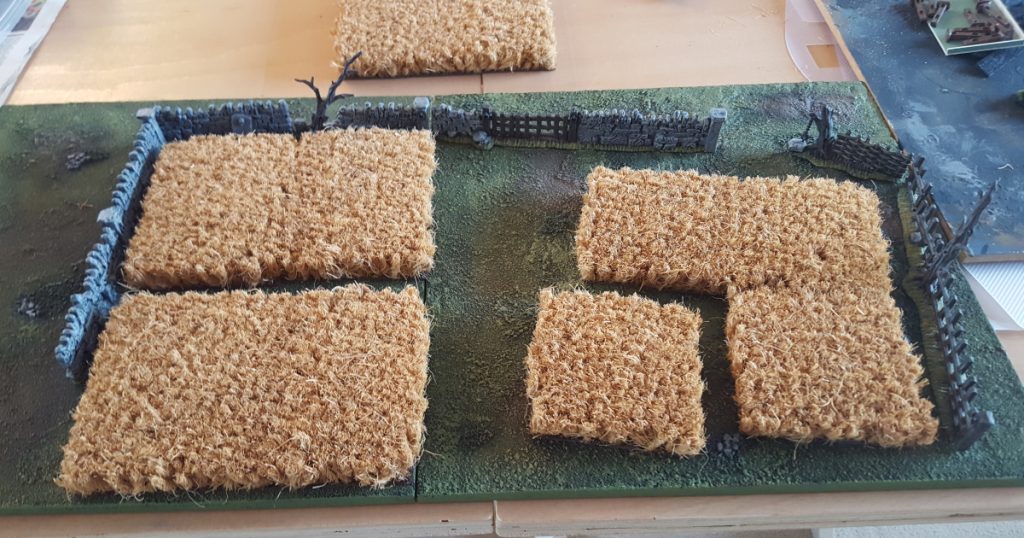
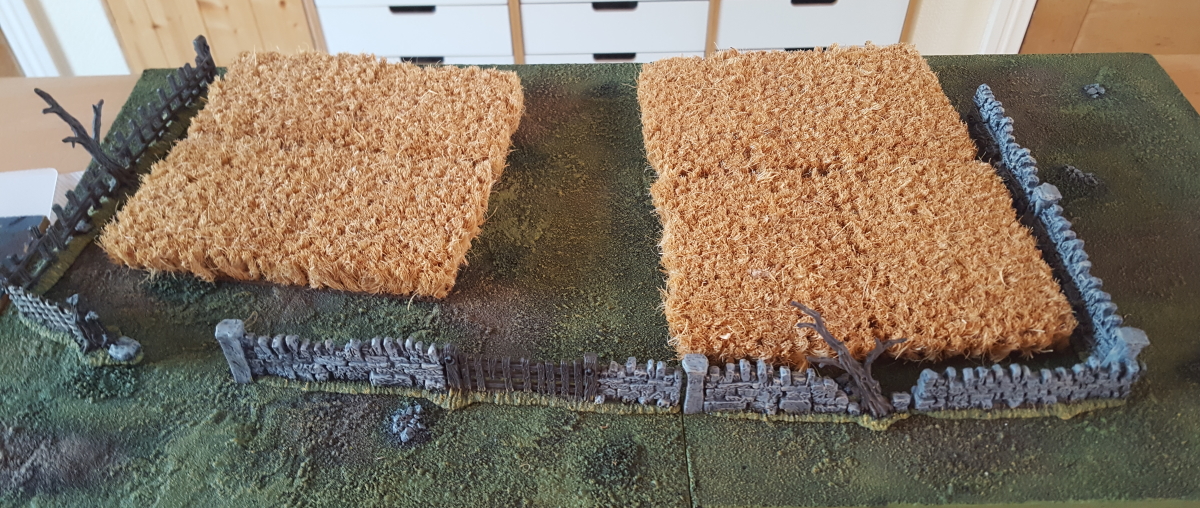
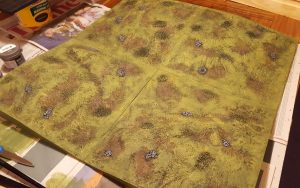
Following on from my 6mm fields, I’ve upscaled and added some for 28mm. These take the standard wargamer route; chopped up doormat material. I found a helpful ebay shop that sells it by length (50cm wide), so I simply ordered 1 metre, dontated 80cms of it for a new front door mat and used the rest for these fields.

Very little of the rubber bases show, so I just painted them brown to blend in with the terrain boards. I cut the pieces into smaller sections for flexibility and for removal of part of a larger combined field when figures need to be placed inside. I only needed a small amount, so all in all, not bad for a couple of quid (the rest of the mat was about £10).

A 4-Part Hill

I have finally managed to finish these terrain boards, having started making them earlier this year. They’ve now had the sand and paint treatment and are ready for action.

I wanted the option for a larger hill, or 2 halves (on table edges), or even 4 quarters (in the table corners), and the only way to do this on 12 inch terrain tiles is to make it out of a number of pieces.

I made a side template from card to apply the same slope edge to each board so they’d all match up. The ‘filling’ was done with pieces of polystyrene, styrofoam, card and plaster. The overall height is only 30mm but it gives a good enough impression of a hill, especially with 6mm figures.

I may make a couple of middle pieces at some point, using the same edge template, to go between 2 corners and allow for long ridges or a 3×2 foot single hill.


New Islands

I’ve been meaning to make some new islands for my scratchbuilt inter-war naval games, and finally got round to it. I like the all-beach surround look so simply used 2 layers of plasticard, one painted sand colour, the other green.

They’re bare at the moment, but the flat template allows me to place on settlements, fortifications, harbours, troops, etc. I’m thinking that the odd palm tree will make them right for the pacific and the odd deciduous or fir tree will transport them to the Med or Baltic. Buildings are on the way and I’m hoping they’ll work OK.

I think I prefer this look to my older islands (below), which are textured, but the new ones are more ‘toy soldier’ and hit the spot a bit more for me nowadays.

Airbase (why they didn’t pick a bigger island is a mystery!):

Next, a test model of the Mark 2 landing craft. This holds a single infantry base. I’d like to have double the capacity but it would mean landing craft the size of transport ships, and although the scales are all over the place by necessity already, I think that would take things a bit far! A couple of old landing ‘barges’ are in the picture too for comparison. These are smaller and more non-descript but don’t carry the troops very well. I’ll probably keep both types for variety, and now just need to knock up a couple of dozen more of the new style from thin card.


Then I think there’ll need to be some action, so I must think up a scenario and plan a game or two..

Renedra Fences

Renedra have come up with some very effective plastic scenery kits in recent years and I’ve previously made up one of their wooden pontoon bridges and some of their barrels. This time I had 2 packs of their fencing, about 2 feet in all.

I based everything on strips of plasticard, mostly 2 fence pieces to a strip (making about 6″), with a few singles. I cut across the corners of the bases so that the fence ends could butt up as closely as possible. The usual basing materials (mostly sand and glue) were added to the bases (some time ago I have to admit) and everything got a black spray undercoat (much more recently!). Painting was super-quick; brown, grey and sand drybrush layers on the wood, and my standard green and brown bases. About an hour in all yesterday evening.

Nice and simple, but very effective I think – and a real bargain, especially when you’re bought them as a present! 🙂


Rivers Need Water

..and here are a couple of boards I prepared earlier (last October to be precise). They’re 4×3 feet of 20mm chipboard, so they’re pretty heavy. I’ve had them for about 15 years and in recent times they’ve been relegated to garage rafter storage duties, but I decided to renovate them with a fresh coat of a dark blue gloss paint in readiness for the riverbanks project. They’re stored behind the door in my games room/office, resting face to face with the reverse of one board painted the same colour as the wall, so they’re pretty much invisible unless you’re looking for them.

Here’s a quick set-up with some of the new boards placed on top. Obviously the addition of some trees, buildings and other scenery will enhance things, but this is the basic look I was after.


With a row of terrain squares removed the river can be widened, allowing for the off-cut islands to be used. I think this will offer me plenty of flexibility and options for different types of battlefield. I can do a large bay or inlet, a big central island, as well as straight or winding rivers. As I’m aiming to get my post-Napoleonic Sharp Practice project ready to play this year, I think a bit of water, with the odd bridge or boat, will make things interesting! These rivers, like the rest of my terrain, are designed to be used for all scales I play with, from 6mm to 28mm, and I’m looking forward to getting plenty of use from them.

Rivers and Hills part 5 – Finished!

Finally some colour!

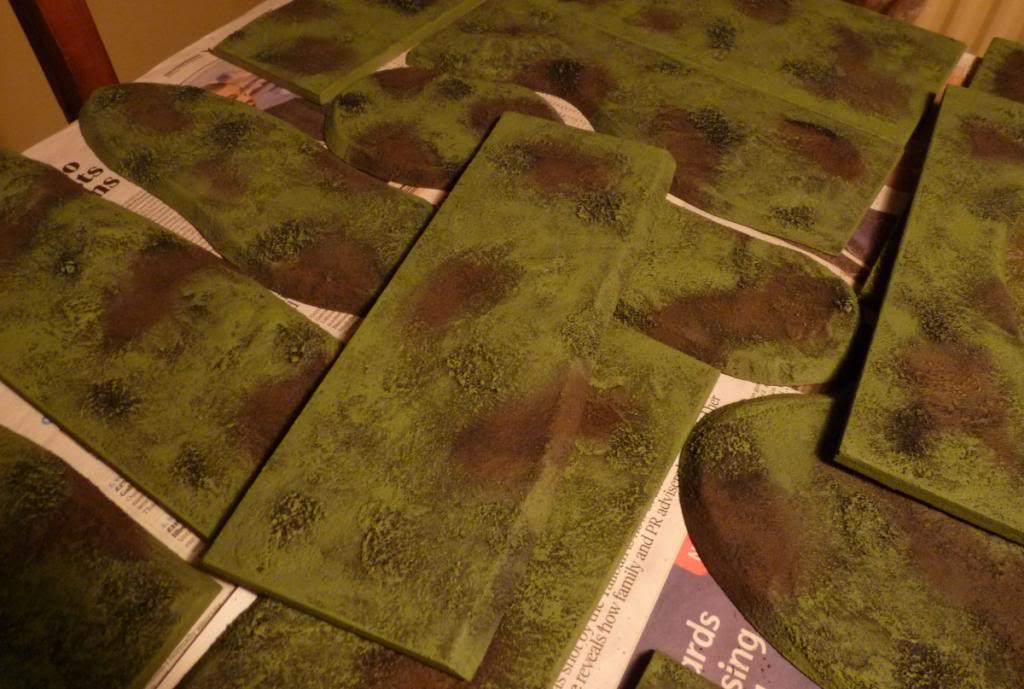
All the boards have now been given a coat of green to bring them to life a bit. The colour is a specific Dulux mixed shade (‘Jungle’) found after a lot of trial and error, which I’ve used for probably 20 years on all terrain, scenery and figure bases. I suppose it’s a brybrush or overbrush technique, I’m not sure which, but it allows a hint of the black beneath to show through to add some depth and texture. I’ve brushed green over the edges of the brown patches too to blend them together as I don’t want them to look like bunkers on a golf course later. The board edges are painted too.

Next step was to dry brush the brown areas with my highlight colour, Vallejo’s Iraqi Sand. This not only lightens, but also softens the underlying brown, which is otherwise pretty dark.

After that the patches of vegetation were recovered, having been mostly lost in the ‘green’ phase. I use Vallejo’s Luftwaffe Green for this, although on this occasion I actually tried their new Heavy Green basecoat colour which appears to be an identical shade, just with presumably slightly better covering power. These will be drybrushed again later.

The next step was the real key to tying everything together – the yellow drybrush. Trying to keep it light and even is always a challenge when you’re also trying to do it reasonably quickly, but it worked out OK I think. Then the dark green patches were re-highlighted with the main green, to soften them a bit while still keeping them distinct. Lastly the rocks were given a coat of dark grey and then dry-brushed with a light grey.

Which meant… everything was finally finished! A fair amount of work over the last couple of weeks, and further back into last Autumn when the river banks were cut, but I’m very pleased with the results and it was well worth it. These boards can now be added to the ones I already have (making just over 40 square feet in total) and hopefully be used in a game before too long. I’ll post some pics of them in situ with the water base boards before putting them away.

Hills and Rivers part 4 – Paint it Black

Stage 4 then..

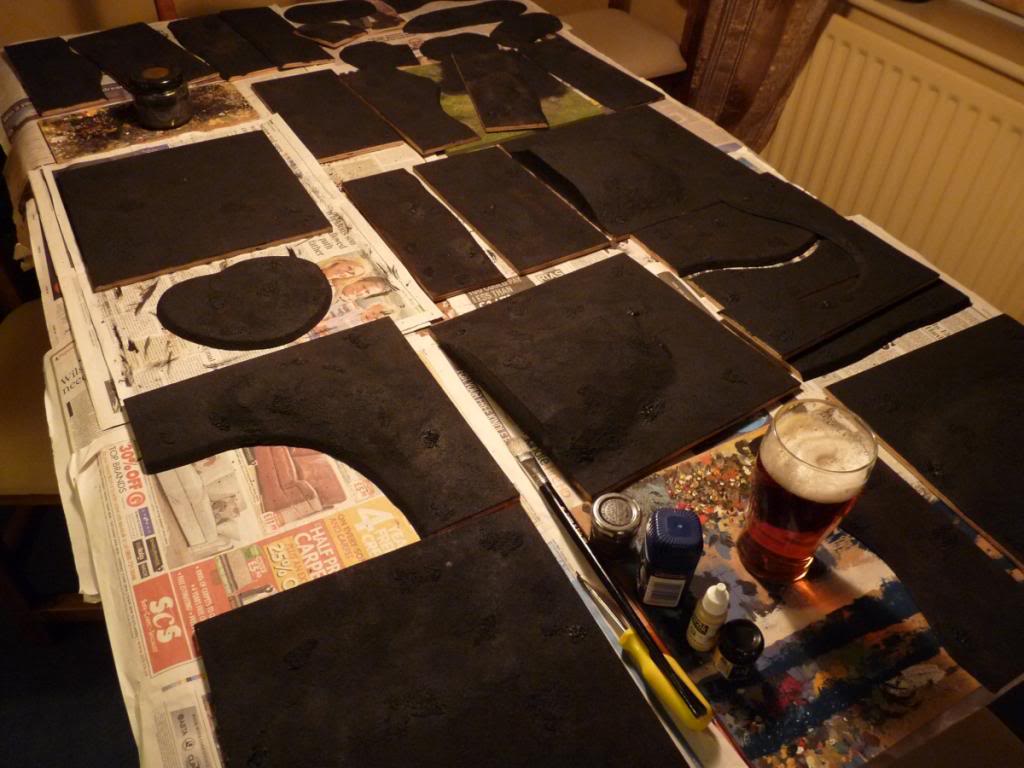
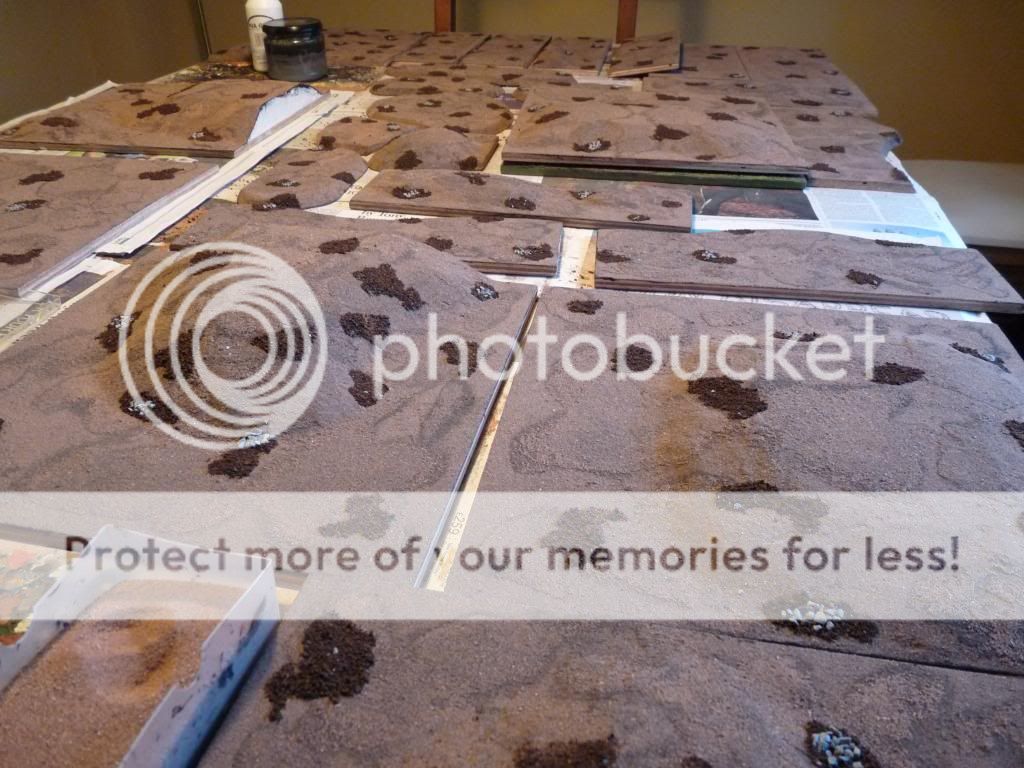
Everything got a black undercoat from a big tin of ordinary black paint (which I kep well away from the beer to avoid an unnecessary, but inevitable, mistake). Yes, it looks awful, but it’s all uphill from here.

Brown patches added, these will get highlighted later on.

Green basecoat next, hopefully one evening this week.

Hills and Rivers part 3

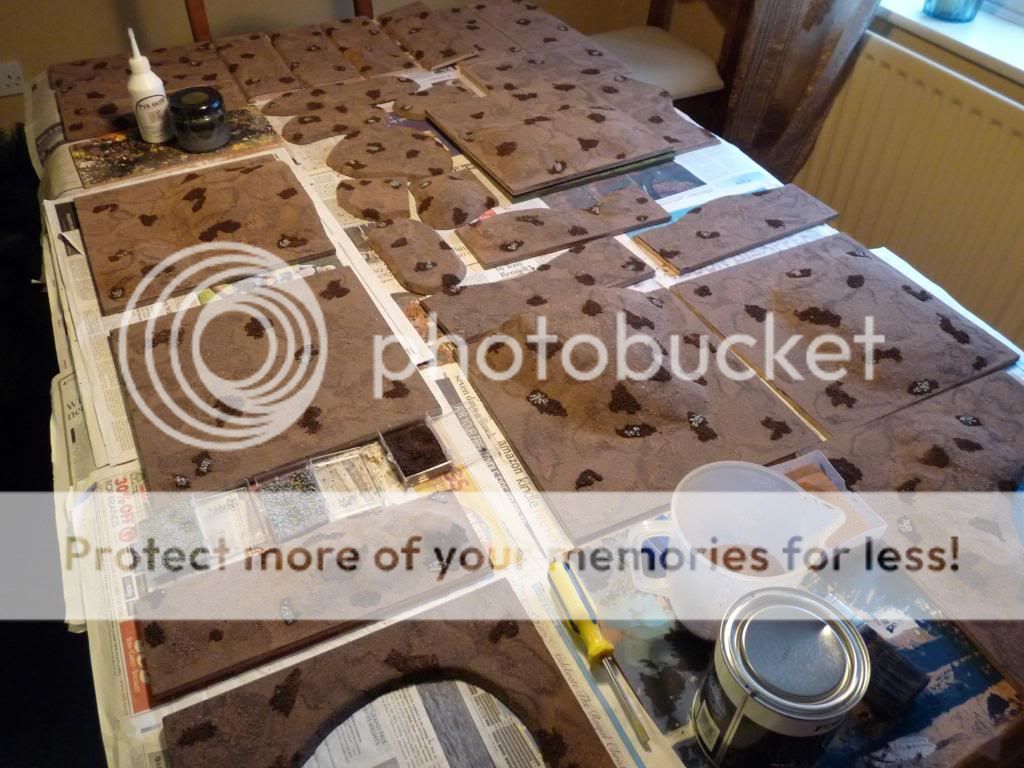
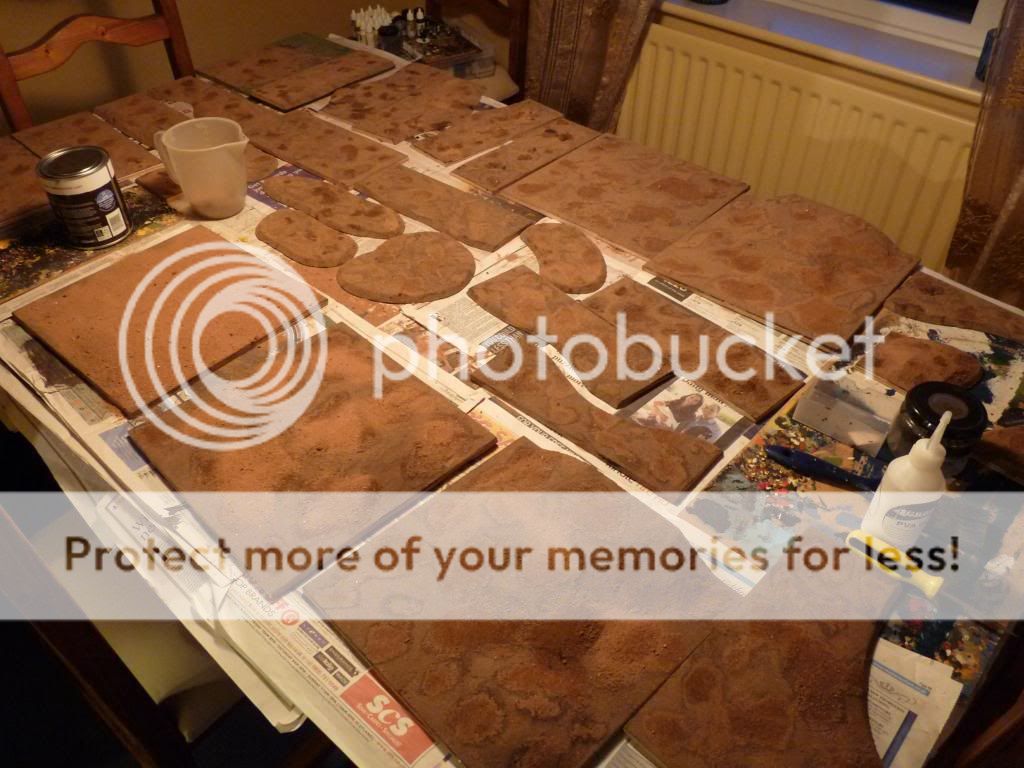
I’ve now reached the stage where, once the glue is dry, I can give all the boards their black basecoat. I have applied the second (partial/patchy) layer of sand to create a bit of depth, while still retaining a mostly flat surface. I have also added some patches of rougher, but still faitly low-profile, vegetation using loose leaf tea (as I do on my figure bases) and some small scenic rocks. These will add a bit a variety when painted and break up the otherwise featureless terrain.

Painting everything with a wash of black is going to be tedious and messy, but it’ll be progress!

Second layer of sand

Patches of vegetation and rocks. I could stop now and call it North Africa!  🙂

Hills Part 2 – and Rivers

With the hills cut and shaped, I decided to plough on this weekend with getting them onto their boards, and making a start on the other terrain I’ve been planning for a while – rivers. As with the hills, there are always compromises when it comes to adding rivers to a wargames table. By their nature they look best with a bit of depth, and that’s the challenge of course. In an ideal world these are carved into thick sheets of high density foam board, providing the opportunity for deep banks, as well as sunken roads and realistic undulations everywhere else. With my terrain built from 9mm marine plywood that’s not a possibility, and with the rough texturing I use nor are ‘place on’ rivers.

So the choice comes down to painting rivers onto the boards and texturing flat ground up to the water’s edge (which I’ve done before) or cutting right through the boards to create river banks and placing everything on an underlying ‘water’ layer. I’ve gone for the latter, for a couple of reasons. The deeper banks work better for me aesthetically, especially with larger scale figures. Also, the ply boards I use have a grain on their surface, making smooth-ish water a difficult effect to achieve.
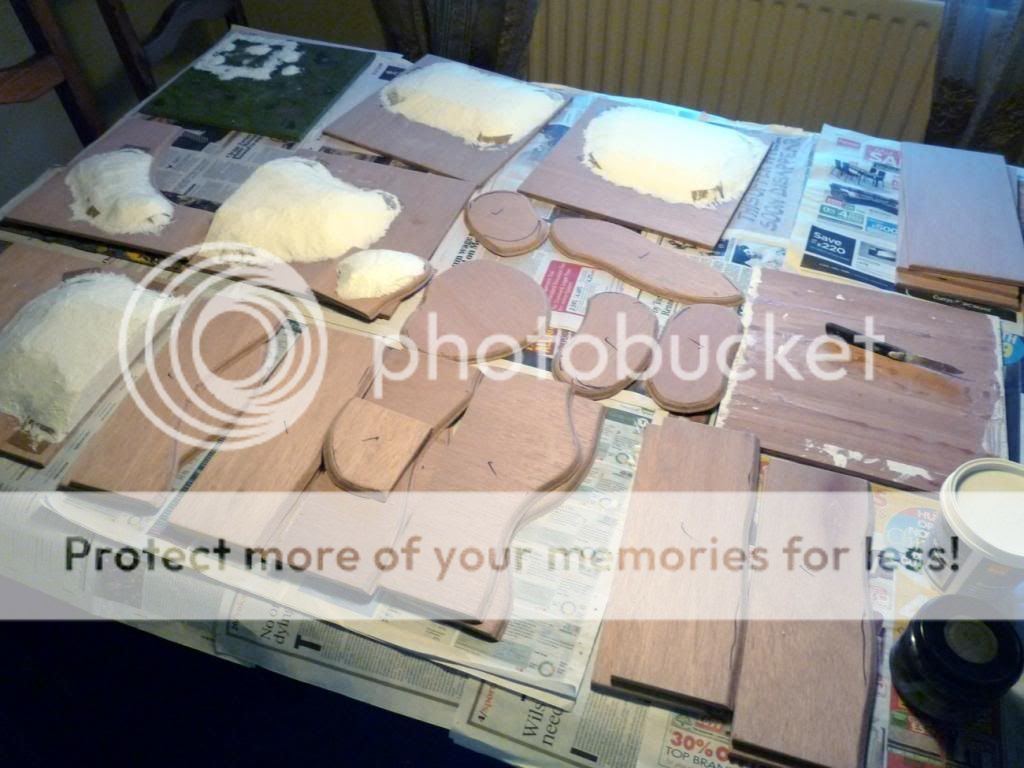
So I enlisted the help of a good friend who assisted with some quality timber cutting to ensure that the river bank sections all match up, both in terms of positioning and angle (45 degrees, thanks to an angled jigsaw setting). The rivers were measured at 10cm/4 inches across, so represented the removal of about a third from the middle of each board. Of course, they then have the potential to be broadened by moving the 2 river banks apart either by a full board width (making a 16 inch wide river) or by any other incremental amount. Some of the cut-outs were rounded off to provide islands which can be placed in the river, and used in naval games too. With this batch I’ll have 6 feet of straight/meandering river and 2 x 90 degree bends. Plenty to start with considering the biggest table I can manage is 6 x 4 feet.

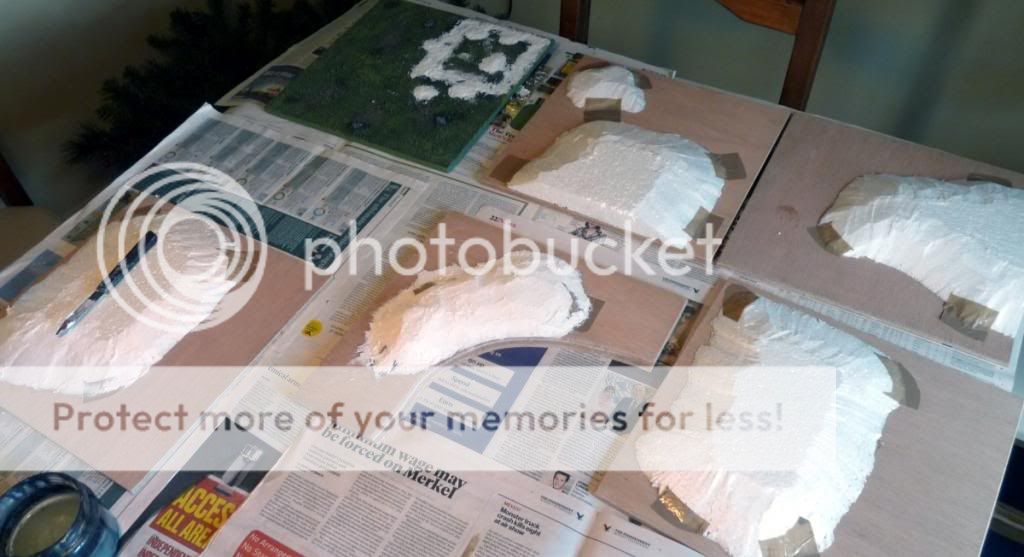
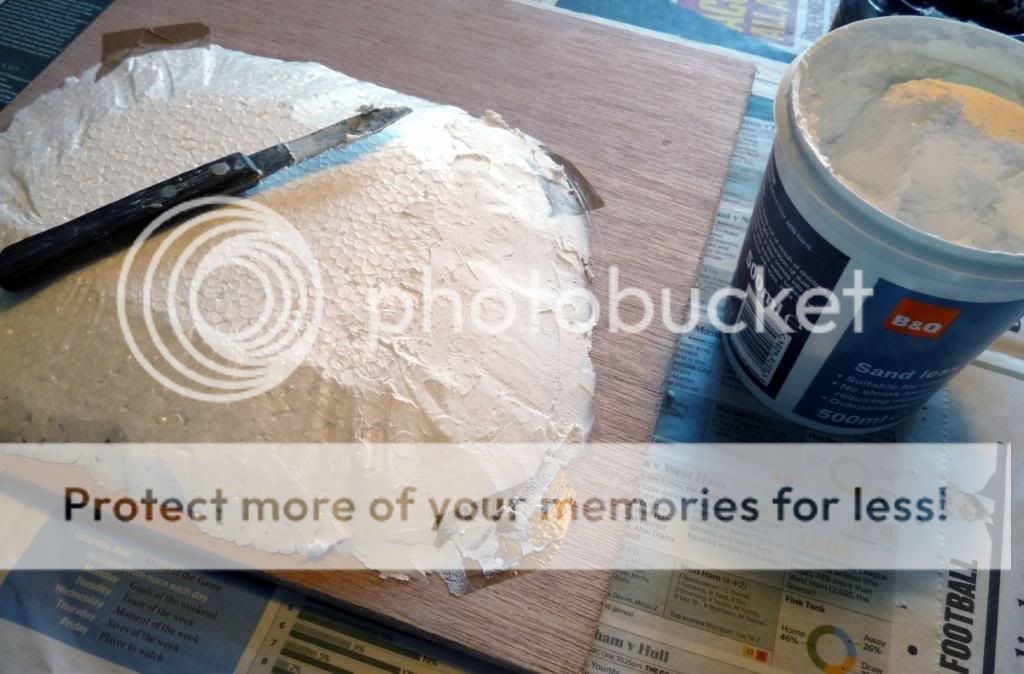
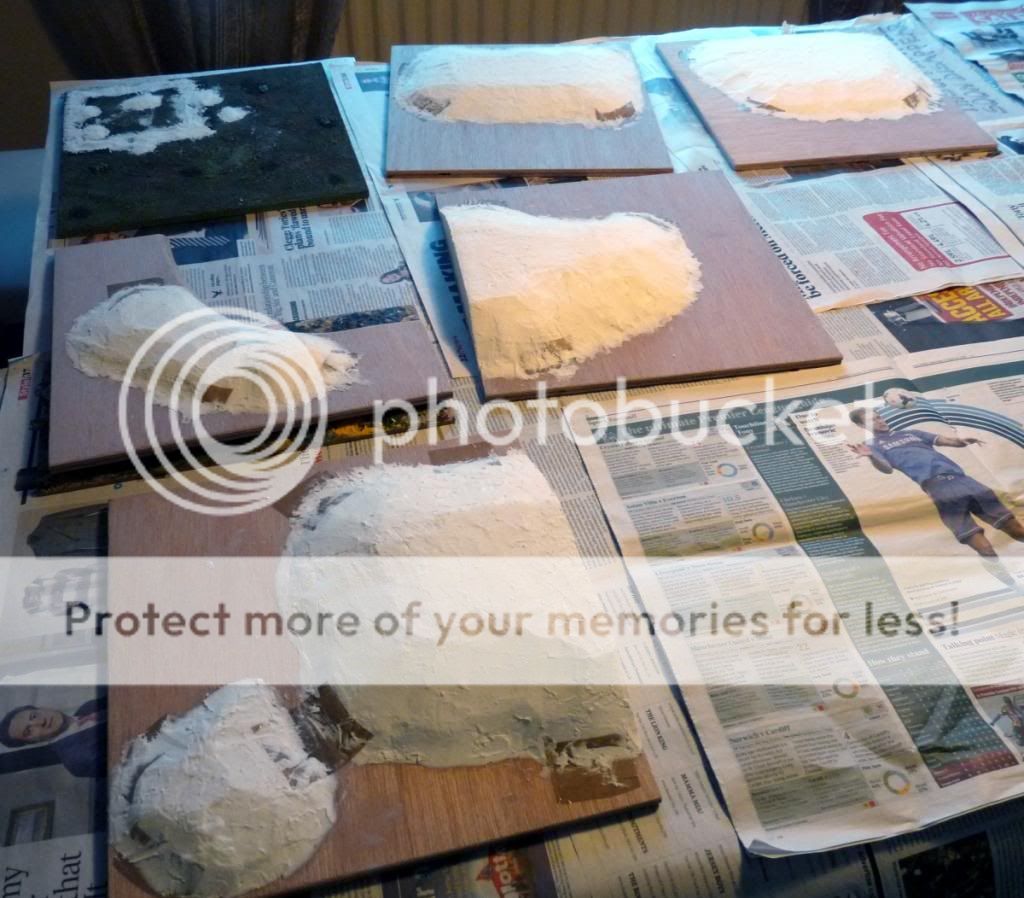
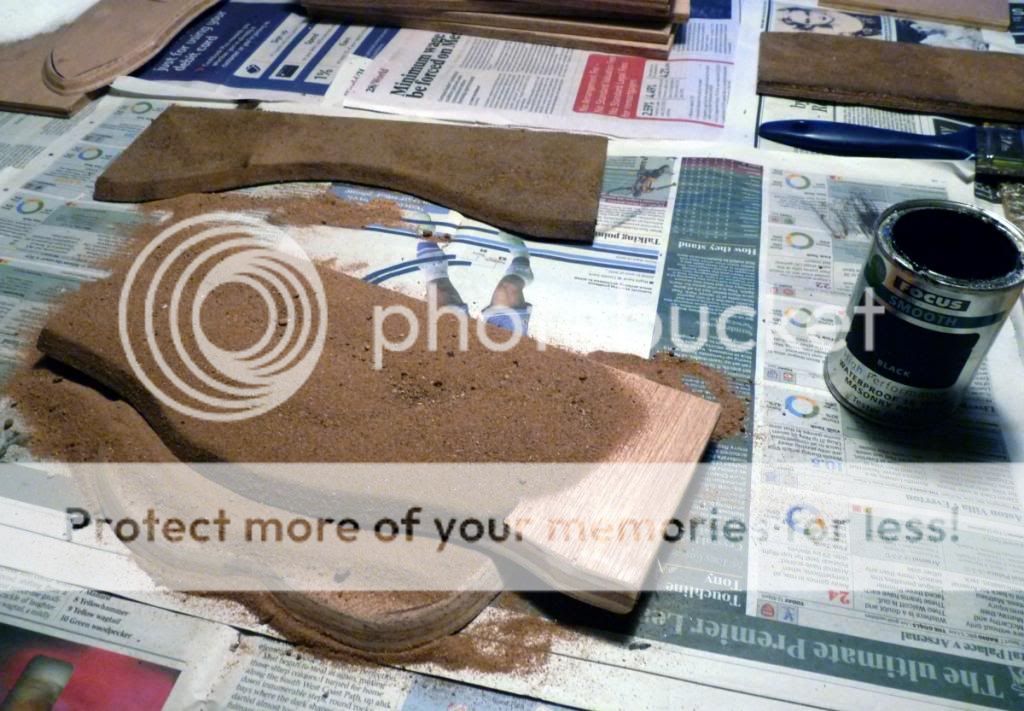
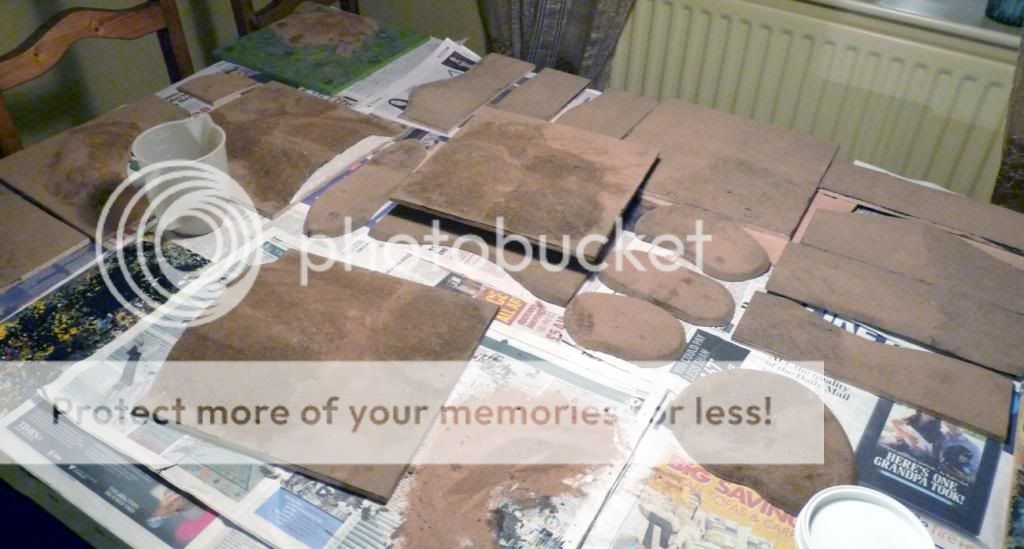
On Saturday I kept warm outside by sanding all the board edges smooth, and rounding the river bank tops off a little. Then I stuck down the hills with PVA and a bit of tape, before moving onto covering the polystyrene with a layer of quick-dry plaster for protection and smoothness. The afternoon was then spent making a right old mess applying the first layer of sand – sticking it down with black masonry paint. I’ve decided to add some small raised areas on a few of the river banks so I have a bit more hot-wire cutting to perform, and then once all the boards are up to the same stage with a basic layer of sand I can move on to the remaining texturing before undercoating and painting. As the dining room table is now a sandy, messy work area, I better get my skates on this week!

Some pics of the various stages described:

Hills added to boards

Plaster coat

Plaster done, including some filling on a older board

River banks added to the workload

First layer of sand goes on

Sand done