With the hills cut and shaped, I decided to plough on this weekend with getting them onto their boards, and making a start on the other terrain I’ve been planning for a while – rivers. As with the hills, there are always compromises when it comes to adding rivers to a wargames table. By their nature they look best with a bit of depth, and that’s the challenge of course. In an ideal world these are carved into thick sheets of high density foam board, providing the opportunity for deep banks, as well as sunken roads and realistic undulations everywhere else. With my terrain built from 9mm marine plywood that’s not a possibility, and with the rough texturing I use nor are ‘place on’ rivers.
So the choice comes down to painting rivers onto the boards and texturing flat ground up to the water’s edge (which I’ve done before) or cutting right through the boards to create river banks and placing everything on an underlying ‘water’ layer. I’ve gone for the latter, for a couple of reasons. The deeper banks work better for me aesthetically, especially with larger scale figures. Also, the ply boards I use have a grain on their surface, making smooth-ish water a difficult effect to achieve.
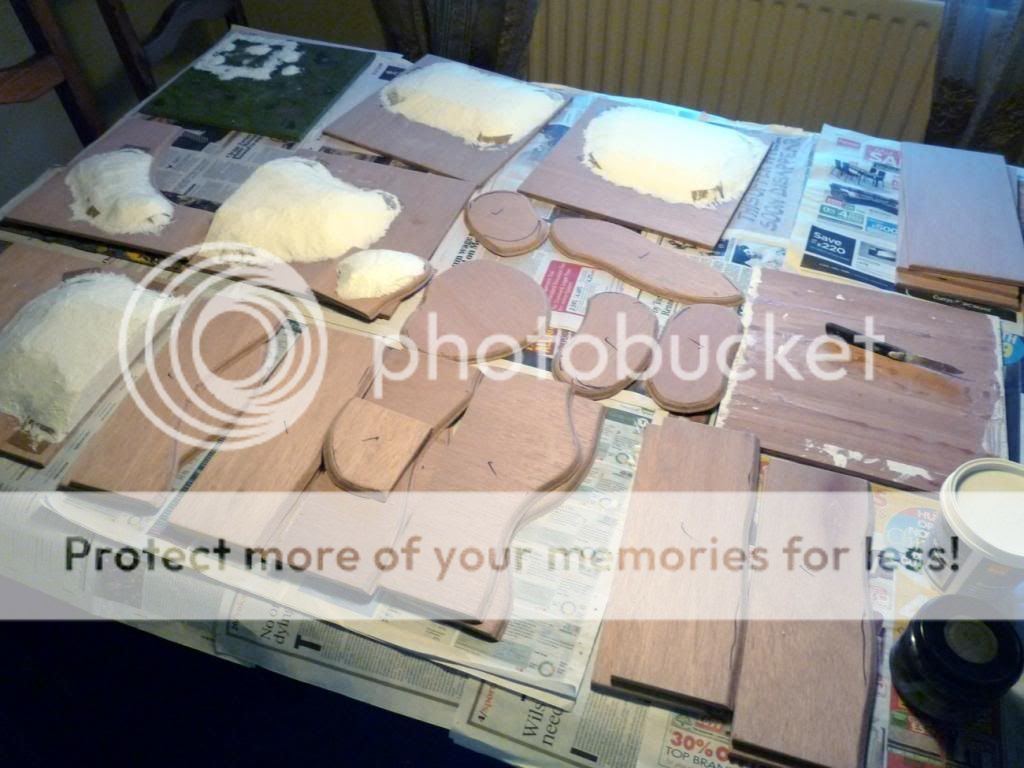
So I enlisted the help of a good friend who assisted with some quality timber cutting to ensure that the river bank sections all match up, both in terms of positioning and angle (45 degrees, thanks to an angled jigsaw setting). The rivers were measured at 10cm/4 inches across, so represented the removal of about a third from the middle of each board. Of course, they then have the potential to be broadened by moving the 2 river banks apart either by a full board width (making a 16 inch wide river) or by any other incremental amount. Some of the cut-outs were rounded off to provide islands which can be placed in the river, and used in naval games too. With this batch I’ll have 6 feet of straight/meandering river and 2 x 90 degree bends. Plenty to start with considering the biggest table I can manage is 6 x 4 feet.
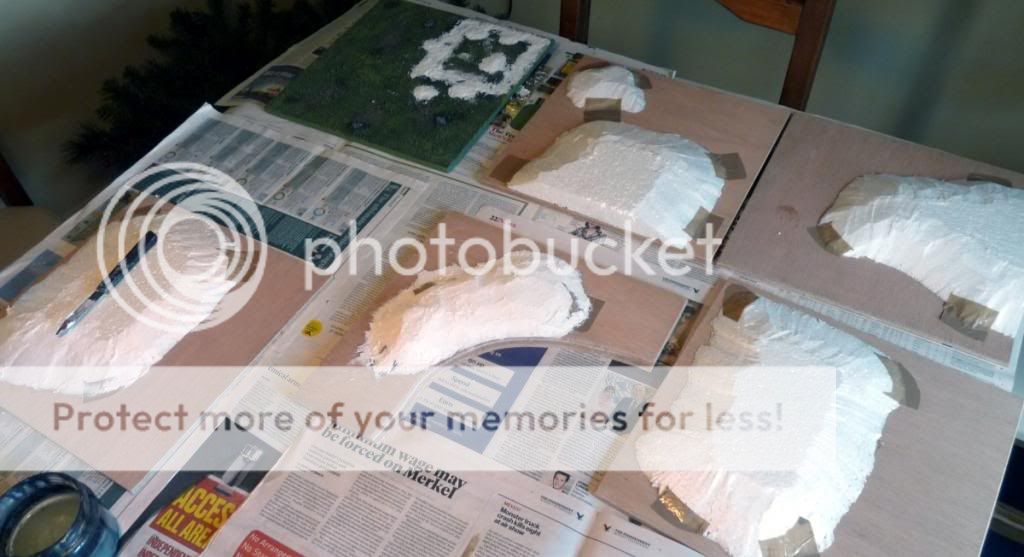
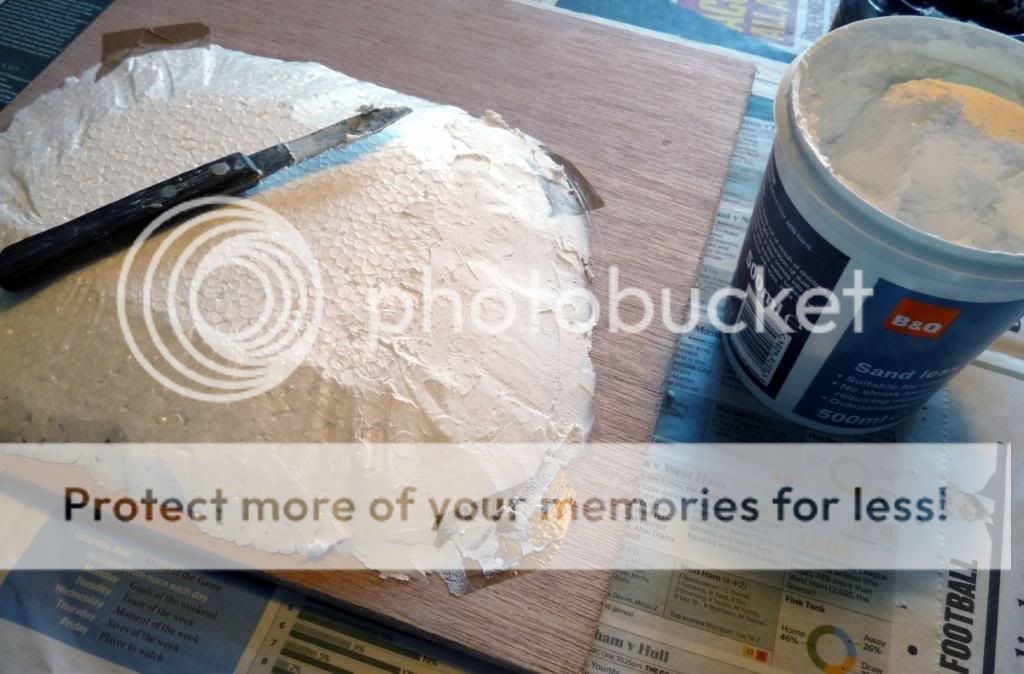
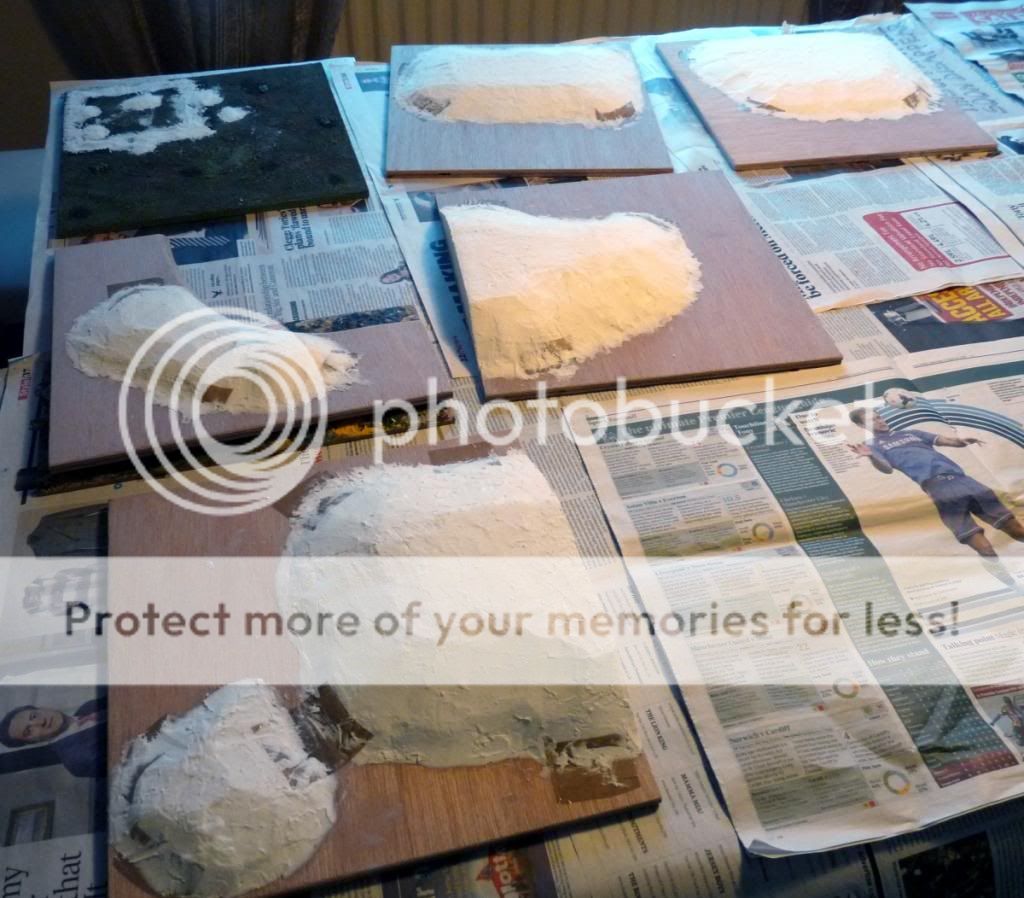
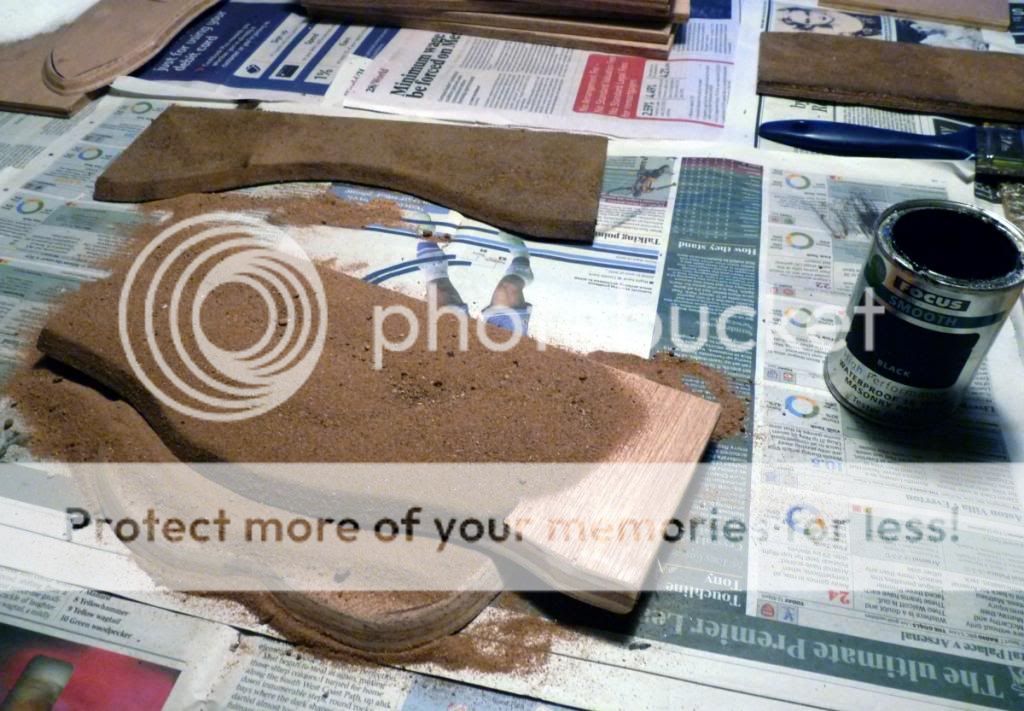
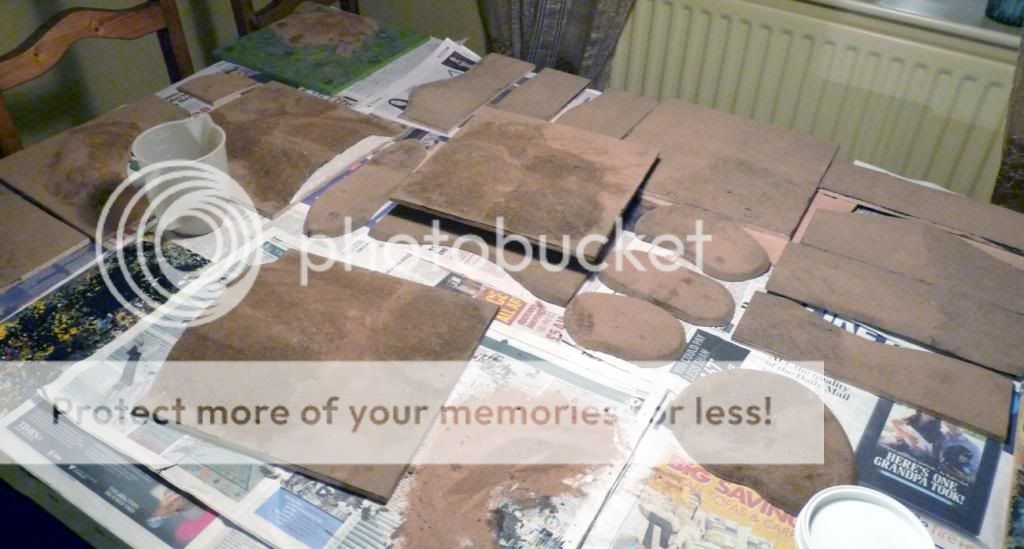
On Saturday I kept warm outside by sanding all the board edges smooth, and rounding the river bank tops off a little. Then I stuck down the hills with PVA and a bit of tape, before moving onto covering the polystyrene with a layer of quick-dry plaster for protection and smoothness. The afternoon was then spent making a right old mess applying the first layer of sand – sticking it down with black masonry paint. I’ve decided to add some small raised areas on a few of the river banks so I have a bit more hot-wire cutting to perform, and then once all the boards are up to the same stage with a basic layer of sand I can move on to the remaining texturing before undercoating and painting. As the dining room table is now a sandy, messy work area, I better get my skates on this week!
Some pics of the various stages described:
Hills added to boards
Plaster coat
Plaster done, including some filling on a older board
River banks added to the workload
First layer of sand goes on
Sand done


Hi Dave,
I'm reading all this with interest since I'll be needing some terrain for my 1814 campaign. If time permits I may borrow some of your techniques and model the actual battlefields. However, I'll probably just end up using some of my bought in hills.
Cheers
Ken