Aliens-Style Game – 15mm Sci-fi

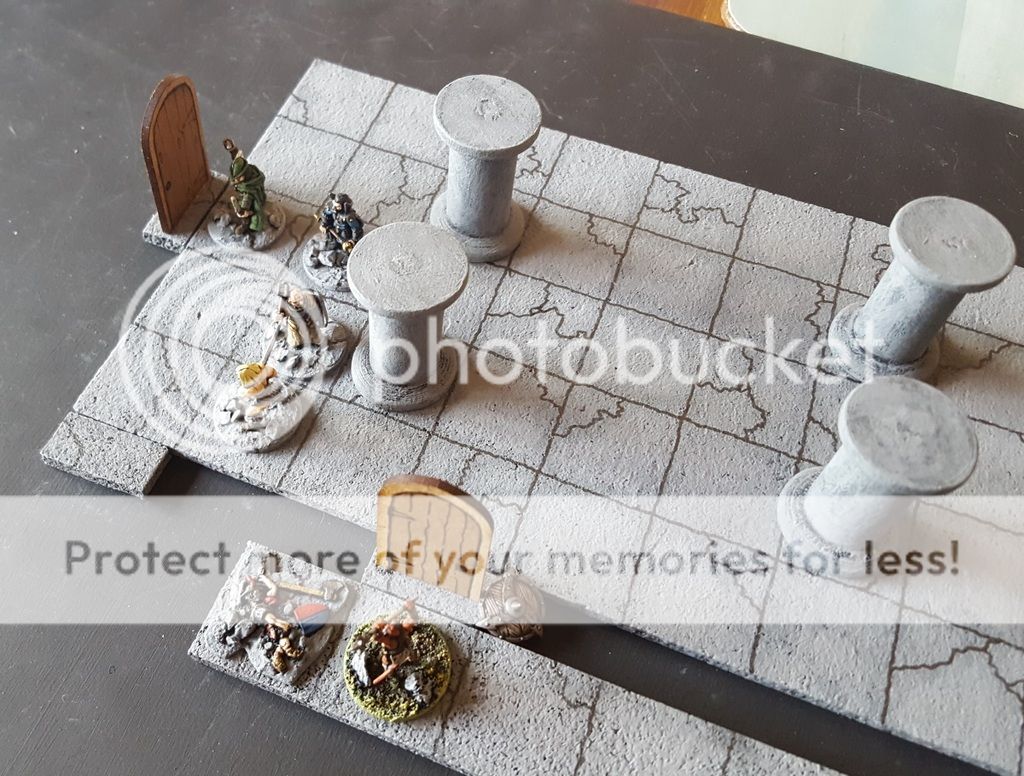
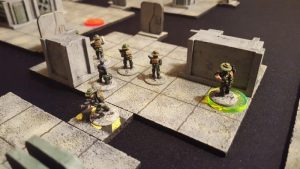
A few chats over a few beers with my mate Jase recently led to the idea for a new game. It’s a derivative of our dungeon crawl game, but this time in a near future/sci-fi setting, with Alien-esque baddies creeping up on our gallant little band.

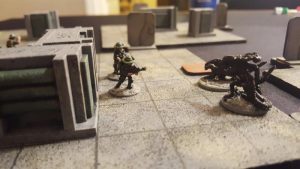
It’s a much simpler game than the fantasy one, with fewer enemies, no complexities like magic, and less character progression. It’s more of a beer & pretzels game, focusing on a special forces squad undertaking perilous missions into overrun facilities. Get in, do some stuff, and get out again while taking as few casualties from the very sneaky, very vicious, aliens as possible. Like Space Hulk, but with smaller, cheaper components.

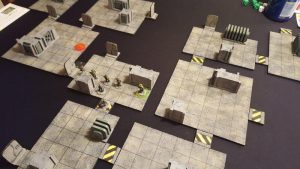
Naturally, apart from painting a handful of GZG and Pendraken figures, we scratchbuilt everything… Cork tiles, mdf doors and features,  equipment and other tokens, printed squad sheets, mission and layout cards, etc. It took about 4 weeks to get enough done to start playing, with each of us producing a share. Now we’re back-filling the missing bits so we each have a full set of everything.

We recently got together and played 5 games, all tense and challenging, but good fun too. Since then we’ve defined some more mission types and tweaked a couple of things based on what we learned from the initial games.

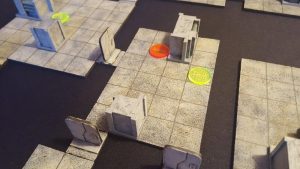
Like the dungeon game, its a 2.5D game in that it uses figures and some 3D scenic pieces, but there are no walls. The last thing I want from this type of game/project is fiddling around trying to reach and see the figures, let alone make dozens of feet of walls in all shapes and lengths.

Some more pics…

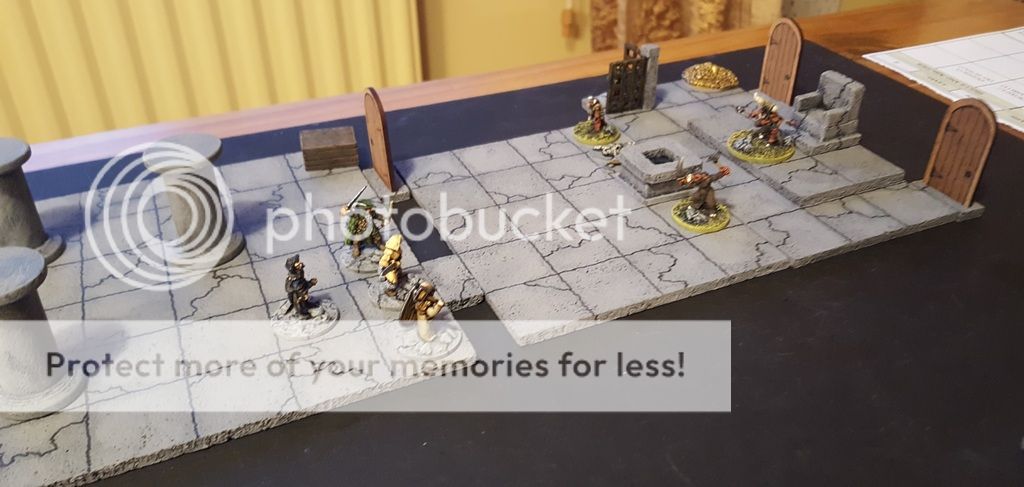
Escorting a xenologist through the complex so he can carry out a crucial bit of DNA collecting:

There are things to see and do…

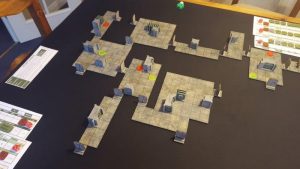
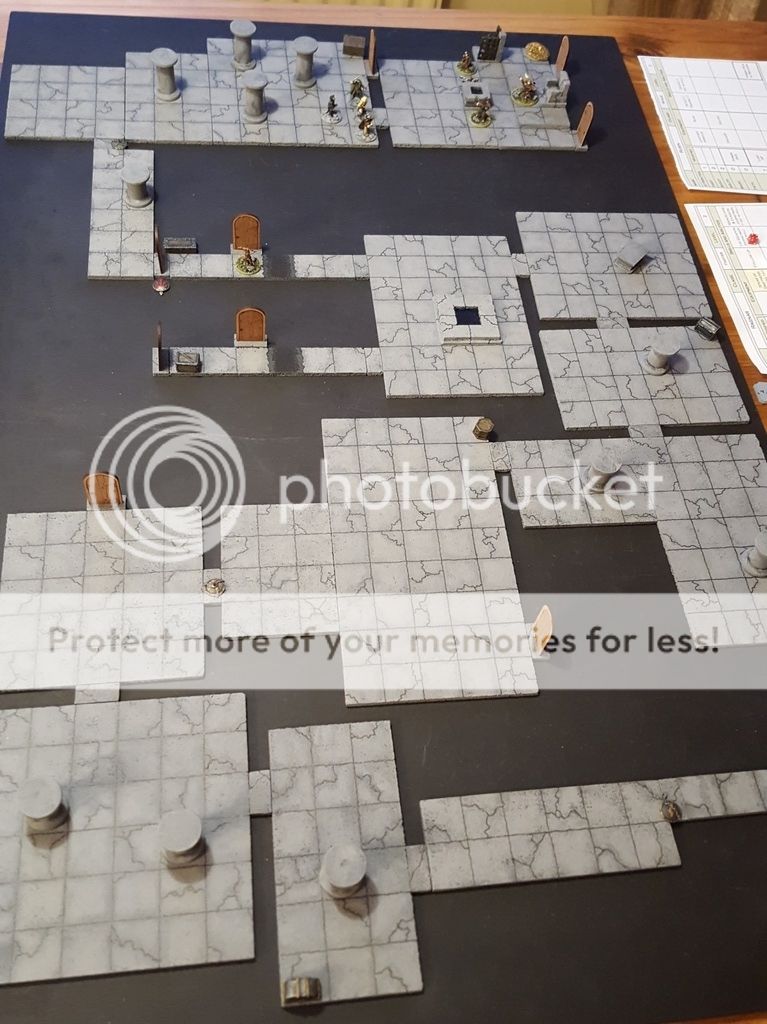
A whole mission site set out – a fairly long way in, and then back out again.

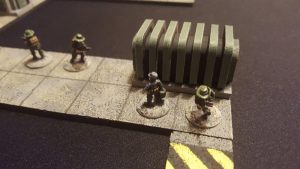
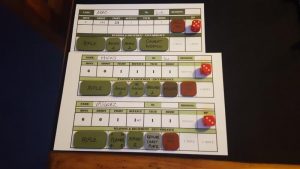
A squad is made up of ‘characters’ and basic grunts. They get attributes, skills (characters only) and kit. Keeping track of ammo is important too of course.

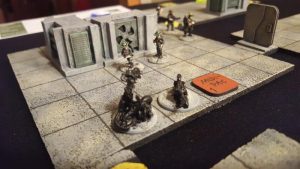
Never be the rear gunner, even if you’ve got a flamethrower:

Covering all the angles:

A bit more to do to finish off my set, but it’s been a really enjoyable project and the game itself plays how we envisioned it.



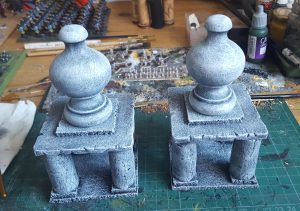
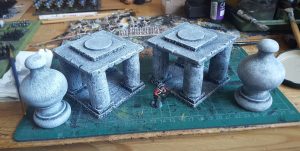
A Couple of Temples

It’s been a bit slow on the figure painting and gaming fronts lately so I’ve tried to keep going with a few other bits and pieces.

I am working on some base boards, which need to be ready for a big Sharp Practice game at the end of July. They’re not exactly picturesque while being prep’d for painting, but I’l post pics when they’re done.

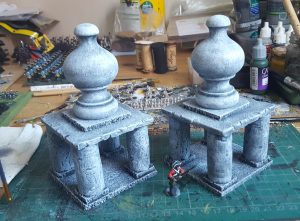
Meanwhile, I have managed to knock together a couple of pieces that will serve as monuments or temples for various settings. They’ll be nice and big for 15mm Frostgrave, and about right for hiding a few 28mm figures in a skirmish.

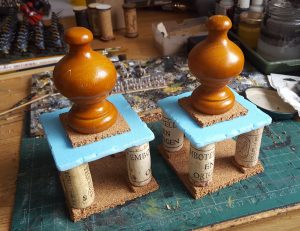
They’re made from wine corks, cork tile and styrofoam, like a lot of the other scenery I’ve made this year. The domes are the finials from a recently retired curtain rail. I had my wargamer’s eye on them as I took it down!

Before pic:

Now to finally finish off those jungle bases I’ve been putting off for so long!

Bit of a Catch Up

Although there’s been no blog activity for a while, there have at least been some hobby goings on.
Not much was actually getting finished so I wasn’t taking many pics, but there has been some gaming, and progress on a number of projects

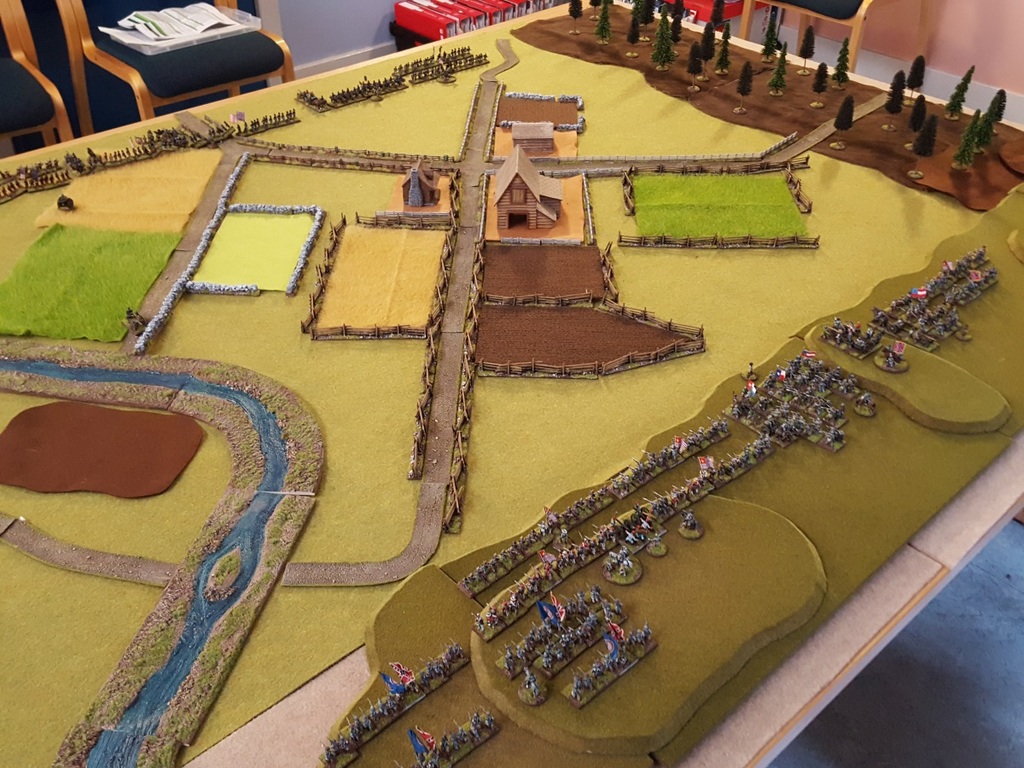
The best of the gaming was a weekend in Newcastle with Andy hosting an excellent ACW game using his newly re-based collection and Fire & Fury rules. He’d devised a scenario and set up the terrain too. The game took place in meeting room upstairs at a commercial stables, which added to ambience!

It was an encounter battle which 5 of us played to an entertaining draw. Plenty of flank attacks, charges and counter-charges as the advantage swung back and forth. Plenty of beer was had on the 2 evenings as well, which with the excellent company made it a very good time all-round.


I’ve spent some more time evolving my 15mm fantasy dungeon game, which is pretty much sorted and has seen some solo and 2-player games recently. Now I’m just having fun adding the odd monster, character or dungeon feature, plus some background fluff and additional rules that come to mind.


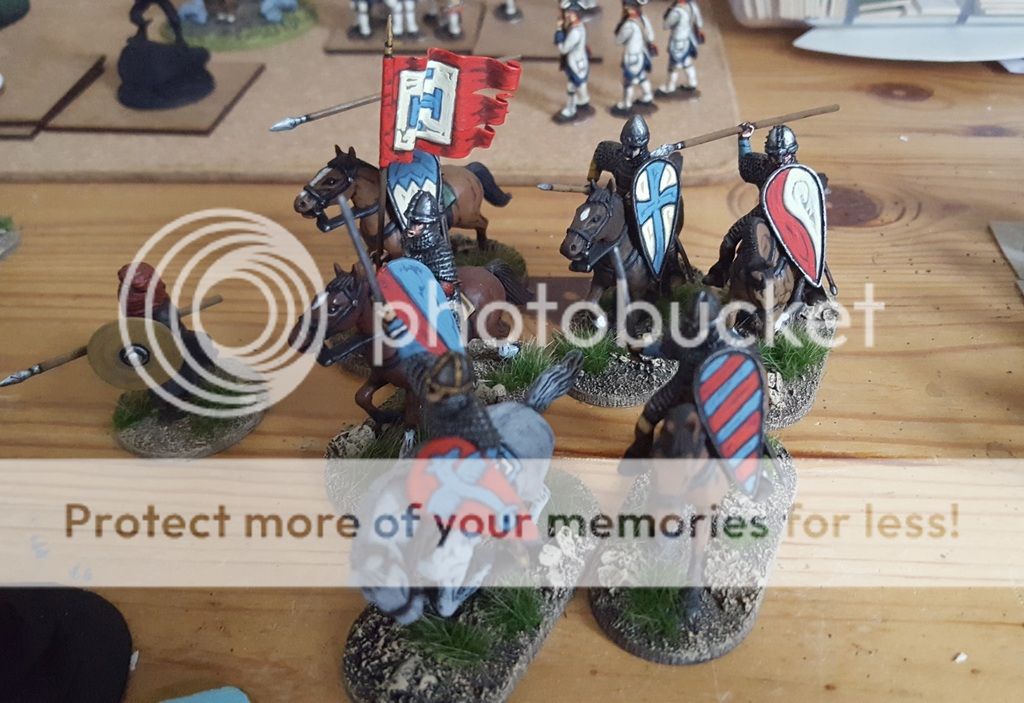
This year’s Ayton weekend (coming up very soon) calls for Lion Rampant forces from anywhere between 1100-1500, so I’m taking a very early Medetian force from their Normans-in-Italy era. It will be supplemented by Saracen auxiliaries, together making a standard 24 point retinue.

I’ve painted 6 knights (Conquest plastics) and 30 Gripping Beast Arab foot, leaving 2 units left to finish before the end of the month. I’ll try to get the whole force together for a pic soon.

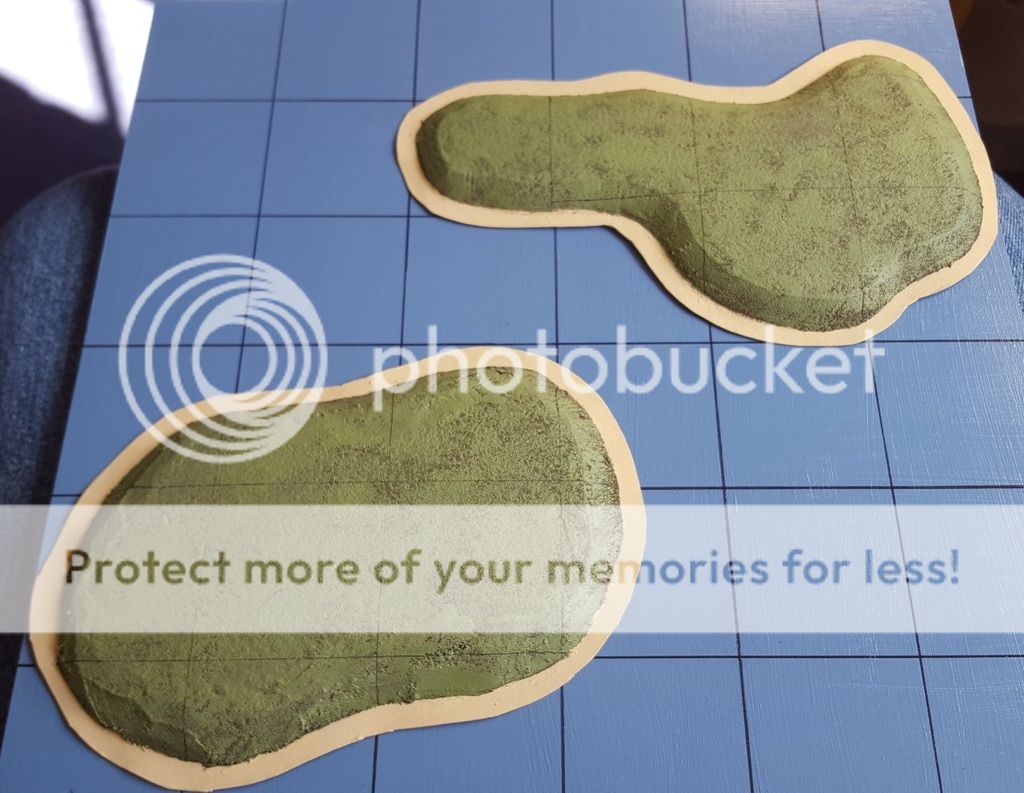
I’ve tried yet another method for making islands for my scratchbuilt naval games, this time it was 6mm blue foam (painted green and gridded to match the sea boards) on thin card (painted sandy for beaches). With the odd building, tree or airfield they should look OK.

Two prototypes:

Maybe they’ll be the start of an overhaul of my islands in general, or I’ll just add them to the pile!

I just need to get back into the routine of updating the blog now, so more soon hopefully!

SYW Progress

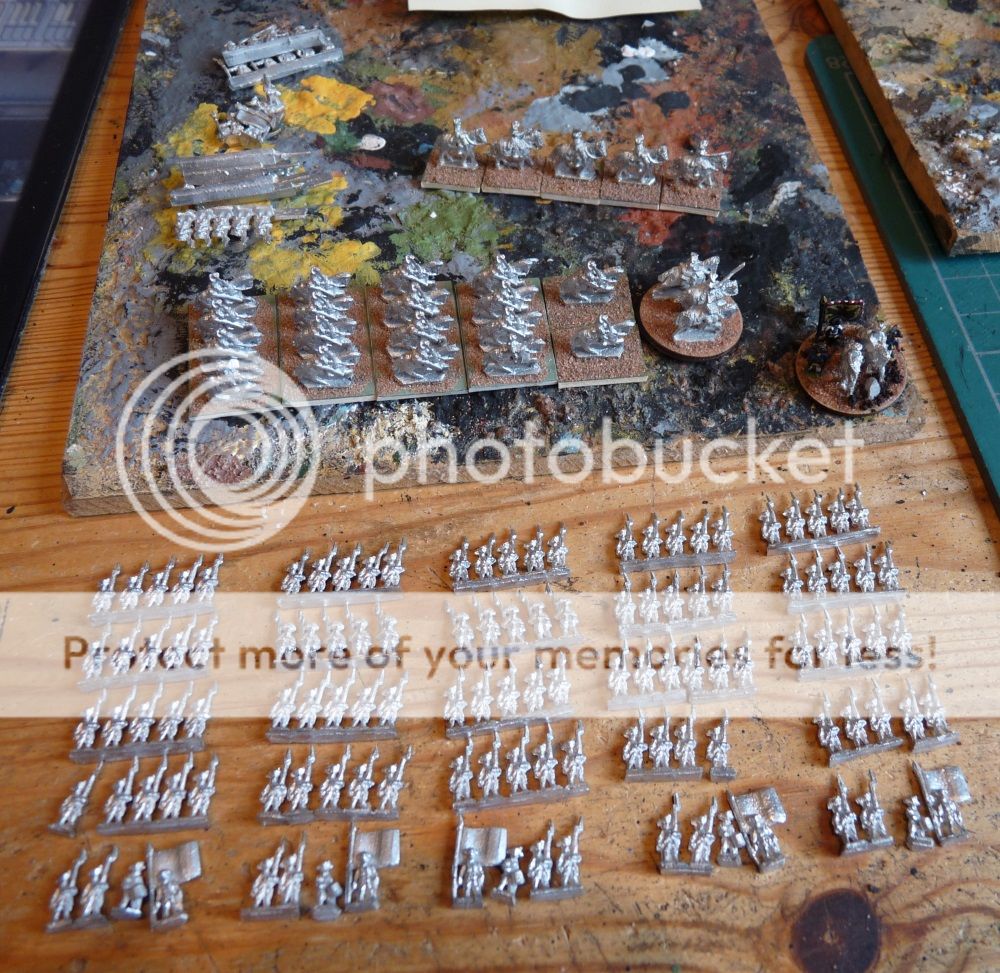
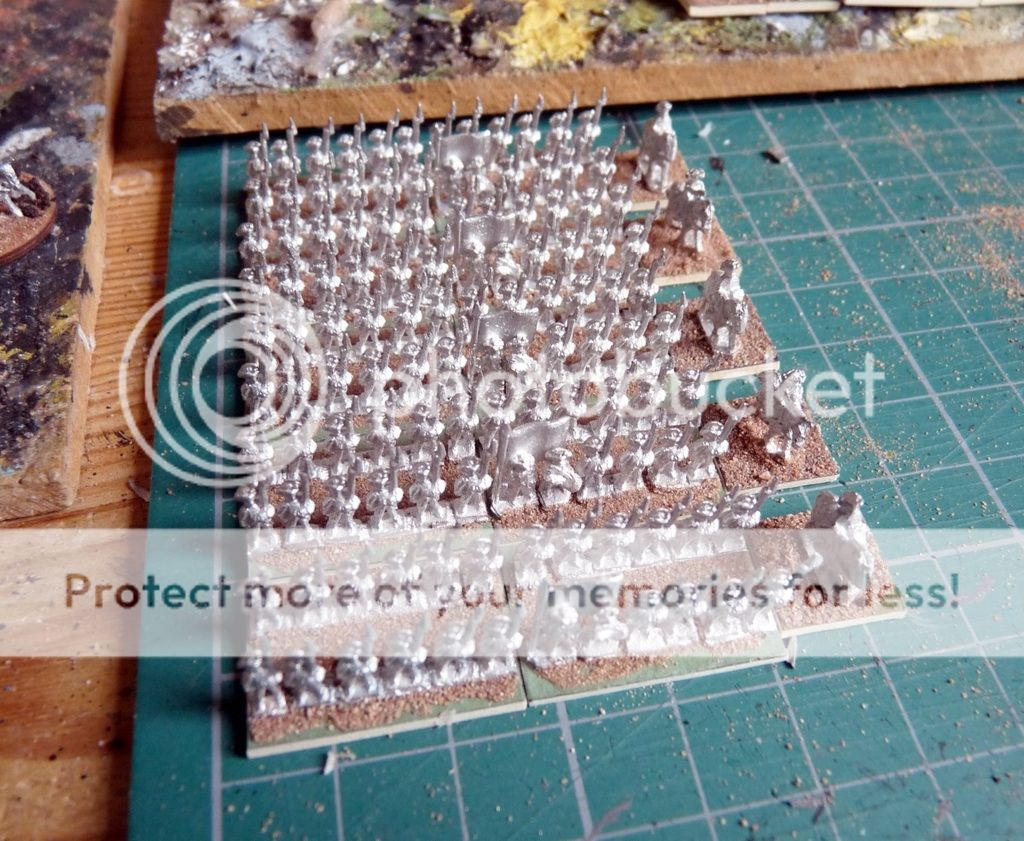
Recently I’ve been doing some prep on the next batches for my 6mm SYW project. I was spurred on to base up some more units when I realised I had nothing actually ready to paint!

So, the next batch consists of 5 more Austrian musketeer battalions, 2 dragoon units, a Grenzer unit and a couple of generals.


When I finish this lot I’ll have just over 30 Austrian units done, and will then focus on the Prussians until they’ve caught up. Fortunately, a fair few of the Prussians are already painted and just need re-basing, some touching up, and new flags.

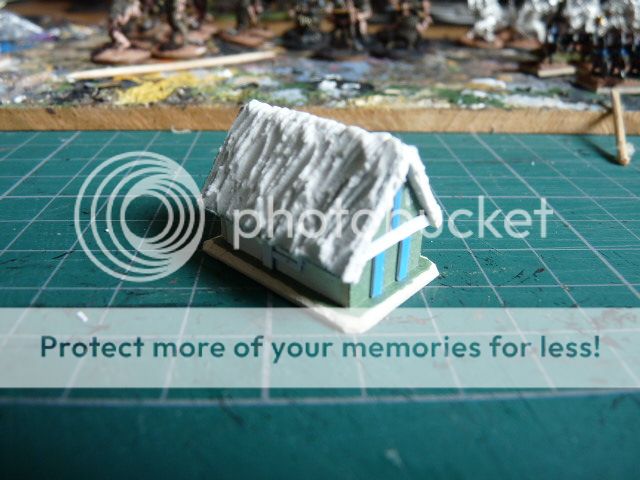
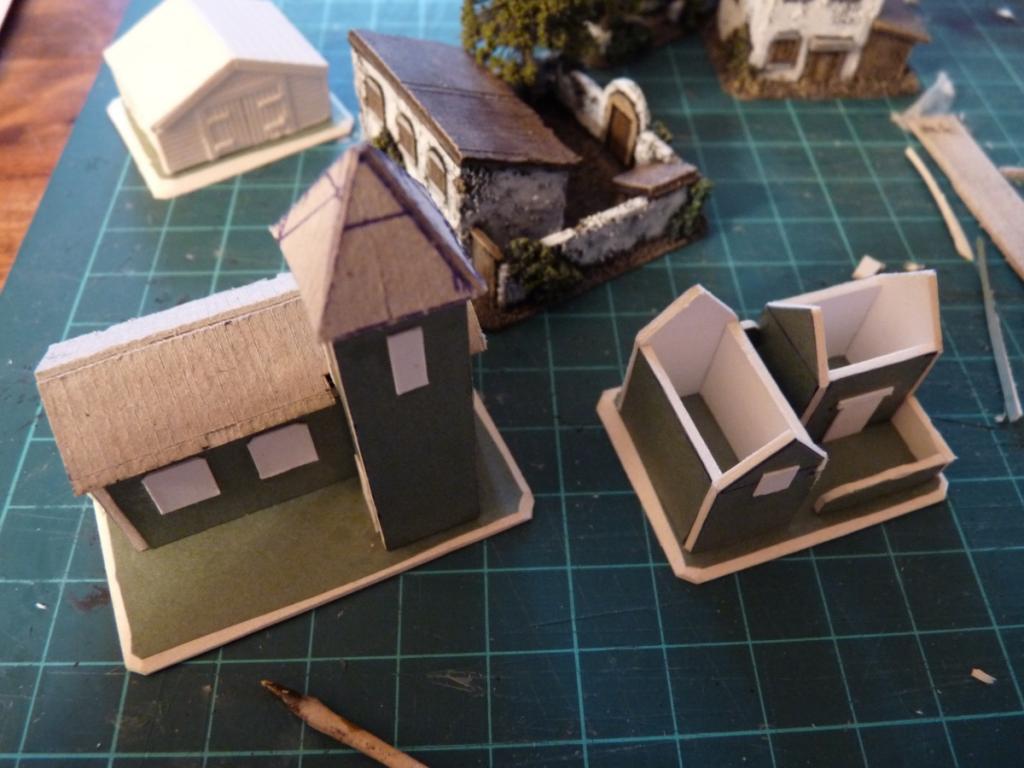
While getting these prepared, I’ve also made a start on my central European buildings, which will be used for the villages of Saxony, Bohemia and Silesia in the SYW, and for other 6mm projects where I need some scenery like this. The bulk of the buildings will be generic single storey thatched houses with some timbering. I’m not going to overdo the timbering for the same reason I’m steering clear of tiled roofs – I can’t be bothered with all the extra work!

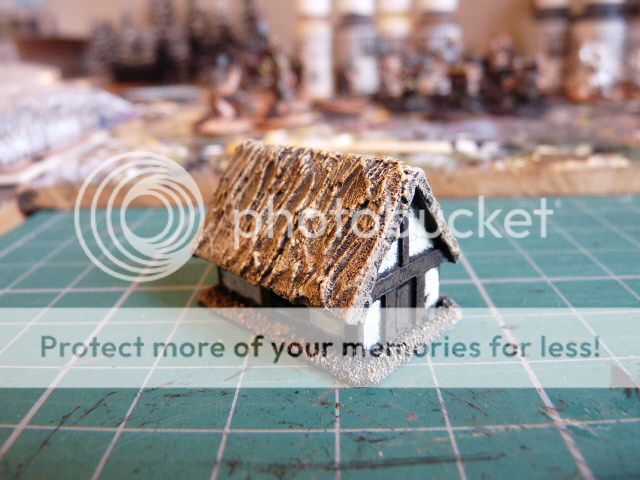
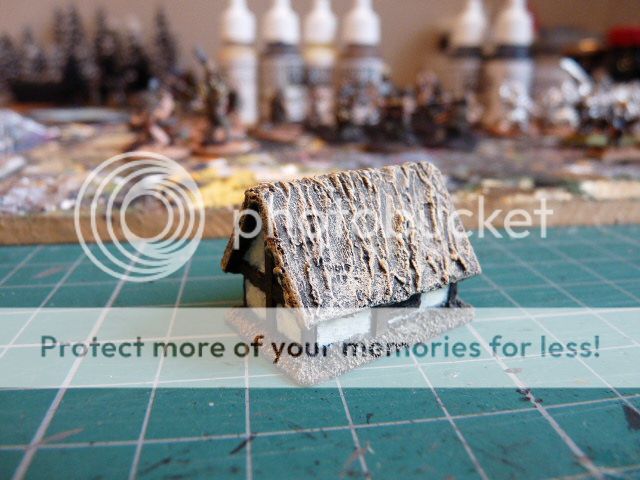
Here’s my first attempt. 30x20x20mm, made from card with a plaster/filler thatch. I know most thatched roofs are

Painted in fairly muted tones:


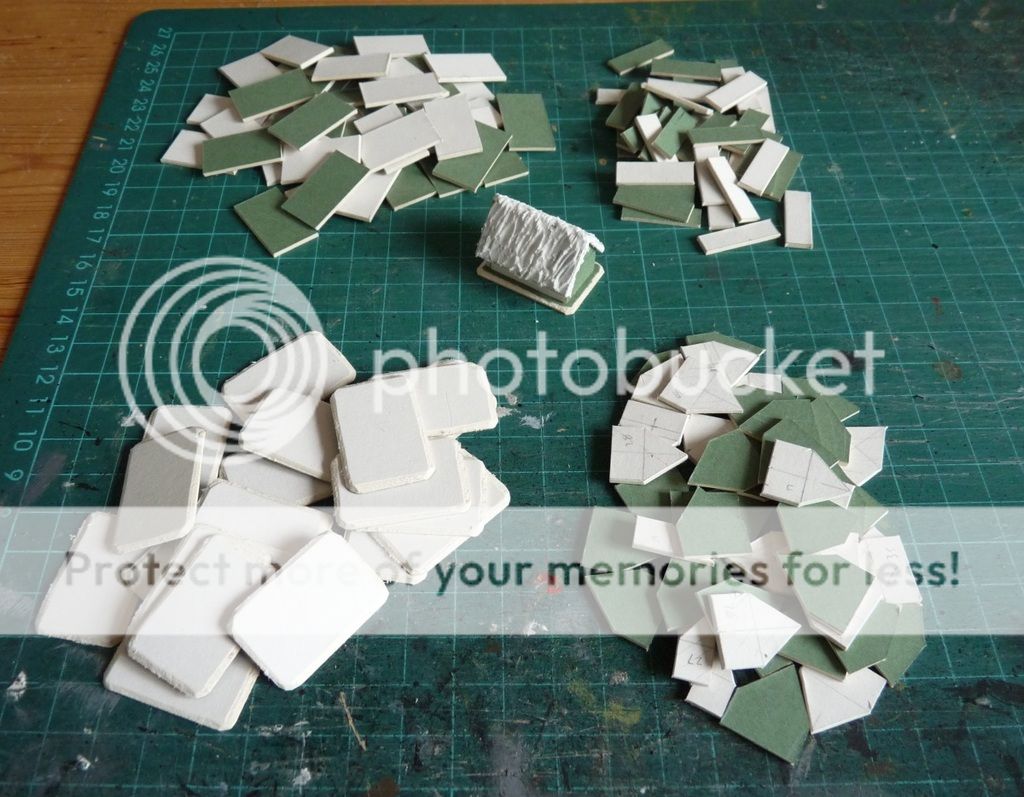
And here’s the rest in pre-fab kit form:

Yes, I appreciate that this pile will take a bit of assembling!

I’ll also be adding a few different structures, including some larger barns, and a couple of churches etc. There will also be paddock fences to flesh out the settlements a little. I want to be able to place several villages on the table when required, to reflect the types of battlefields that were fought over.

Hopefully working on these buildings will offer a nice break from painting the figures themselves, and I can progress with both aspects of the project in parallel.

I’m aiming for a game or two with this collection by the end of the ‘summer’. We’ll see…

A Small Big Bridge

Although I made my riverbank terrain sections some time ago, and have bridges for 15mm and 28mmm, I have only just gotten around to making a bridge to get across it for 6mm games. I do have a couple of pontoon bridges, but nothing fixed and proper, as many a good scenario demands.

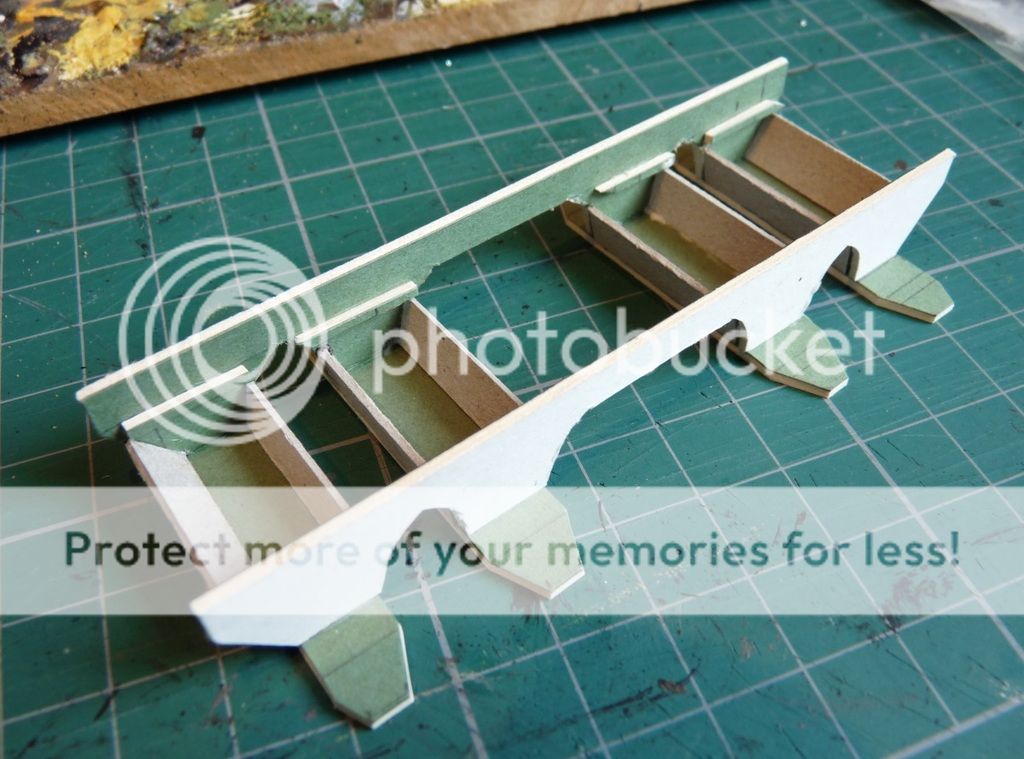
So, yesterday I did a quick bit of measuring and quickly started marking out and cutting some card. I was after a useful generic stone bridge that would serve for all my 6mm gaming from the mid-17th century up to the present day (should I ever dabble again with Moderns, or even WW2). I would normally have gone for something a bit narrower, but my recent SYW efforts in this scale have generated figure bases 24mm wide, so I decided the new bridge would have to be wide enough for these.

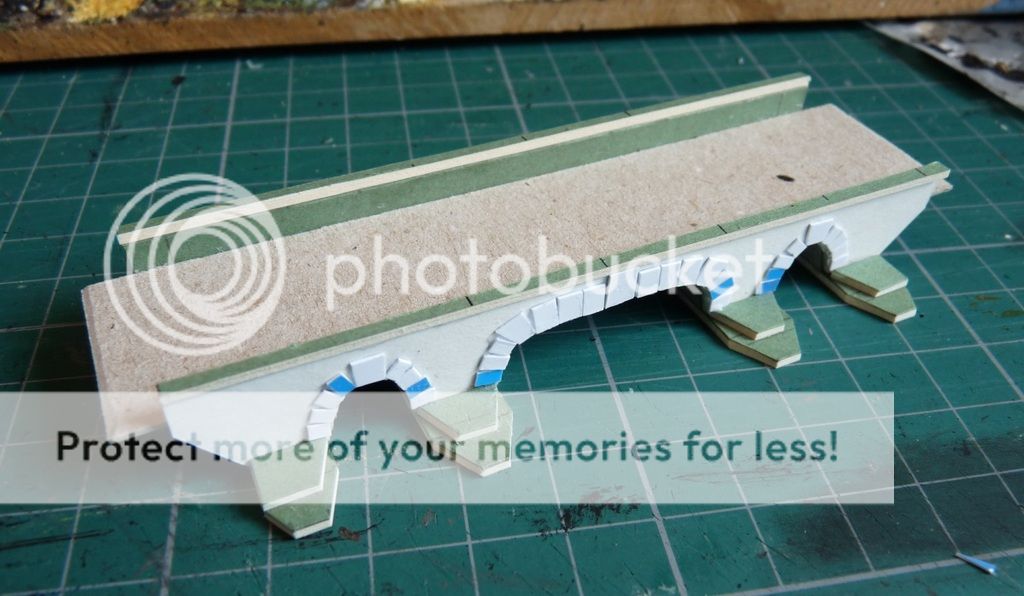
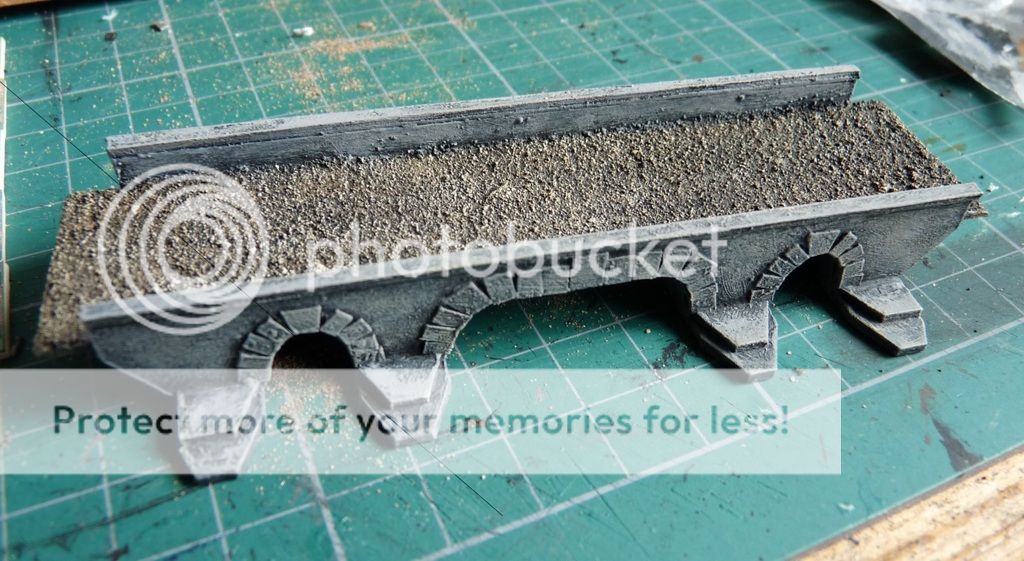
With about 90-100mm of river to span, I decided on a flat roadbed rather than anything fancy, largely due to my modelling limitations. A few arches would add some visual appeal and, although curves are never easy with a knife and card, it went OK. I could also mask the dodgy cutting with some arch stones made from thick paper.

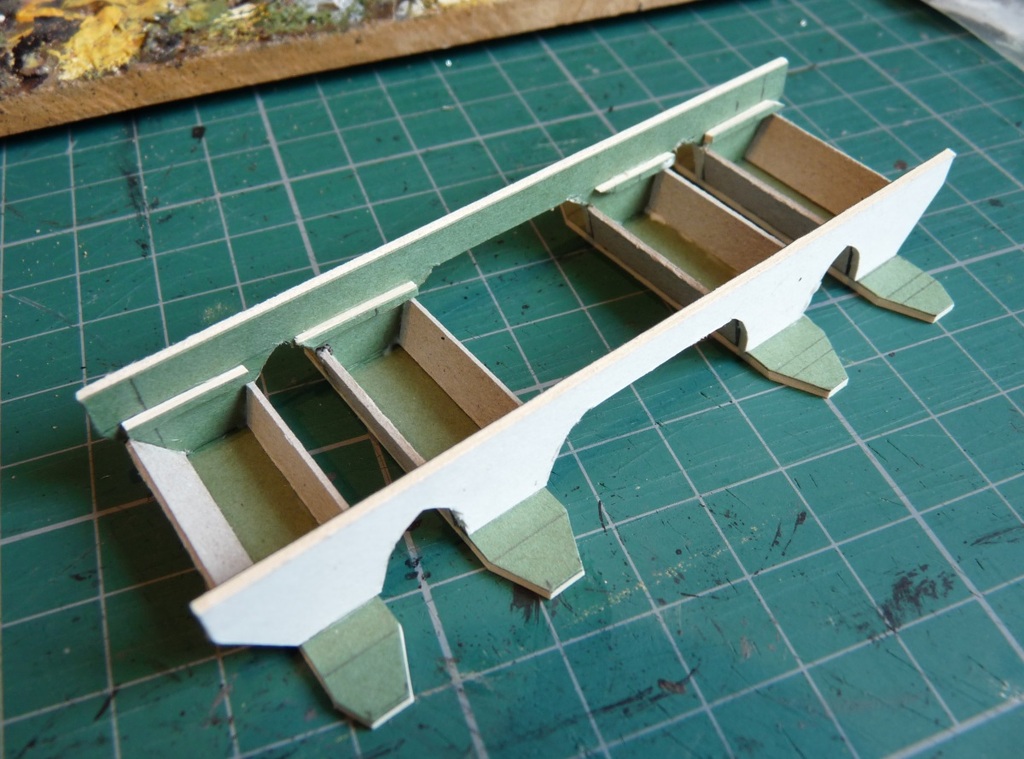
I made the structure first and then added the road layer (a thin piece of card) after.


Everything was black undercoated first and the stone got a couple of shades of grey, plus some light weathering with a pale buff shade. I textured the road with sand and painted it to match my terrain.

The finished bridge:

I may return to this model later to add a removable customs house/arch at one end, which I think would be a nice touch.

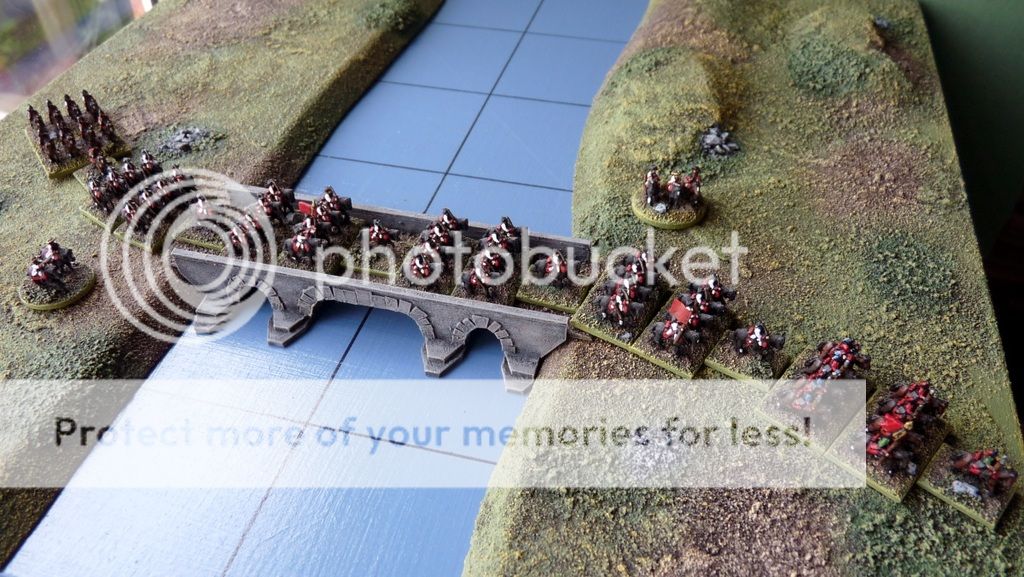
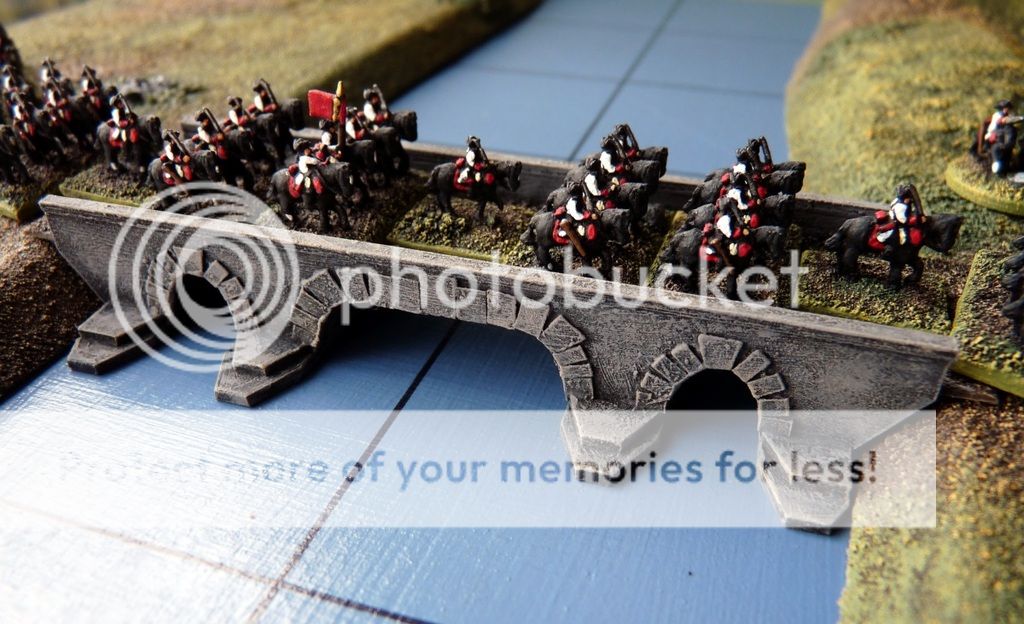
Here it is being made use of, by Austria’s finest (not my usual river board but it’ll serve):


Now, back to those Heroics & Ros!

New Islands

I’ve been meaning to make some new islands for my scratchbuilt inter-war naval games, and finally got round to it. I like the all-beach surround look so simply used 2 layers of plasticard, one painted sand colour, the other green.

They’re bare at the moment, but the flat template allows me to place on settlements, fortifications, harbours, troops, etc. I’m thinking that the odd palm tree will make them right for the pacific and the odd deciduous or fir tree will transport them to the Med or Baltic. Buildings are on the way and I’m hoping they’ll work OK.

I think I prefer this look to my older islands (below), which are textured, but the new ones are more ‘toy soldier’ and hit the spot a bit more for me nowadays.

Airbase (why they didn’t pick a bigger island is a mystery!):

Next, a test model of the Mark 2 landing craft. This holds a single infantry base. I’d like to have double the capacity but it would mean landing craft the size of transport ships, and although the scales are all over the place by necessity already, I think that would take things a bit far! A couple of old landing ‘barges’ are in the picture too for comparison. These are smaller and more non-descript but don’t carry the troops very well. I’ll probably keep both types for variety, and now just need to knock up a couple of dozen more of the new style from thin card.


Then I think there’ll need to be some action, so I must think up a scenario and plan a game or two..

Insulation Foam Walls Test

I have plans to make some simple ruins for the Frostgrave fantasy game setting, and for other 28mm gaming purposes. I will mix and match between bought stuff (mainly MDF) and scratchbuilt. For the latter I’ve decided to try XPS insulation foam board, so I ordered some sheets in 6mm and 10mm thicknesses to have a go with.

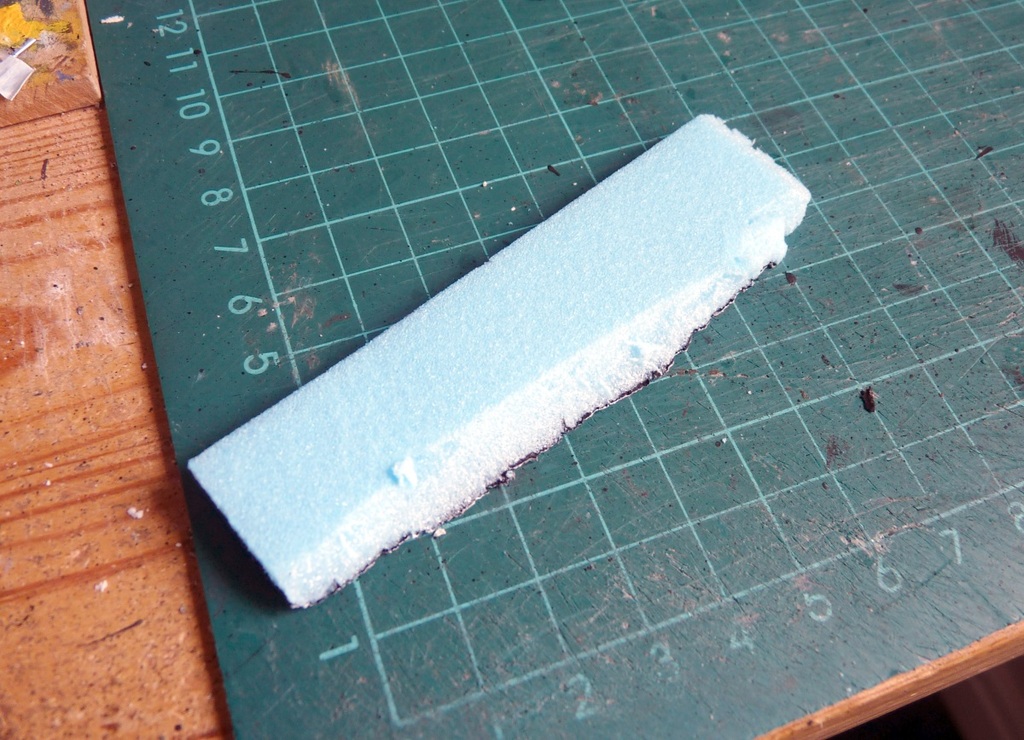
So far I’ve only managed a few minutes with this material – which involved snapping off a small piece from the 6mm sheet and etching some stonework on one side with a biro. This was much easier and quicker than I expected and I slapped on some undercoat and a couple of grey drybrushes to see what it would look like painted.

I’m happy enough with the results and look forward to trying some proper pieces, L-shapes, etc, with the 10mm material.

Before:

After:

I don’t have particularly grand architectural plans, I just want some wall ruins, with some window and door openings and a few partial upstairs floors to get a bit of height on the table. I think I need a quiet Sunday to really get going on this, but that may be a while away as things stand.

The ease with which this material can be carved has given me some other project ideas, so I may see if thinner sheets are available too.

Finally finished – a few more 6mm buildings

Following on from a recent post about clearing up part-finished projects…

I put together a few more 6mm buildings over a year ago (June 2013 it turns out) to go with my existing scratchbuilt scenery for the Medetian Wars of the 17th century. They’ve needed finishing off and painting since then and following on from the other 6mm scenery I did earlier this month, I’ve finally got them done.

The buildings are fairly generic and I tend to just use a small cluster to represent a village or town. As my armies had grown, I’d decided to increase the number of buildings I had so that a bigger battlefield with several settlements could be represented.

They’re simple card constructions, with card doors and shuttered windows (for ease of painting, and because if war’s coming to town I think most people would close up their property!) Applying sand on the bases (and some patches of wall) and painting didn’t take all that long in the end, and I added a poplar tree to the church and the farmhouse.

Here they are from last year, in production and next to some older finished ones.


And here they are finished. I’ve now got about 15 so I’m good for 3-4 villages or small towns. There’s also a windmill (Irregular Miniatures, not my own work) and the watchtower I finished recently too. I think they’d work for the 1859 war in Italy too, if I ever decide to do some Austrians!


Rock it!

It started innocently enough. Goat Major suggested number 11 from the scenarios book, The Compleat Fondler, for our game of Sharp Practice he’s hosting next Saturday. ‘Sounds good’, I said, spotting, as GM had done, the need for a couple of rocket launchers. I offered to have a go at knocking something together. The Goat generously anticipated a lack of results and said we could always just use a couple of guns to represent them. The gauntlet was laid down then!

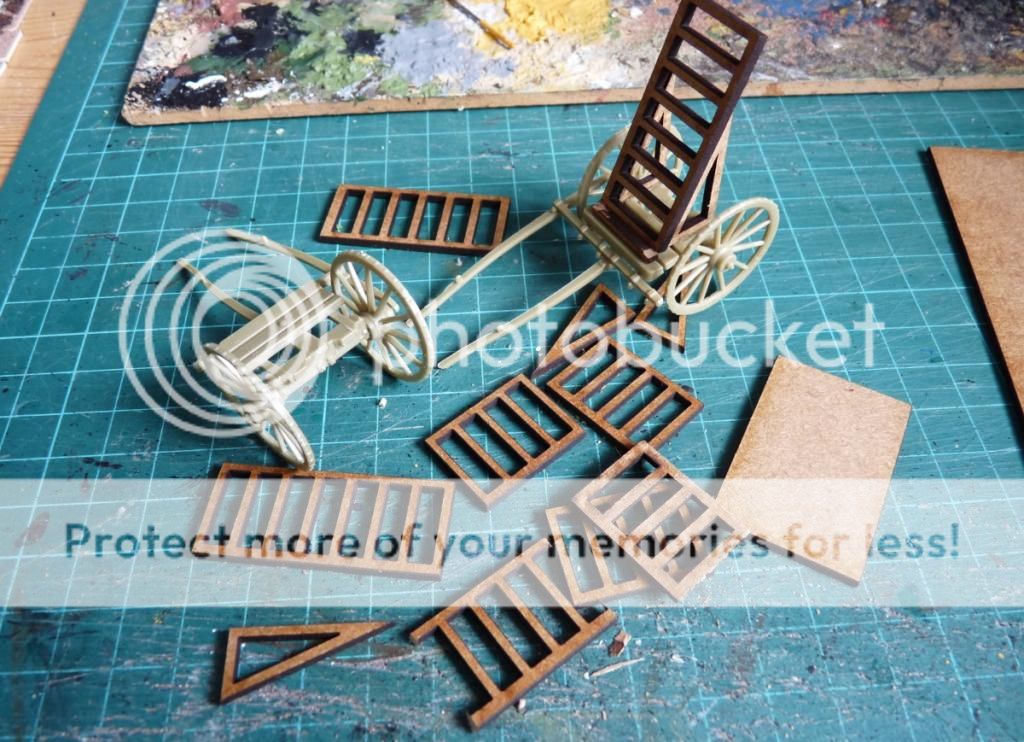
I knew I had a box of Victrix British Napoleonic artillery and thought I might use the gun carriages, at least temporarily. Then I spotted the limbers on the sprues and thought they might do even better. At this point I realised that I didn’t have much of a clue about what a period rocket launcher looked like, so I Googled Congreve and looked at some images. A ladder with some upright supports – not very inspiring (or mobile!)

However, the scenario mentioned that these rockets weren’t Congreve’s but were the invention of a competitor mad-scientist, so I decided that I had plenty of artistic licence to play with. I also remembered that I had a Warbases balcony set to plunder for bits, and I was good to go.

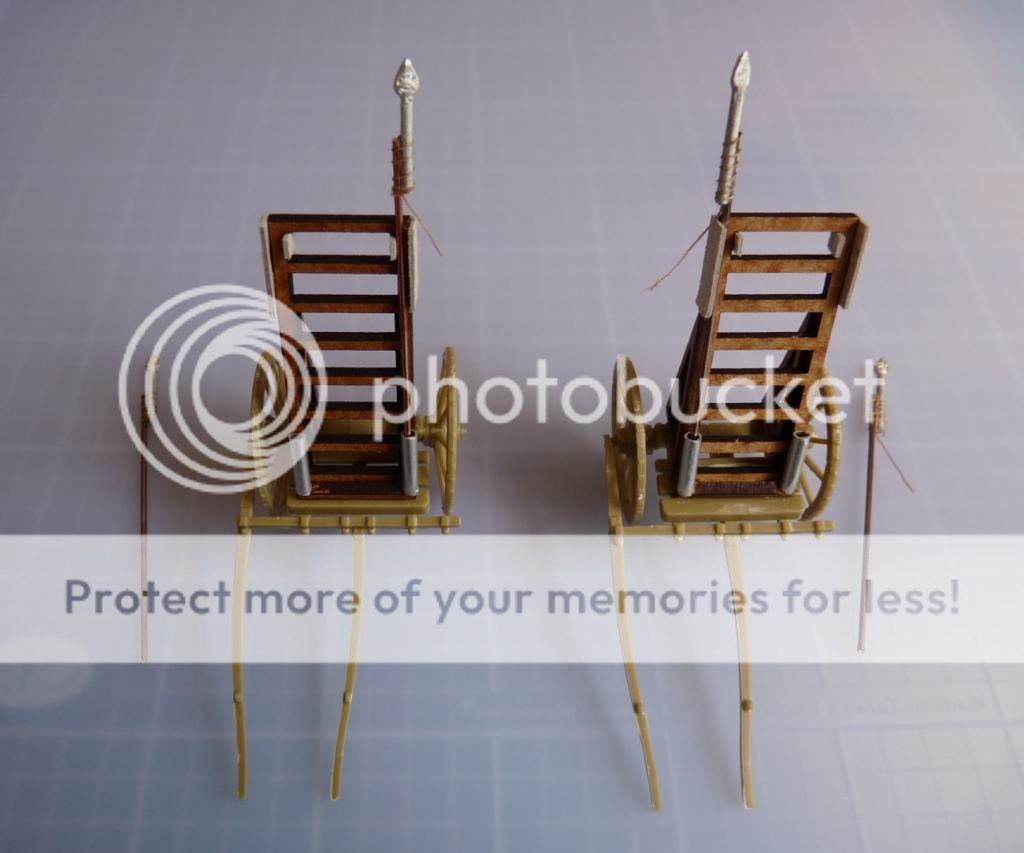
Assembling the limbers couldn’t have been easier. The main body, the axle and 2 wheels went together with plastic cement and I was then onto the rocket launcher frames, using the very handy balcony supports in the pack and some cut down railings. The pre-squared-off MDF meant everything was easy to glue together.

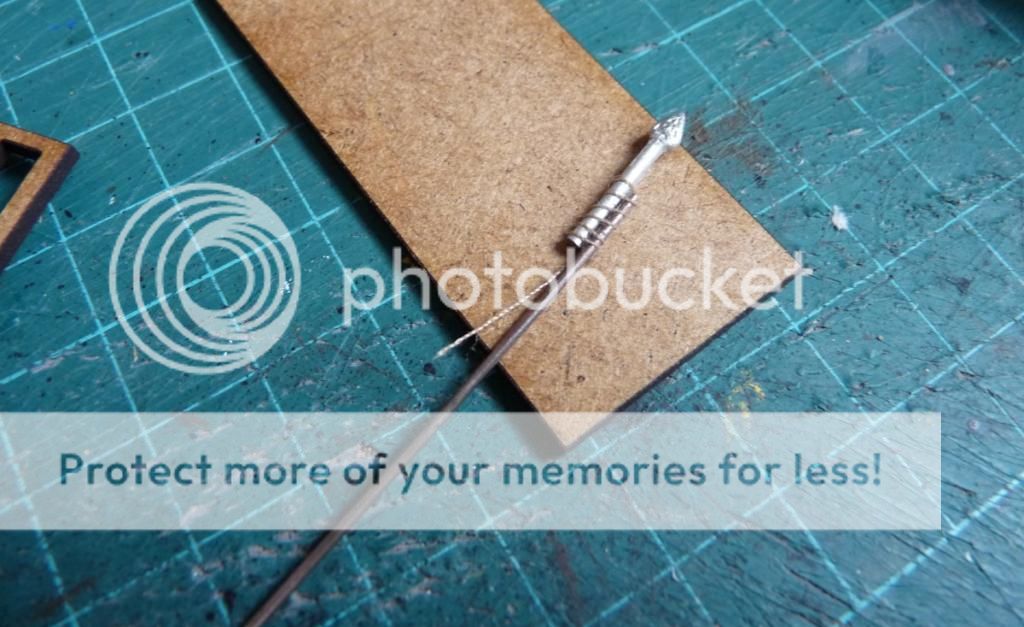
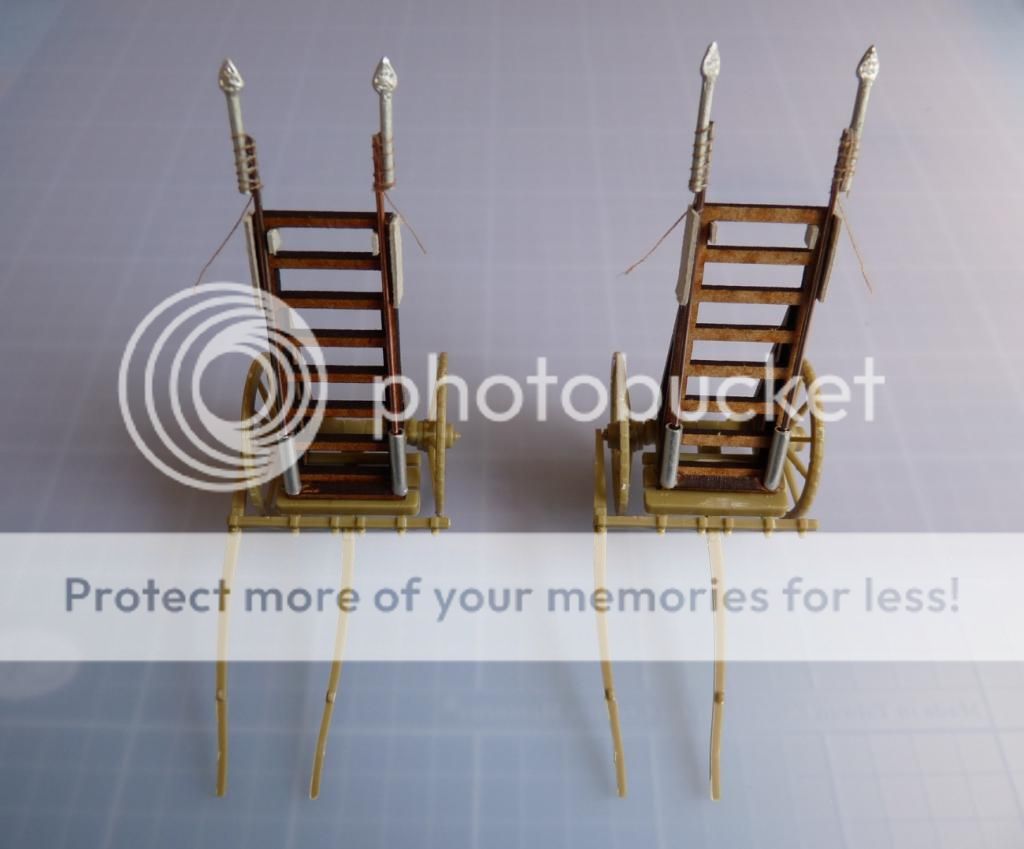
I also added a some bits to hold the rockets (which I wanted to be loose, not stuck on) in place – some thin metal modelling tube at the bottom and a couple of bits of card at the top. Next up were the rockets themselves. I was originally going for a very simple (lazy) approach – just pieces of brass rod, but I decided I could do better with a bit of effort. So, the brass rod had cut-down flags poles with pointy heads (from Huzzah! Miniatures) super glued to their tops, and I wrapped and glued some cotton thread round them to look the part – and to leave a length hanging down as the fuse. I made 4 so that my 2 launchers could be fully loaded.

The assembled battery, and showing the removable rockets:


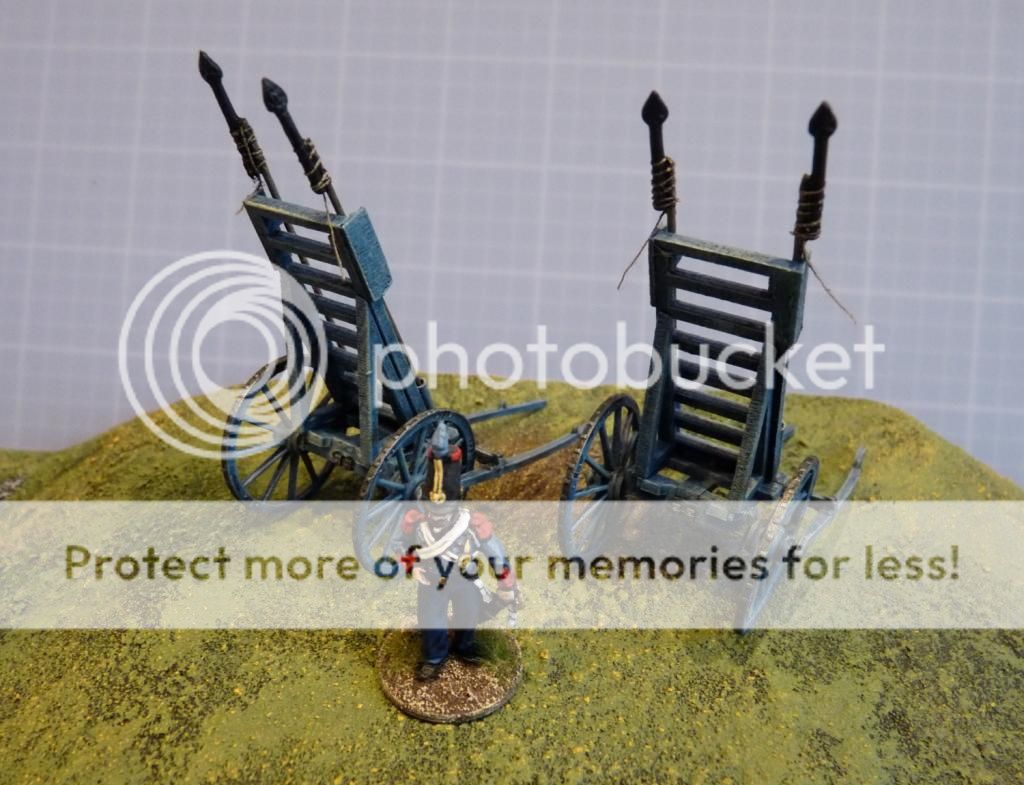
The painting was pretty straight forward; black undercoat followed by Prussian blue main coat, and a lightened shade of the same as a drybrush/highlight. I picked out some metal fittings on the limbers with a metallic wash and then moved onto the rockets. These received brown shafts, black-grey heads (I was tempted to go with red and white but controlled myself) and pale ties and fuses.

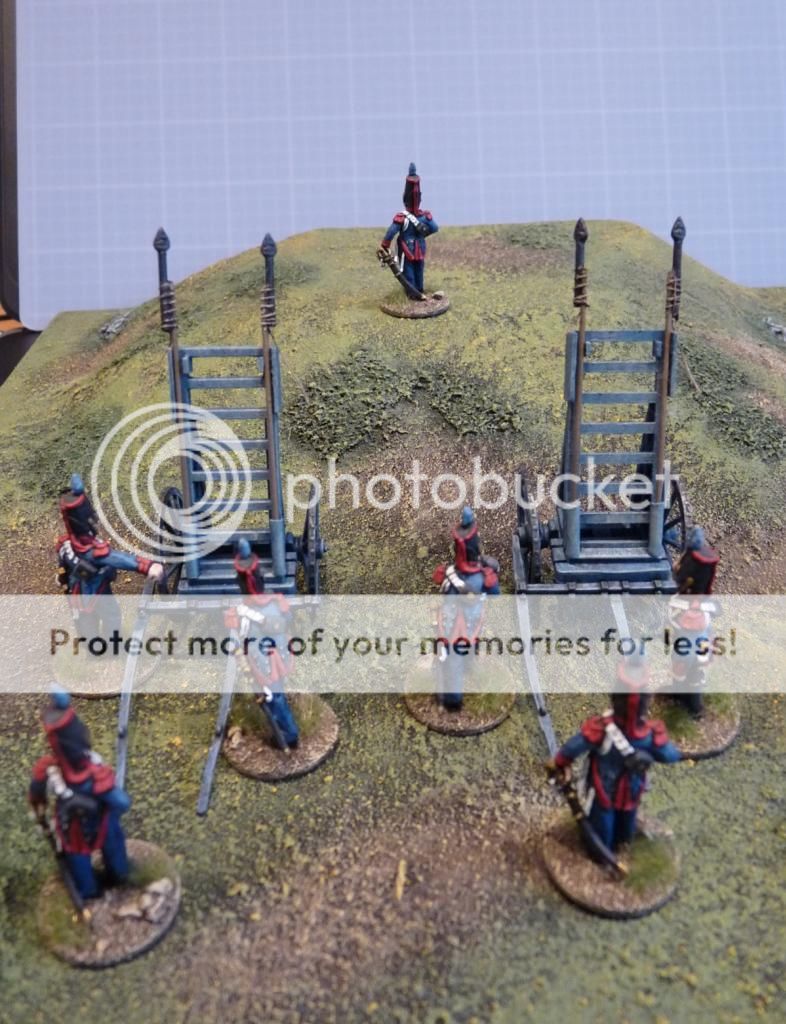
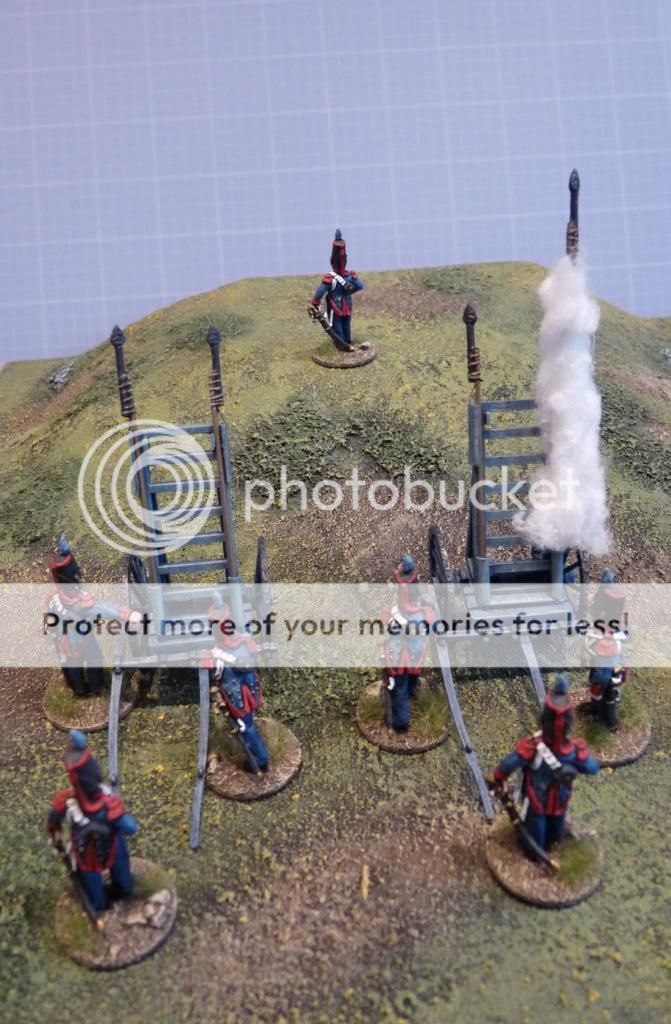
So, here’s the finished battery, proudly paraded by Captain Bardolino and moved into position for a test firing (although if I was a member of the crew I’d be giving the rockets a much wider berth!):


I couldn’t resist the firing option, which simply involved some plastic tube as a sabot for one of the rockets, with cotton wool wrapped round it. A fun couple of hours all round, and watch out Major Goat!
Crossing the River

I’ve always been interested in battles and campaigns that involved the use of pontoon bridges. The ability to identify a crossing location, devise a plan and put the necessary bridging resources in the right place, at the right time – often under the noses of the enemy, was a skill demonstrated by the best generals and staffs.

So, wherever there’s a river on a tabletop battlefield, there’s the potential to throw a bridge of boats across it. Even if it plays no part in the game itself it still presents an attractive point of scenery interest. Although I admire other gamers’ pontoon efforts in the larger scales (Charles S Grant’s for example), my aspirations definitely lie at the smaller end of the spectrum! I have a number of 6mm armies and the potential scope of games in this size allows for grand tactical activities, including the crossing of major rivers.
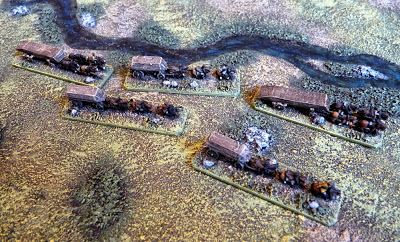
Rather than have to create miniature pontoon units for each period and each side, what I wanted to do was have a single bridging force that could serve as required. This is something that 6mm is well suited to due to the size of the models but even so some nice generic (ie. drab!) colours were required. I’d had a few suitable models from both Heroics & Ros and Irregular Miniatures for some time and finally decided to get them together and finished off.

Here are some pictures of the results, on the march and bridging both small and large rivers, in a couple of period settings (Medetian mid-17th century and Frederick’s Prussians 100 years later). The bridge elements are scratch-built from card. I’ve actually got plans for completely new rivers, which will be the subject of future posts when I get started on them, but these little guys will still be able to bridge them.