Legion de Fleurie Grenadiers – first figures

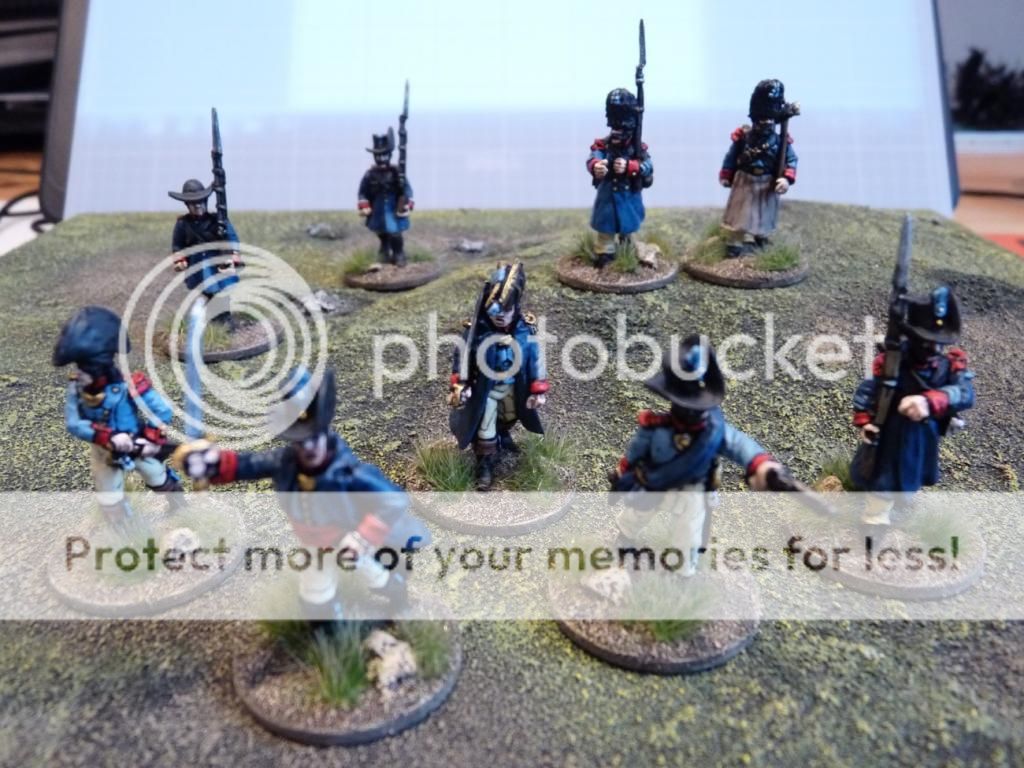
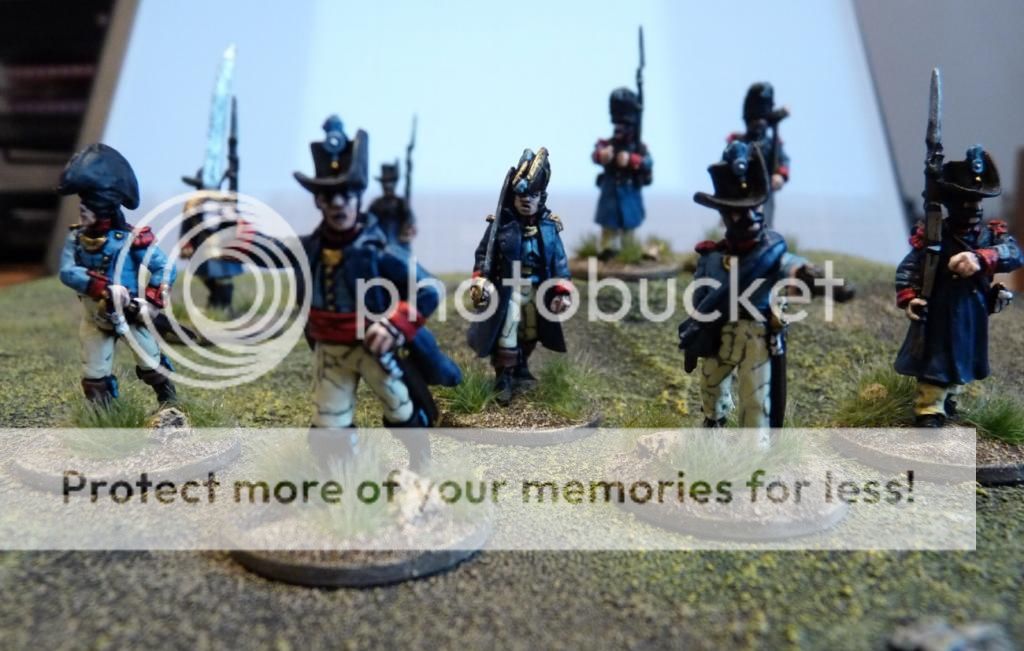
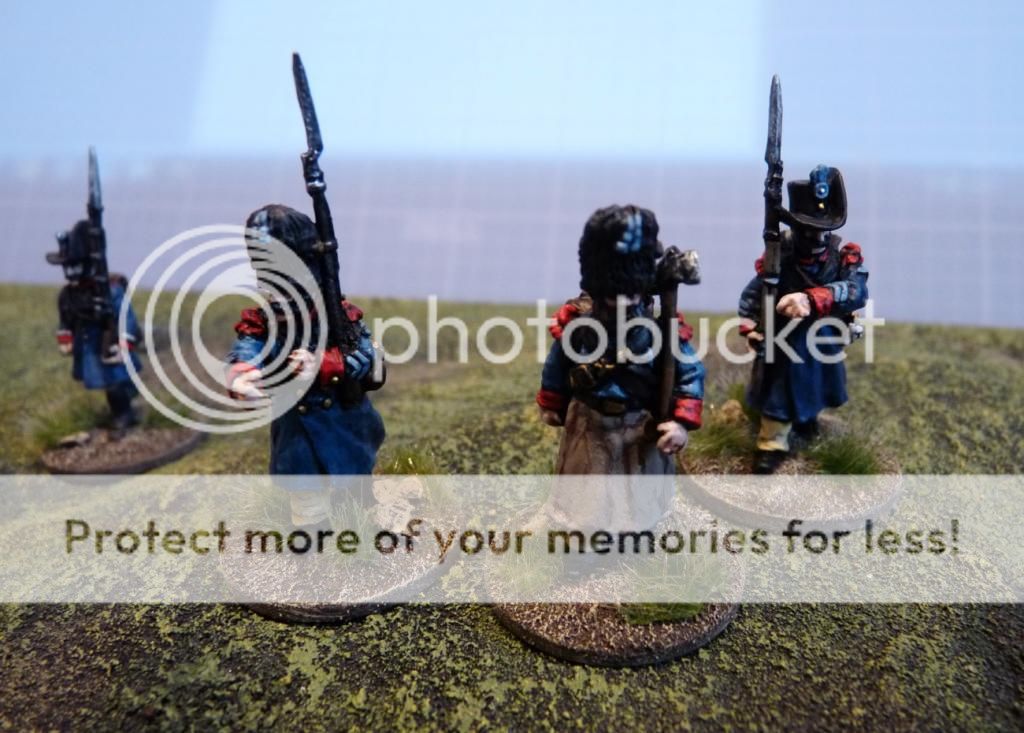
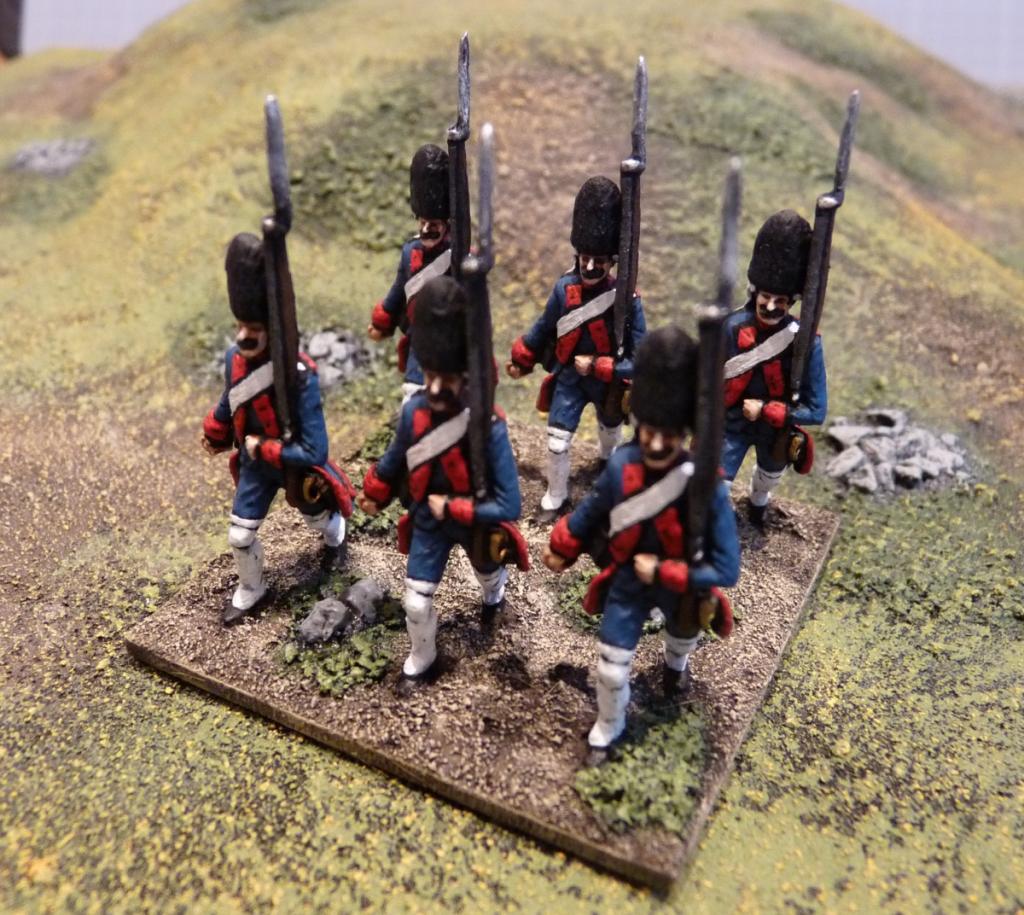
Following on from my previous posts about my Fleurian mid-18th century Legion ( here and here ) I have now completed the first small batch of Grenadiers to go with them. These were actually painted a couple of weeks ago but I wanted to base them before posting.

These are RSM figures (Austrian Grenadiers) painted in the same colours as the light infantry. The uniform was inspired by one of John Ray’s gorgeous Spanish regiments. White gaiters aren’t much fun to paint, but do look the business when they’re done.

I have the rest of the battalion to do of course, which will take it to a strength of 30, so lots more work ahead! This unit will be the core of the Legion, with lighter troops in support. The rest is made up of light infantry, hussars and a light gun. I aim to have it complete somewhere around the end of the year.


Now back to painting those remaining 19th century Chasseurs!

Chasseurs for Fleurie

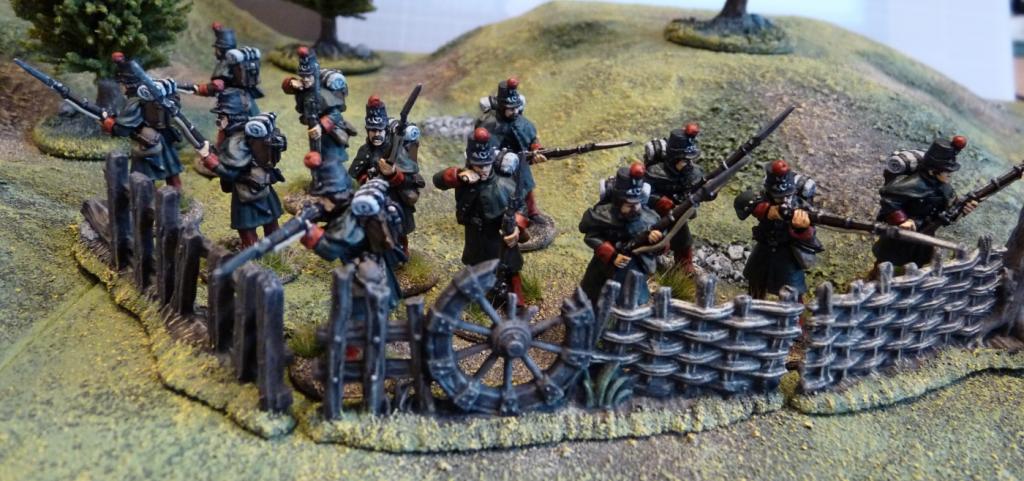
Despite having a week away I am maintaining momentum with my Fleurian 19th century forces, and have finished the next group – a dozen light infantry Chasseurs to fight alongside the Voltigeurs from the previous post.

These are very nice figures from Perry Miniatures – early ACW militia in capes/greatcoats and full kit. With the shako they look nicely European so I have pressed them into Fleurian service. The colour scheme is basically the same as the Voltigeurs; green and red, with brown and grey kit.

I have another dozen of these to do including some command figures, some of which will be based as Big Men for Sharp Practice. I’ve made a start already so they should be the next finished figures I post.

Combined with the Voltigeurs they’ll give me a regiment of light troops for next year’s big multi-player imagi-nations bash at Ayton. I think that being able to form up (on their sabot-type bases) as well as operate in skirmish order will be very handy in the desert where ambush could lurk behind every bush or wadi!


Finally Some Fleurians

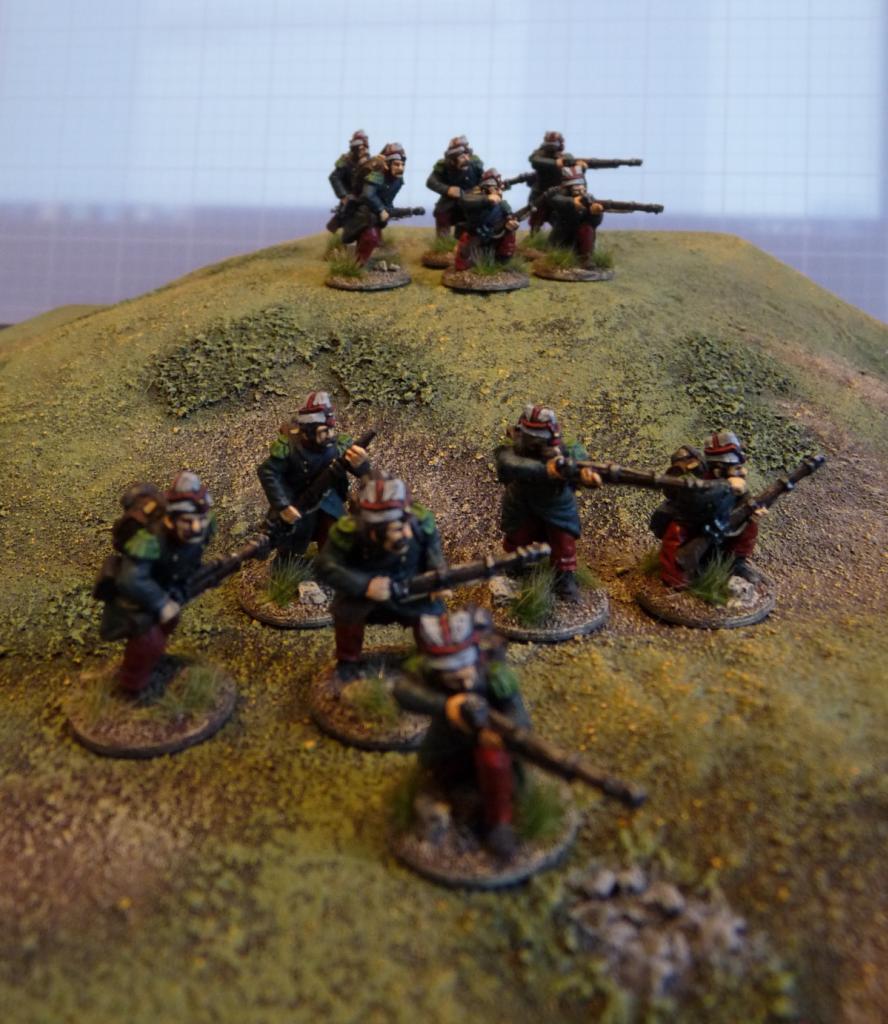
Last weekend’s game of Sharp Practice reminded me of my plans to paint the opposing side for my early 19th century Medetians. I’ve got most of the figures, I’ve just been busy on other projects and hadn’t made a start. This has now been remedied with an initial batch completed.

These are a dozen Fleurian Voltigeurs, ready to take the fight to Medetia’s Bersaglieri in the hills and forests of the borderlands. I have used the key Fleurian colours of dark red and light grey, and gone with dark green greatcoats. The line infantry will be in the same grey and red, with rolled green greatcoats on their packs, so things should tie in well.

These ‘Voltigeurs’ are actually Perry Isabelino infantry from their Carlist War range, which is great to delve into for post-Napoleonic imagi-nations armies. They were nice to paint but pretty awful to prepare and clean up. The number of small ‘worms’ from the casting process is pretty bad on many Perry figures it seems, and there’s always at least one left that you only find when you start painting!


I’ll be doing more Fleurian light infantry next, a couple of units of Chasseurs. Then it’s leaders (Big Men), line infantry and artillery. Cavalry will generally be hussars borrowed from the 18th century armies and deliberately single based for this very reason.

More Desk Space Recovered

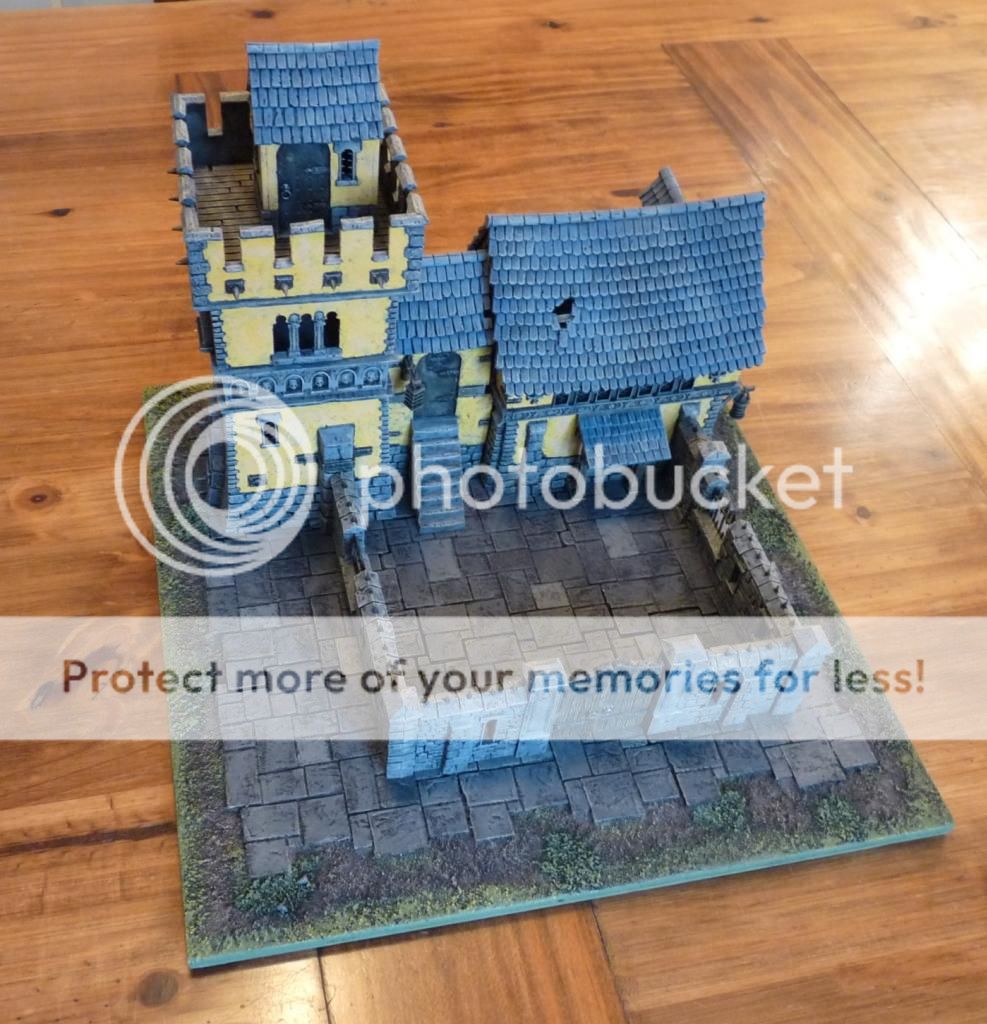
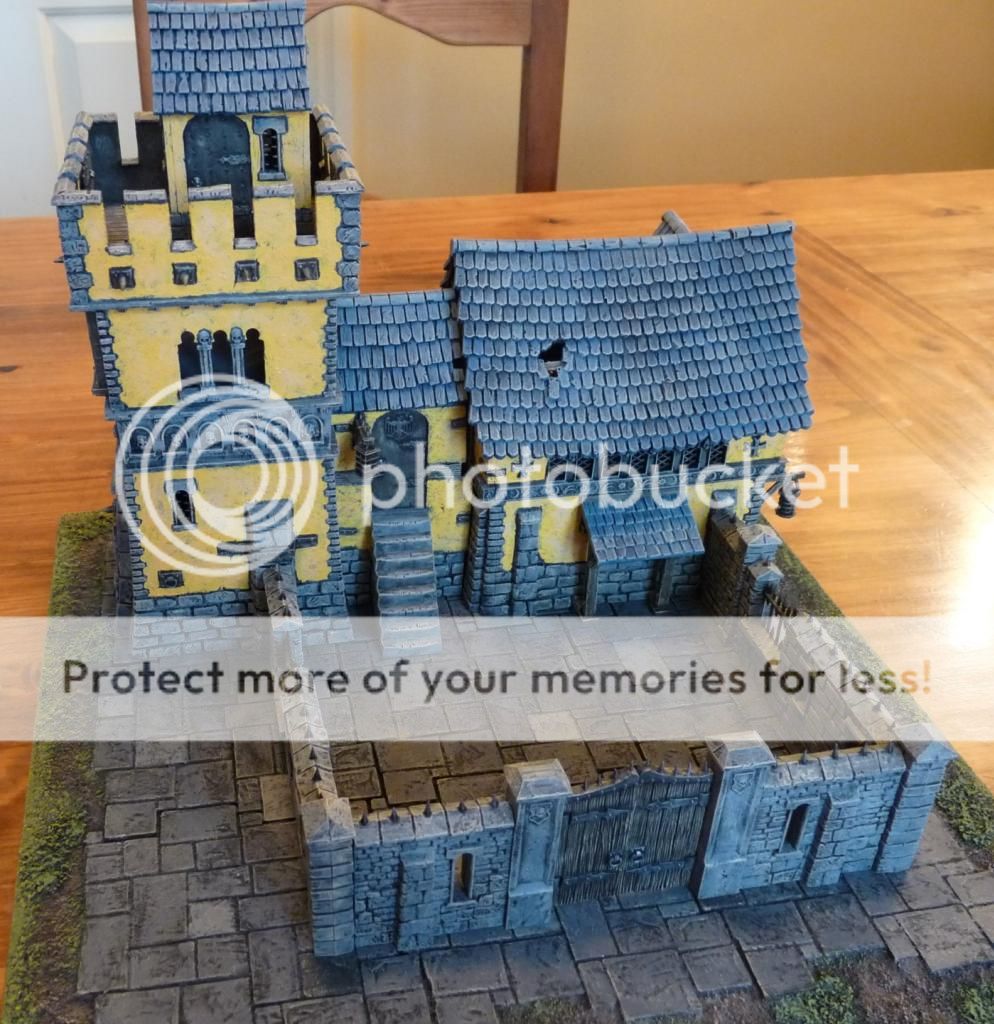
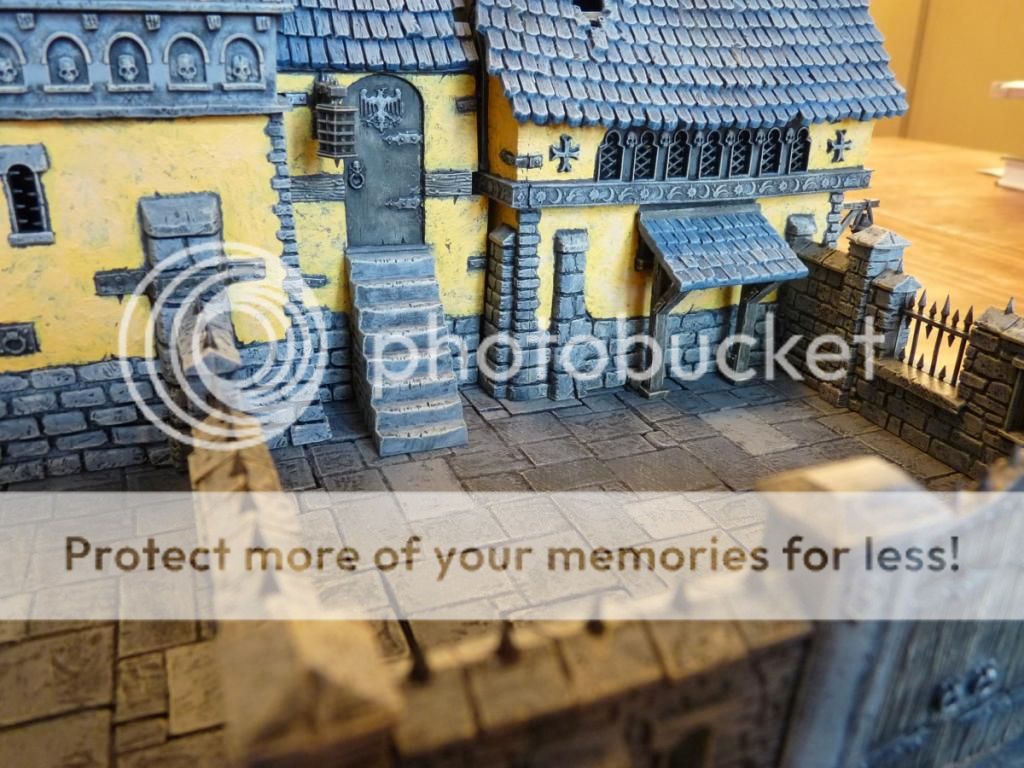
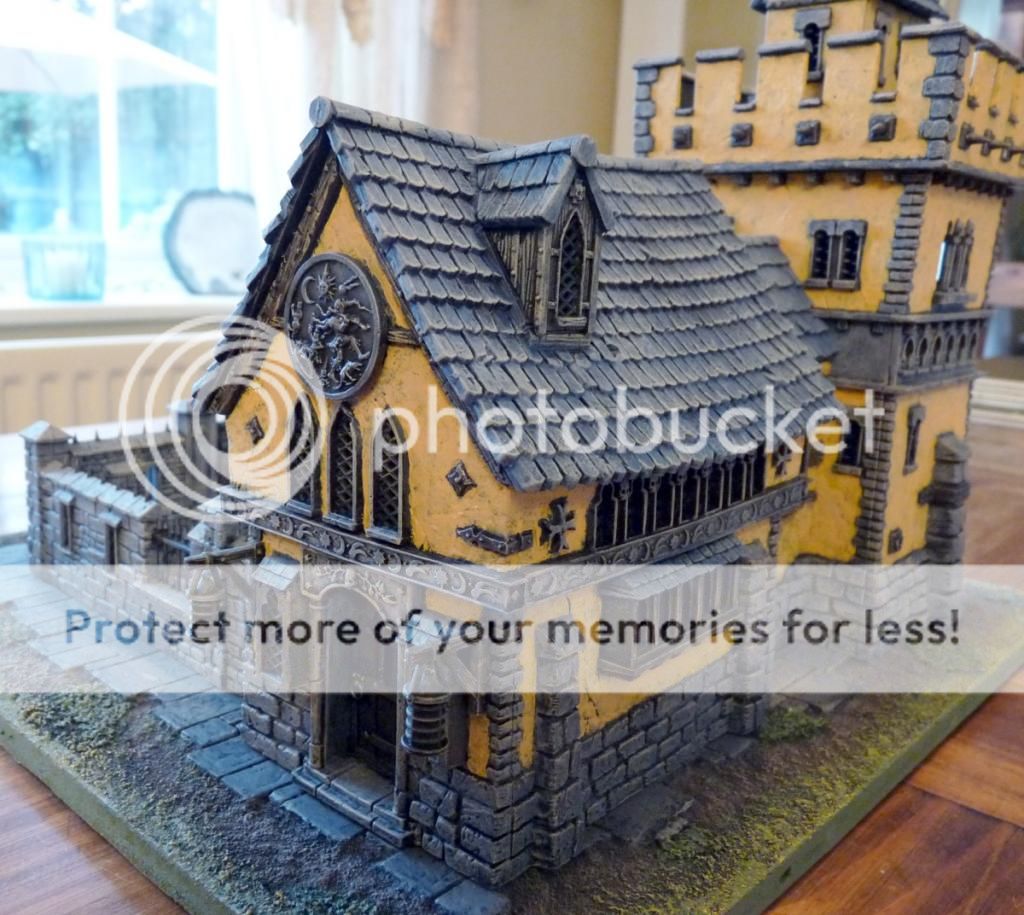
Another on-going project finished! The Games Workshop Fortified Manor kit has been part-done on my workbench for several months now (since my earlier May post). All that remained was finishing off the painting, which I’d been putting off due to the amount of fiddly bits it involved. So this week I decided to get back to it. A couple of hours of painting later, and it was done. I guess I shouldn’t have left it so long!

I decided to go for a yellow-with-blue-roof look, which would be toned down a bit by the use of grey stone and my usual sand coloured final dry brush. For simplicity I didn’t bother with things like rust on the metal fittings, I just gave them a brown wash to add a bit of depth. All in all I’m pleased with the result. It’s no model painting masterclass, but rough and ready as it is it should fit in well with my other buildings in this scale. I’m just glad I didn’t stick on the other 100 bits included in the box, or I’d still be painting!

All the component buildings and wall sections are still separate, for storage and on-table flexibility, although I can see the walls being a pain during games with the smaller sections easy to knock over. I may decide to stick them together if necessary but I’ll keep them as-is for now. The pics show the full complex on the one paved board I have, which I’ll generally use with this model. Now I just need to dig out some swashbucklers and have a game with it!


Finally finished – a few more 6mm buildings

Following on from a recent post about clearing up part-finished projects…

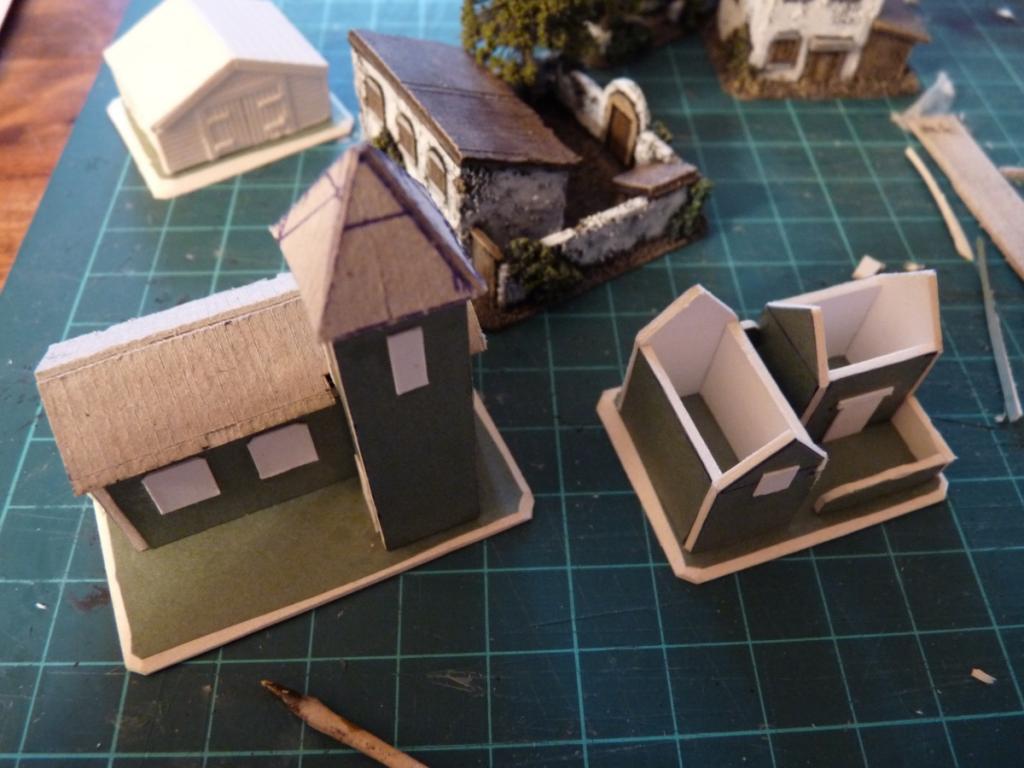
I put together a few more 6mm buildings over a year ago (June 2013 it turns out) to go with my existing scratchbuilt scenery for the Medetian Wars of the 17th century. They’ve needed finishing off and painting since then and following on from the other 6mm scenery I did earlier this month, I’ve finally got them done.

The buildings are fairly generic and I tend to just use a small cluster to represent a village or town. As my armies had grown, I’d decided to increase the number of buildings I had so that a bigger battlefield with several settlements could be represented.

They’re simple card constructions, with card doors and shuttered windows (for ease of painting, and because if war’s coming to town I think most people would close up their property!) Applying sand on the bases (and some patches of wall) and painting didn’t take all that long in the end, and I added a poplar tree to the church and the farmhouse.

Here they are from last year, in production and next to some older finished ones.


And here they are finished. I’ve now got about 15 so I’m good for 3-4 villages or small towns. There’s also a windmill (Irregular Miniatures, not my own work) and the watchtower I finished recently too. I think they’d work for the 1859 war in Italy too, if I ever decide to do some Austrians!


Arrival of the Big Men

The Sharp Practice rules by the Too Far Lardies focus on the actions and impact of key leaders, referred to as Big Men. These are the officers and NCOs who take command in the heat of action and who are given personalities to add flavour and narrative to the games.

For Saturday’s upcoming game at Goat Major’s we are using a variety of figures to meet the requirements of the scenario. Most are in 18th century attire, but some are from a slightly later period. We’re not bothered, as it’s the game that’s going to be most important. One contingent I am providing is 40 ‘light infantry’ who will be on single bases to allow them to adopt skirmish order. For these I’m using my ‘post-Napoleonic to mid-19th century’ Medetians, in their distinctive Tyrolean hats (Victrix plastic Old Guard Chasseurs with Perry plastic Austrian heads). This meant that I needed a few ‘Big Men’ to lead them, something I had been meaning to get round to..

So, this week I have been busy painting these guys. They are on bigger bases than the rank and file (25mm vs 20mm) to help them stand out. Although I really only needed 4 for Saturday, I’ve managed to do 9 (4 officers and 5 sergeants) so I’ll have a variety to choose from for future games. I have a couple of Jager Big Men and a couple of mounted officers still to do which I’ll get round to sometime.

Here they are, Perry figures bar 2 from Front Rank. There are a couple of conversions; the officer waving the newly-added RSM sword and the one with 2 pistols, both of whom were originally pointing or designed to hold standards. They’ve also had head swaps. Hopefully they’ll make a decent showing in their first outing!

Officers:

Sergeants:


Rock it!

It started innocently enough. Goat Major suggested number 11 from the scenarios book, The Compleat Fondler, for our game of Sharp Practice he’s hosting next Saturday. ‘Sounds good’, I said, spotting, as GM had done, the need for a couple of rocket launchers. I offered to have a go at knocking something together. The Goat generously anticipated a lack of results and said we could always just use a couple of guns to represent them. The gauntlet was laid down then!

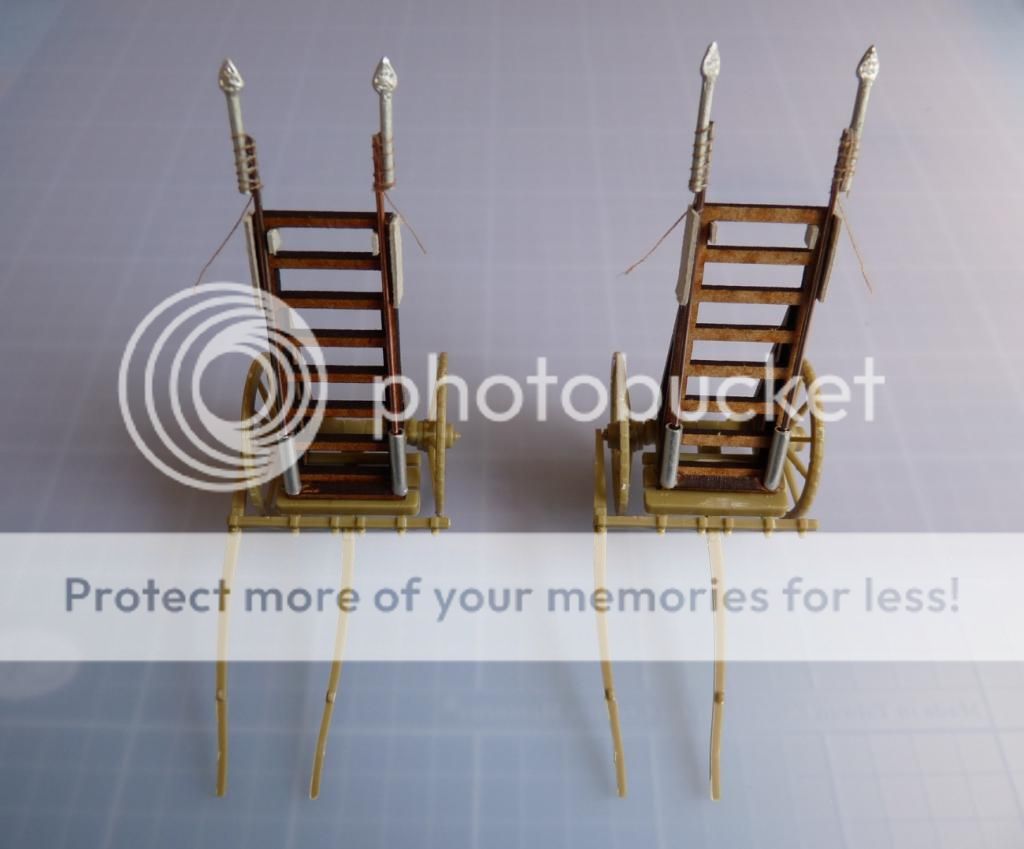
I knew I had a box of Victrix British Napoleonic artillery and thought I might use the gun carriages, at least temporarily. Then I spotted the limbers on the sprues and thought they might do even better. At this point I realised that I didn’t have much of a clue about what a period rocket launcher looked like, so I Googled Congreve and looked at some images. A ladder with some upright supports – not very inspiring (or mobile!)

However, the scenario mentioned that these rockets weren’t Congreve’s but were the invention of a competitor mad-scientist, so I decided that I had plenty of artistic licence to play with. I also remembered that I had a Warbases balcony set to plunder for bits, and I was good to go.

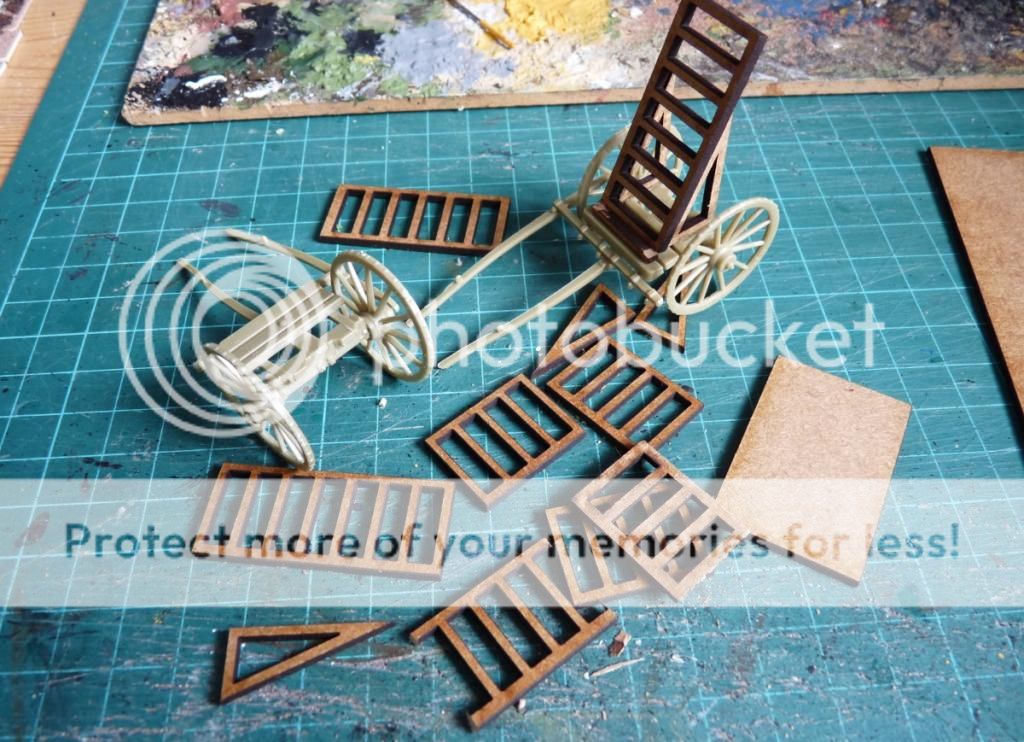
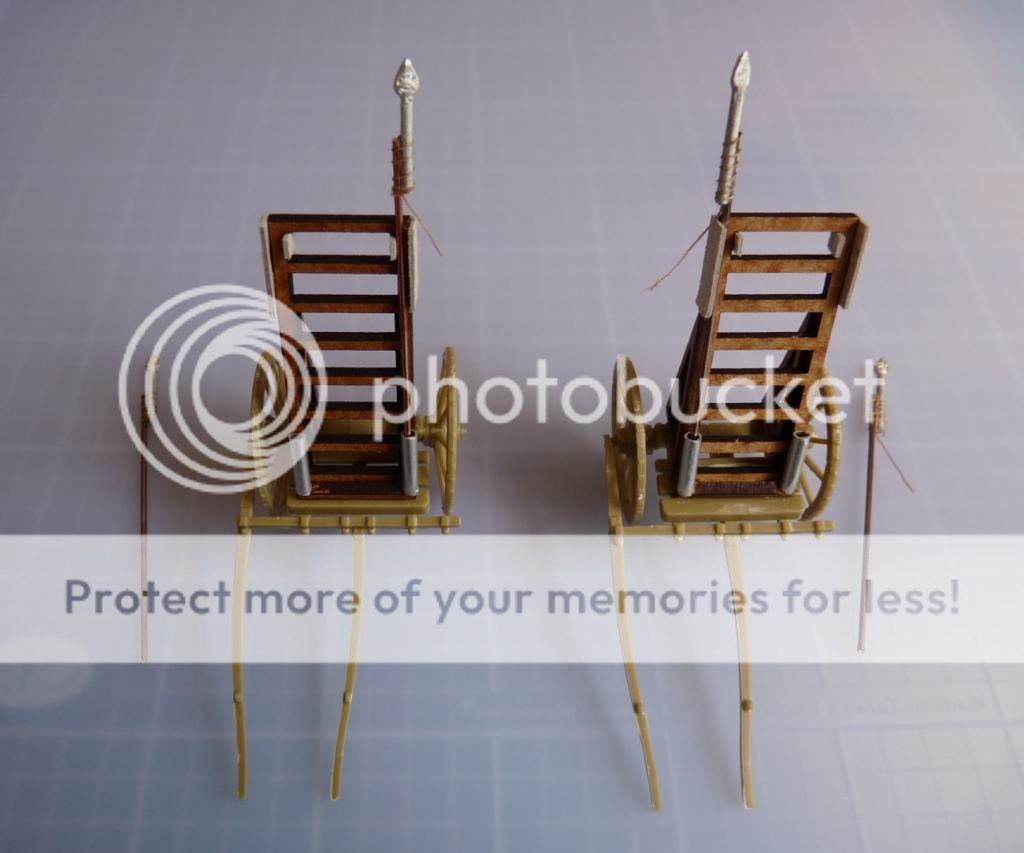
Assembling the limbers couldn’t have been easier. The main body, the axle and 2 wheels went together with plastic cement and I was then onto the rocket launcher frames, using the very handy balcony supports in the pack and some cut down railings. The pre-squared-off MDF meant everything was easy to glue together.

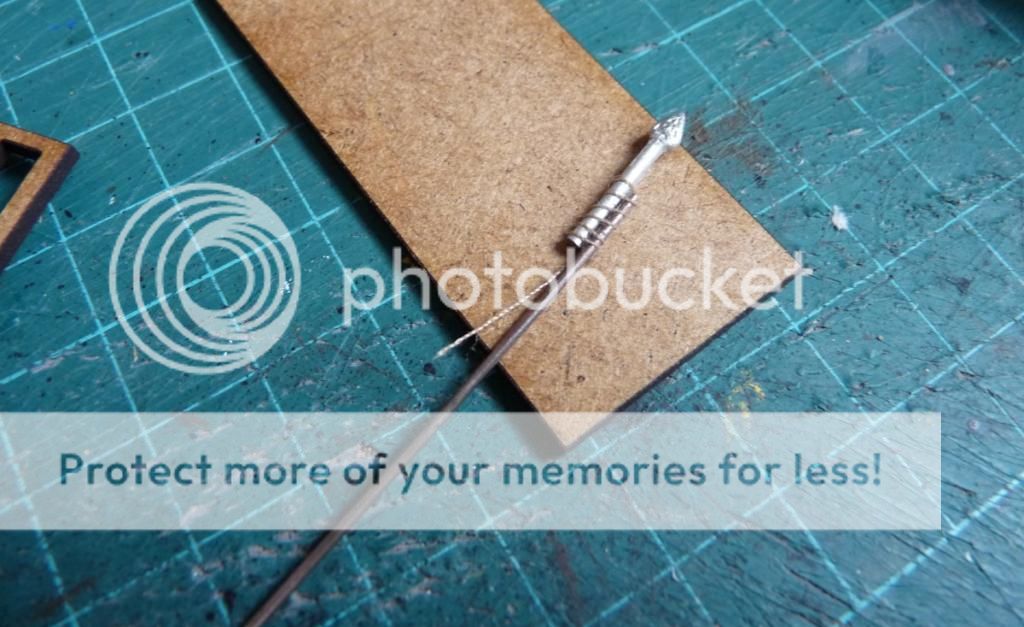
I also added a some bits to hold the rockets (which I wanted to be loose, not stuck on) in place – some thin metal modelling tube at the bottom and a couple of bits of card at the top. Next up were the rockets themselves. I was originally going for a very simple (lazy) approach – just pieces of brass rod, but I decided I could do better with a bit of effort. So, the brass rod had cut-down flags poles with pointy heads (from Huzzah! Miniatures) super glued to their tops, and I wrapped and glued some cotton thread round them to look the part – and to leave a length hanging down as the fuse. I made 4 so that my 2 launchers could be fully loaded.

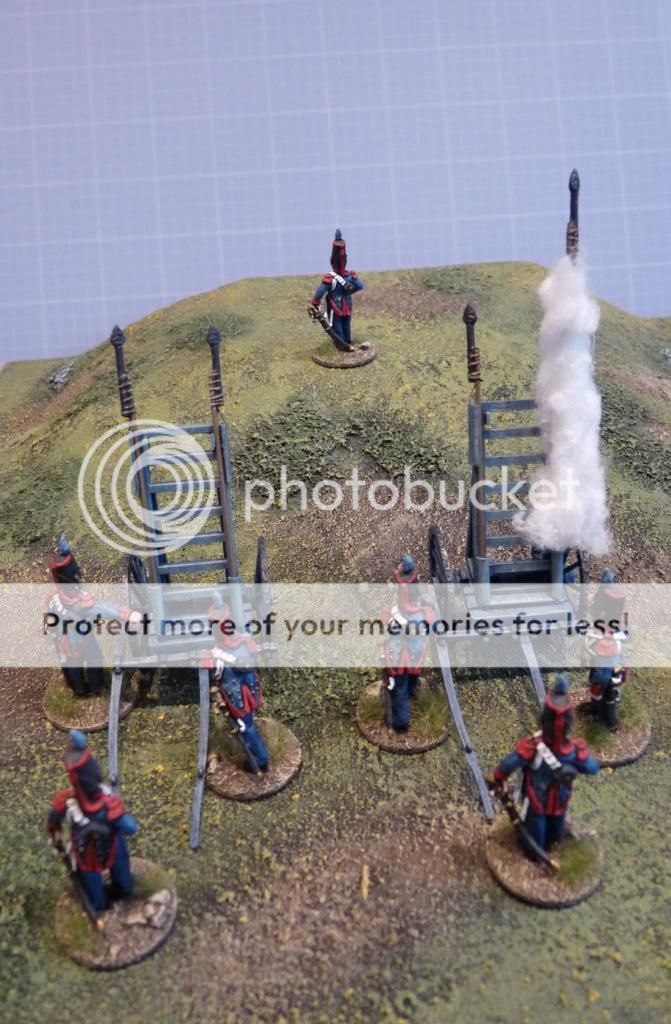
The assembled battery, and showing the removable rockets:


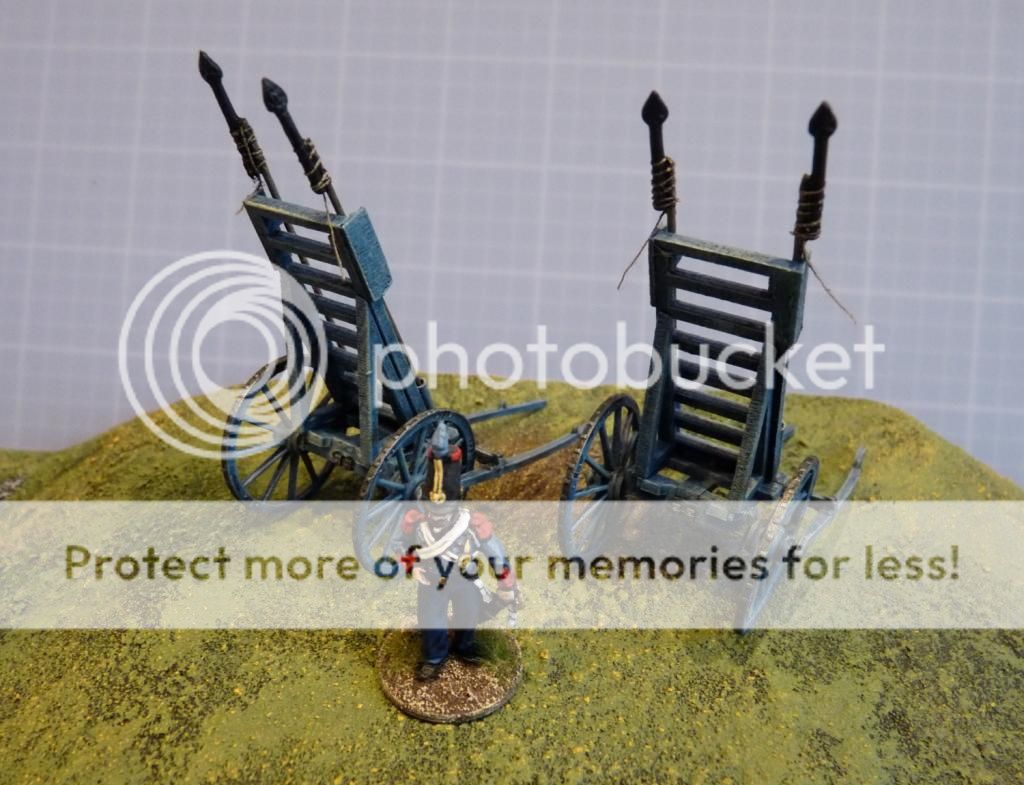
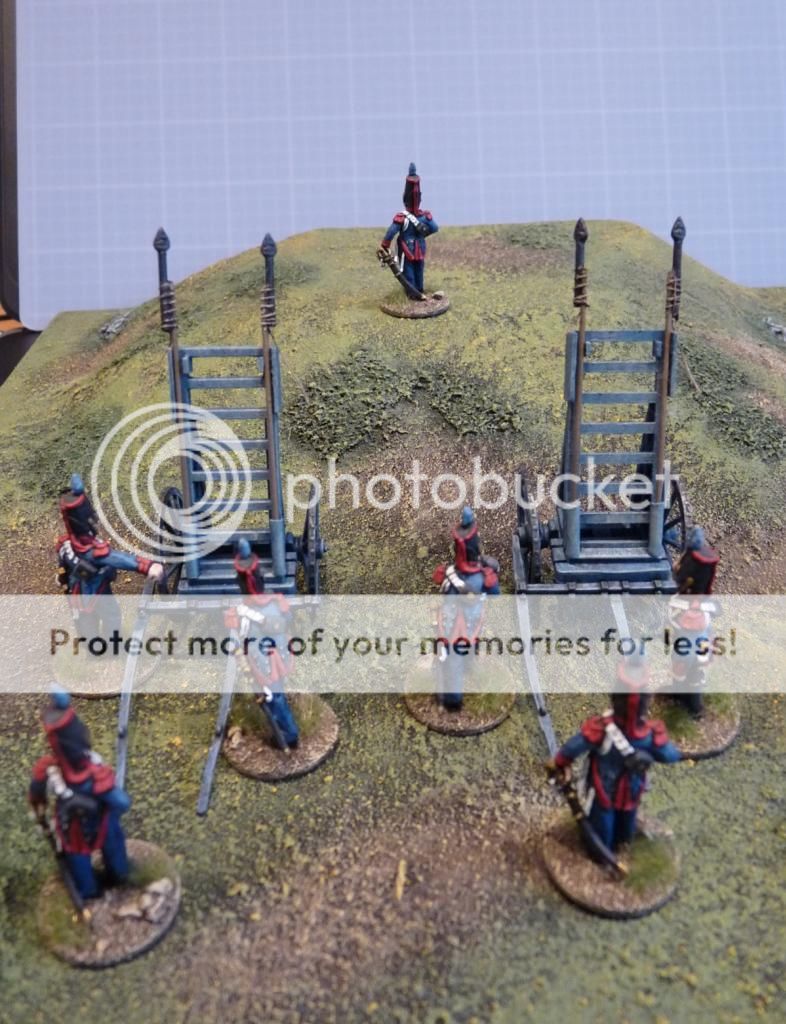
The painting was pretty straight forward; black undercoat followed by Prussian blue main coat, and a lightened shade of the same as a drybrush/highlight. I picked out some metal fittings on the limbers with a metallic wash and then moved onto the rockets. These received brown shafts, black-grey heads (I was tempted to go with red and white but controlled myself) and pale ties and fuses.

So, here’s the finished battery, proudly paraded by Captain Bardolino and moved into position for a test firing (although if I was a member of the crew I’d be giving the rockets a much wider berth!):


I couldn’t resist the firing option, which simply involved some plastic tube as a sabot for one of the rockets, with cotton wool wrapped round it. A fun couple of hours all round, and watch out Major Goat!

Further 6mm arrivals

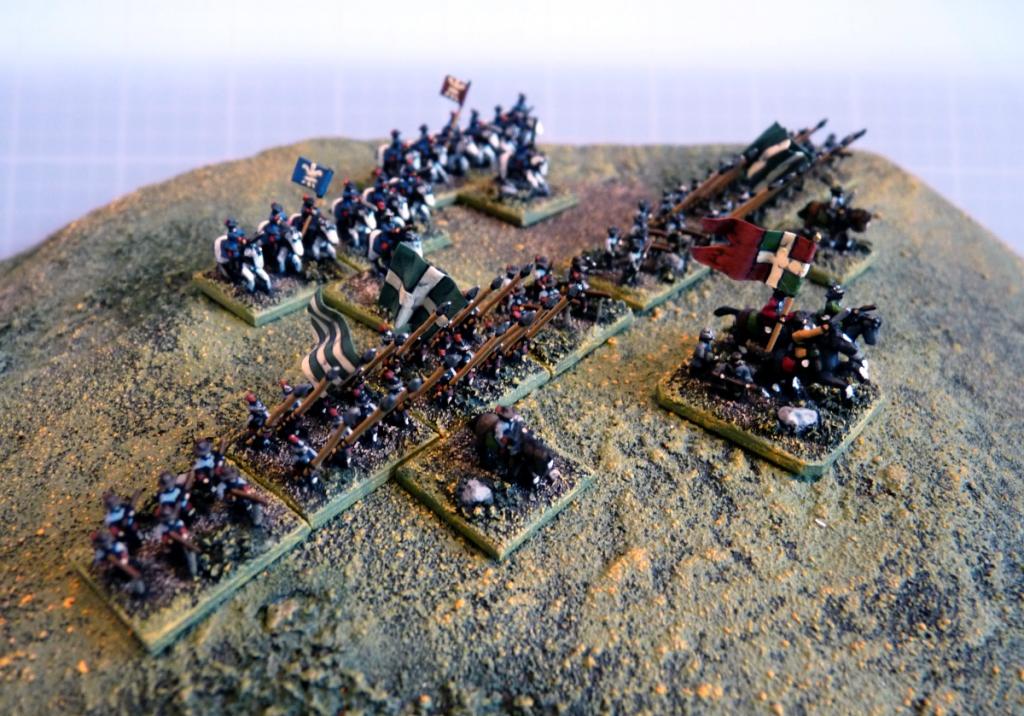
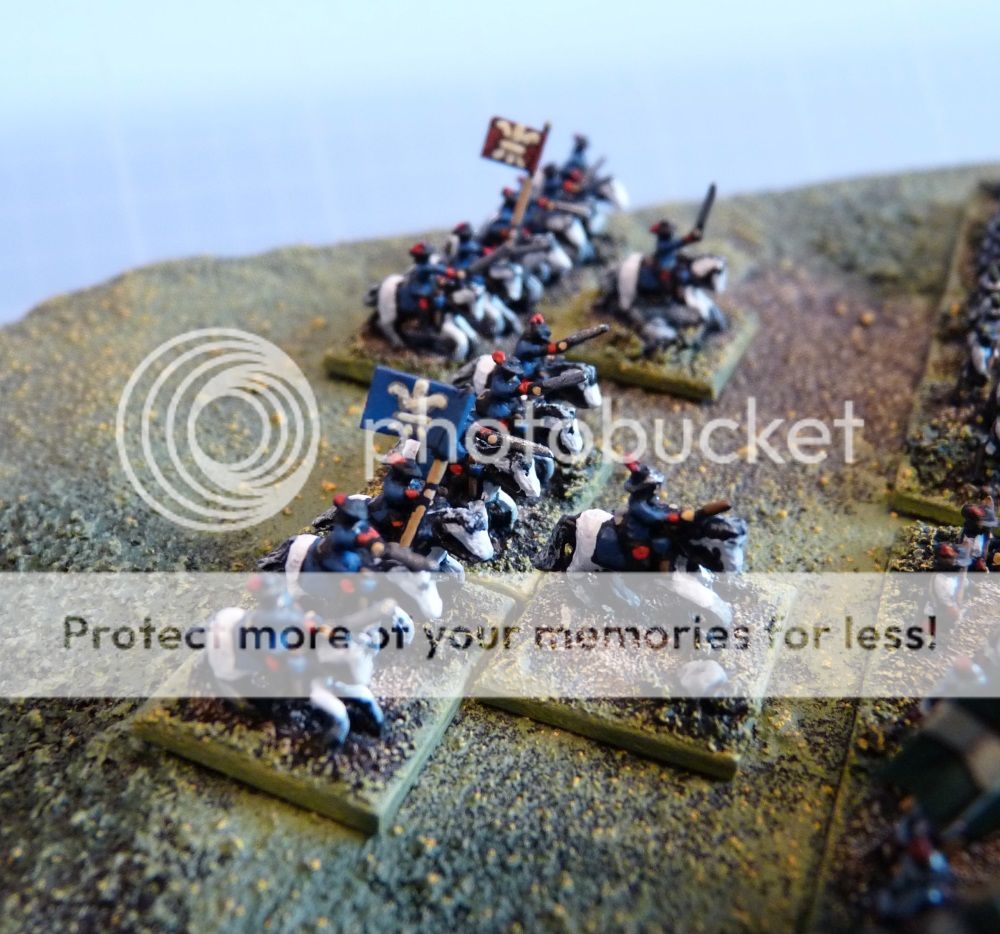
A few more regiments of Fleurians have arrived to swell the growing army of Medetia’s 17th century enemy.
Two units of infantry with pike and shot, and the Chevalier Garde Regiment of cavalry, on their grey horses. A sub-general completes this small contingent. This is already the best effort I’ve put in on my 6mm collections since 2011, so I’m determined to try to finish a few more units before my eyes plead for mercy and I have to revert to bigger figures! I have a further 2 cavalry and 4 infantry units plus a couple more generals I’d like to get done, which will bring the Fleurians up to par with the Medetians at 30 units each. Then for a nice big game 🙂
Figures are Heroics & Ros.

Pics:


Some small scale scenery

While I’m taking some time off from bigger painting projects I’ve been enjoying the opportunity to dabble a bit here and there, and finish off some things I’ve been meaning to do for ages. Most recently this has involved painting (or in some cases just basing) some 6mm scenery items that I’ve had for a while but not gotten around to.

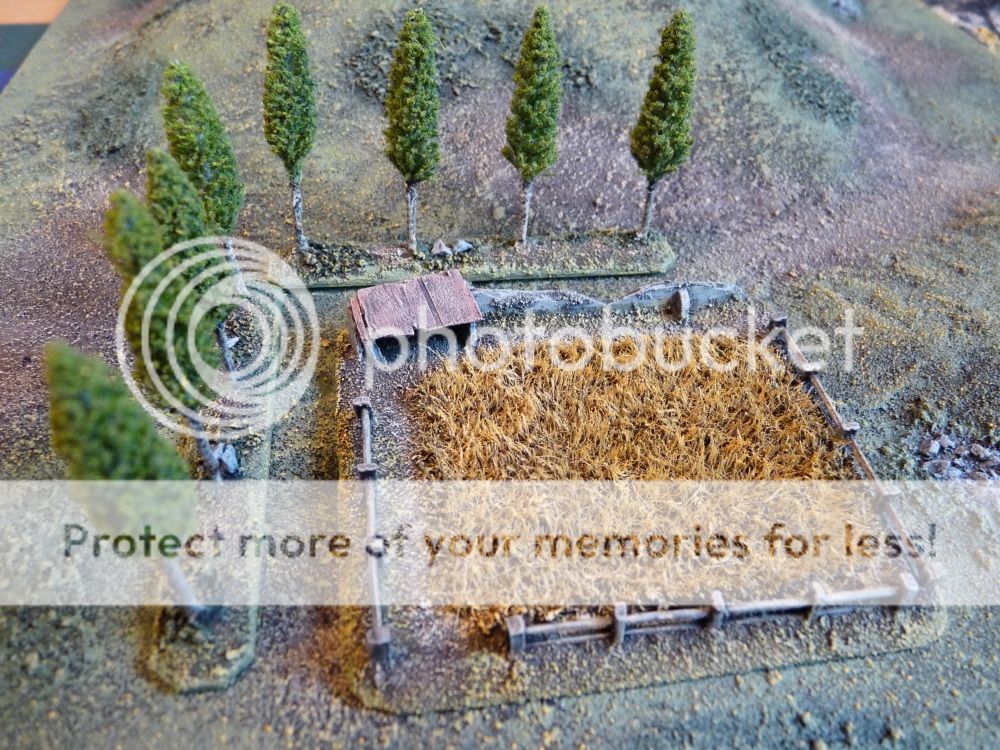
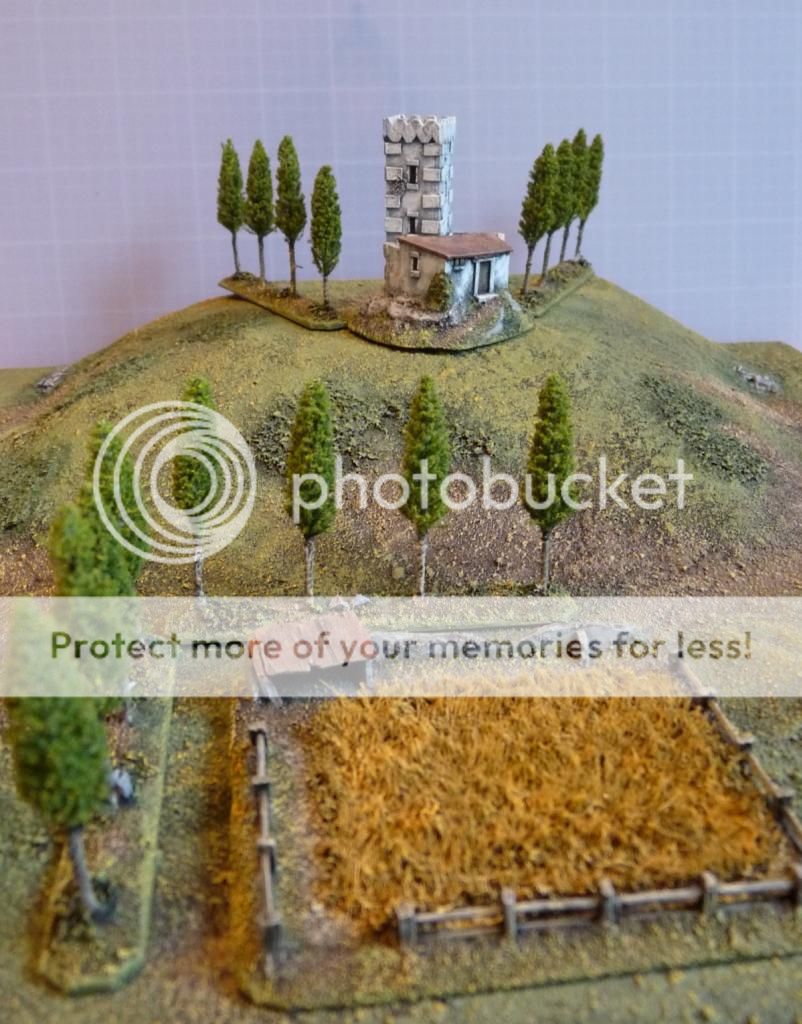
First up are some poplar trees I bought from Timecast a while back. I’ve used a few on the bases of buildings but I decided to use up the remaining ones by adding a few more strips of trees to the collection – useful for lining roads in sunny Medetia. I cut some strips of platicard and stuck strips of card on top to drill holes into for the wire trunks. As these come as twisted wire I decided to add a little plaster to them to hide the pattern when painted. The bases got a layer of plaster, with sand on top.

When finished they look OK – here they are with a new wheat field.

The field is made from some scourer material torn from a sponge, based on card and surrounded by some Timecast fences. The shack is just 4 bits of thin card which I hacked about to give a dilapidated look.

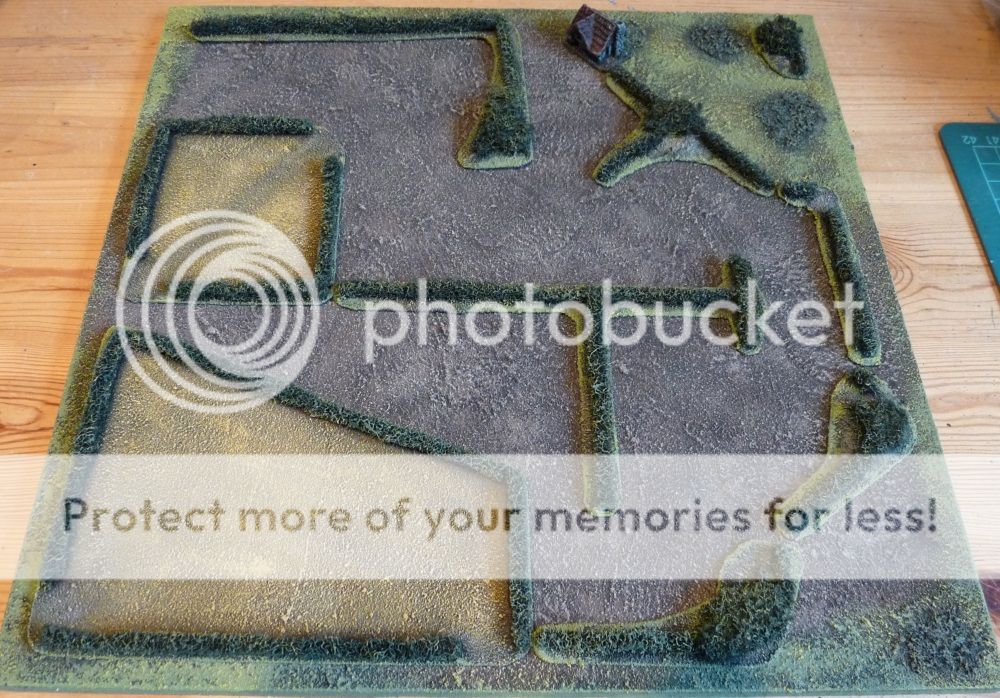
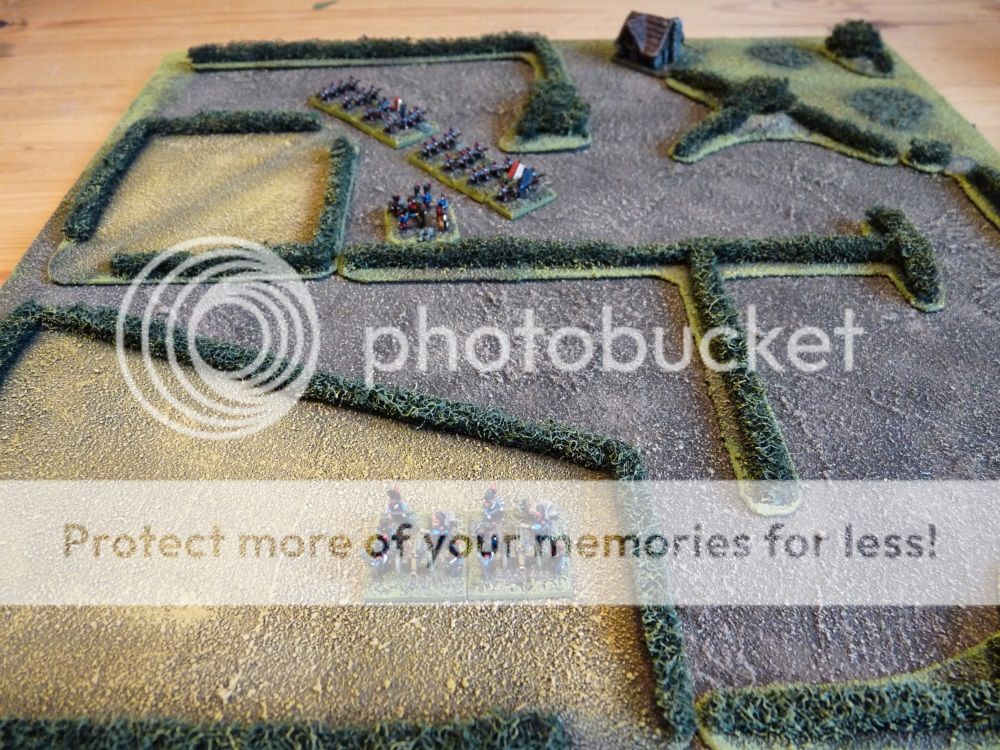
Next were some fields and hedges which I must have made about 10 years ago, but which got a black spray for an intended re-paint before being put away unfinished (common theme emerging!). They’re simple pan scourer hedges with the odd bit of extra lichen-type stuff, on plasticard strips or field bases. I have some already to add these to, and I think they give a decent effect, especially on a brown board like this one.


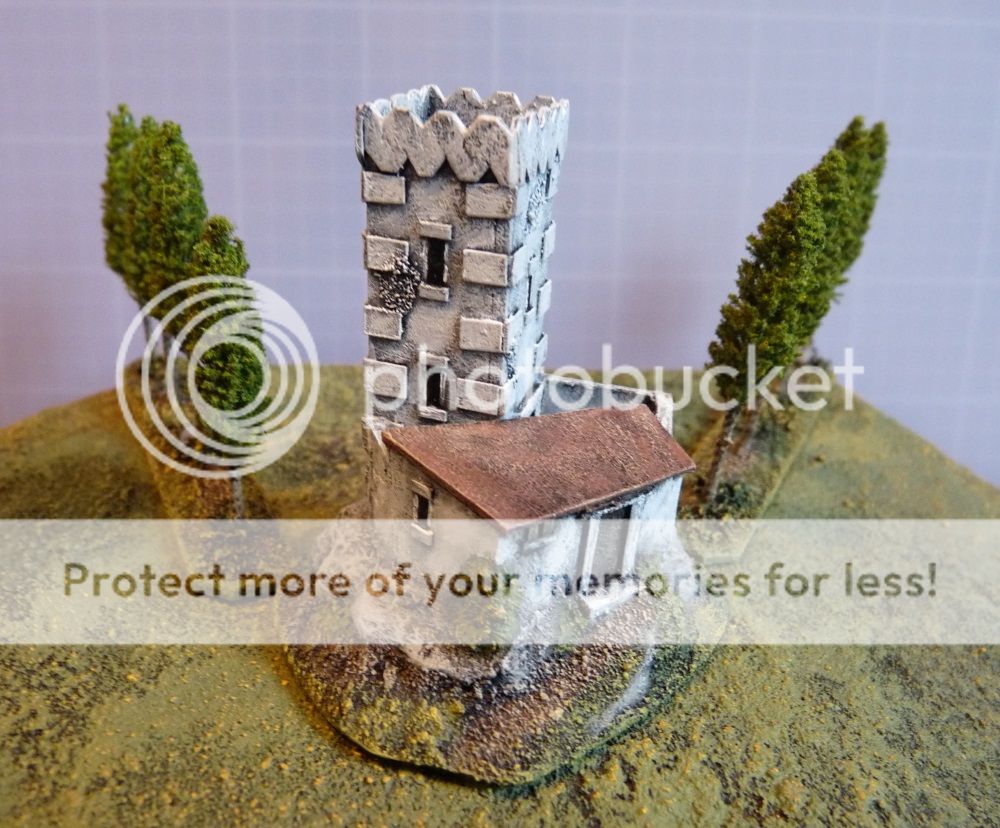
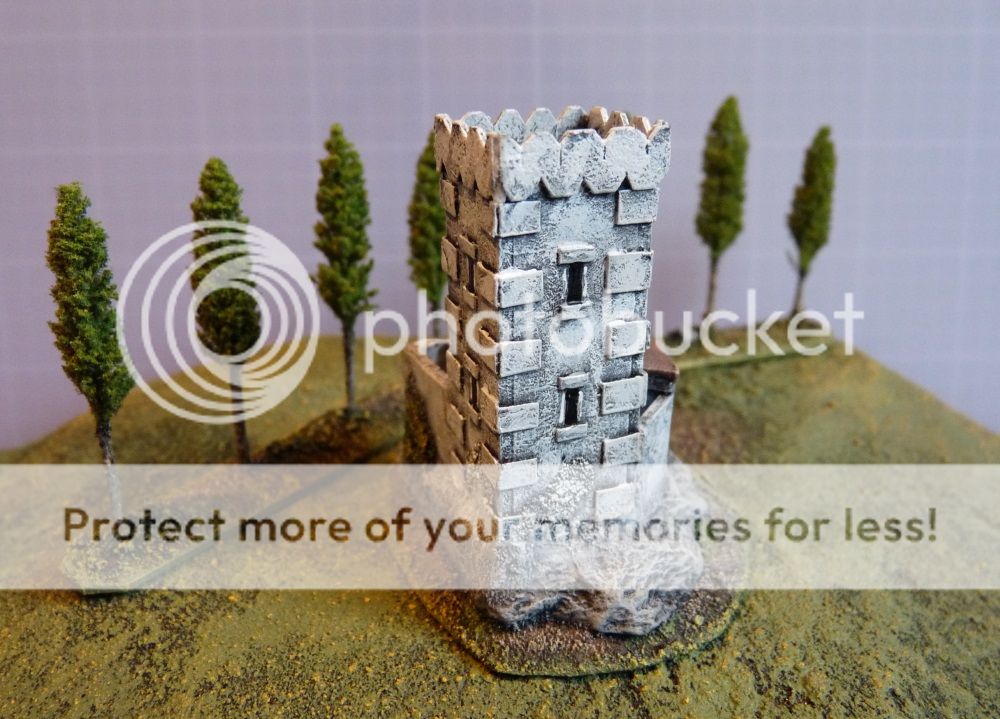
Finally in this batch there’s a small watchtower, scratchbuilt in card and based on a piece of slate from the garden. I had mostly completed the model a few months ago but put it away unpainted at some point. I decided it needed finishing off so now it’s done. All it needs is a couple of flags (one Medetian and one Fleurian) to fly from the top of the tower to denote who’s occupying it during games.The piece is about 60mm tall and is basically intended as table dressing to go on a hill and look pretty.


Everything together from this small batch of bits and pieces..

The Medetian-Fleurian borderlands are a pleasant and picturesque place, no wonder they fight each other so hard to possess them!

I have more items to get through, and am enjoying completing these little unfinished projects. When I checked back through some records of old orders to traders I found a few shocks. The Timecast stuff here was ordered in July.. wait for it… 2002! Twelve years to get round to using and painting it. I have 6mm figures to paint that I bought before that, and I’m sure I really ‘needed’ them at the time! So my new mission is to get through as much old stuff as possible, while I’m in the mood to potter. It’s not the wasted money, it’s the principle. Also, unpainted items and random modelling materials take up at least as much storage space as the finished product, so I might as well get the maximum benefit from them. After that I may decide to depress myself with a review of the lead mountain, and the age of some of it..

Messing about on the water

Seeing as my order to Ainsty Castings finally arrived last week, I decided to get stuck in and paint everything rather than have it sit around for a few weeks before being filed away under the heading ‘stuff I bought but now I’m not sure why’.

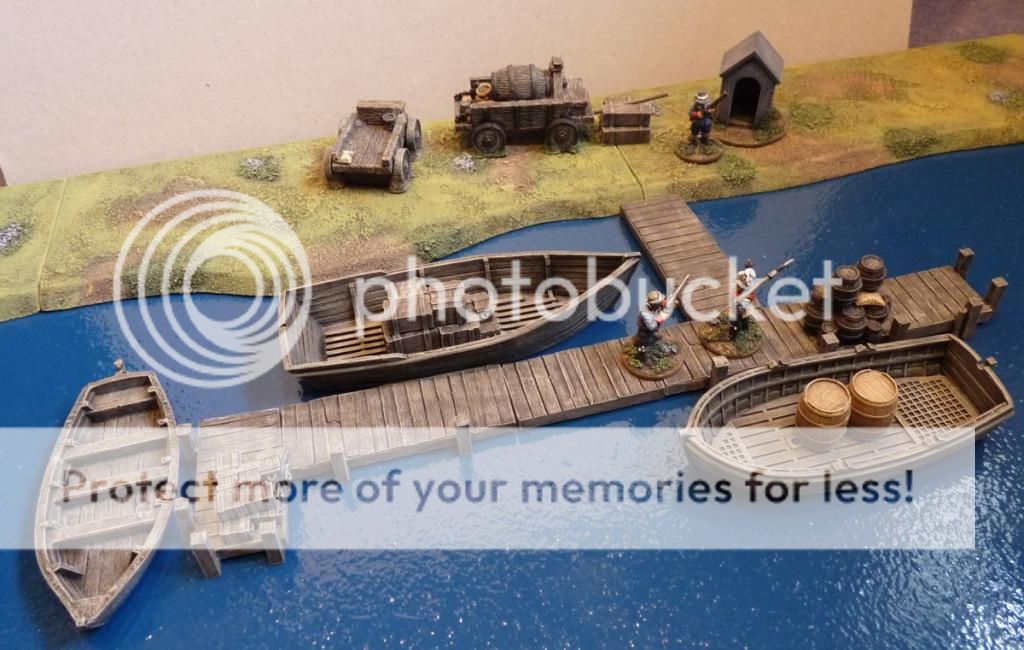
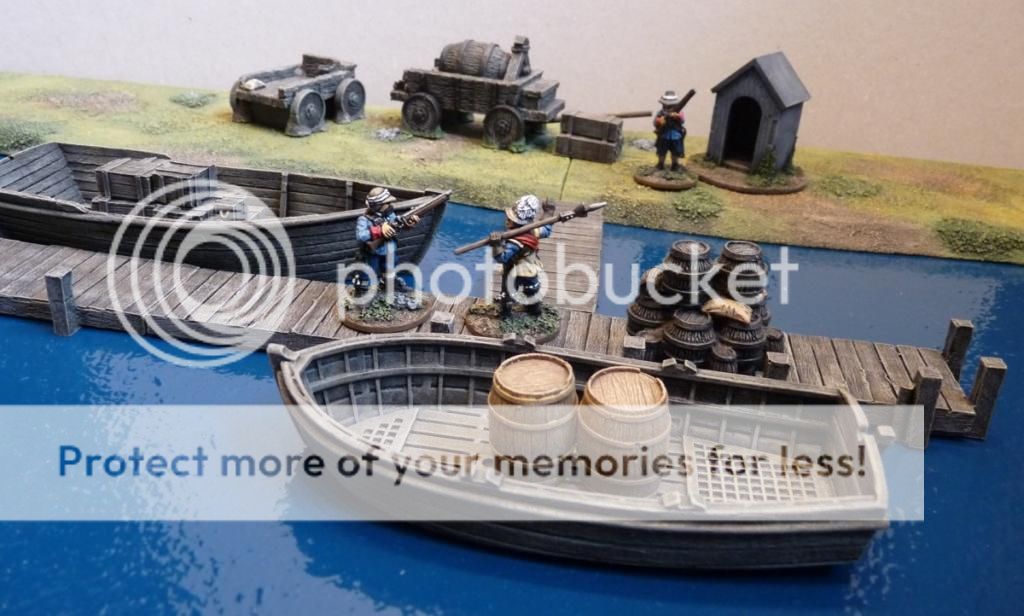
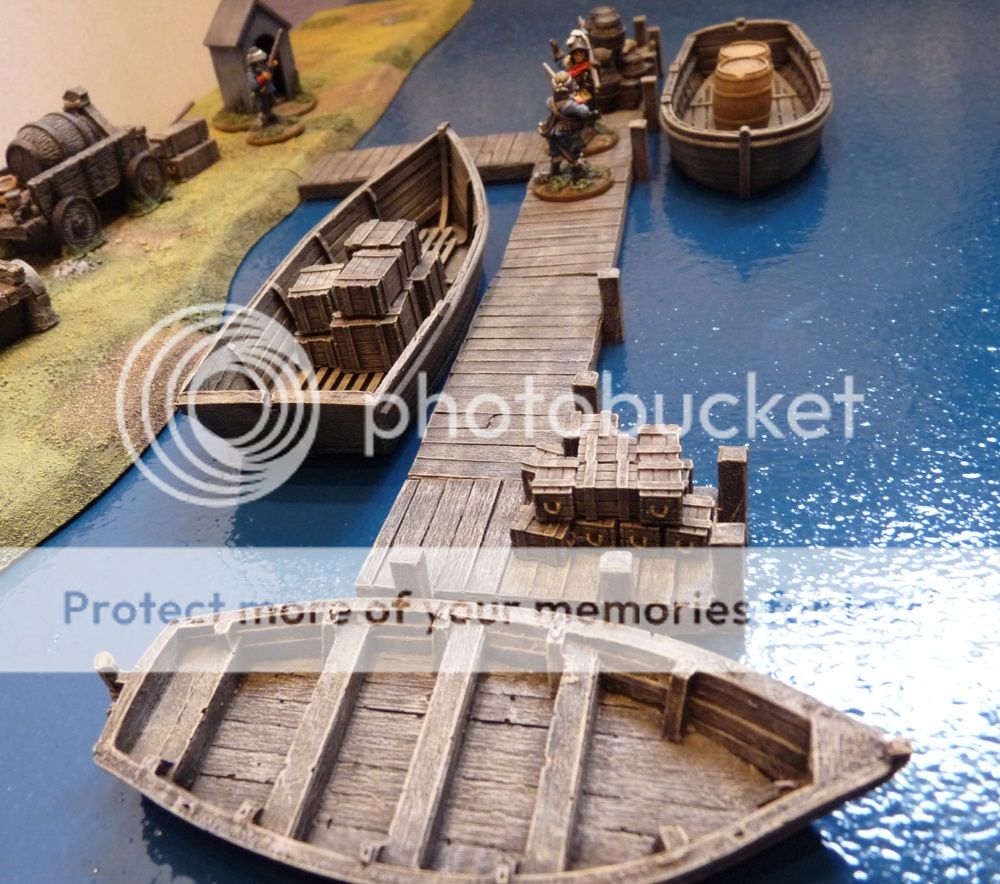
So, 2 boats from Games of War (as posted about previously) were now joined by a rowing boat and jetty set from Ainsty. The latter are traditional resin, nice and heavy and with lots of good wood grain effect. They took a black undercoat very easily and I was good to go. The same can’t be said for the more plastic-based Games of War boats which, although very nice models, utterly rejected any water-based paint despite me giving them a wash beforehand. After my third effort with a different paint I was tempted to look over my shoulder to see if there was a Candid Camera crew filming me. In the end I resorted to a solid blast with some matt black spray paint, and all was well.

Although I’d considered painting one of the boats in white to look a bit smarter, in the end everything, jetties included, got a 3 tone layered drybrush of Colour Party earth brown, Crown matchpot mid-grey and Vallejo Iraqi Sand. I like the weathered wood look this combo gives, and it’s incredibly quick – even to the point of no brush cleaning between shades and no real need to wait for anything to dry fully before going in with the next colour.

After about an hour or so’s painting I now have a few modest scenery pieces for messing about on the water in 28mm. They’ll serve for river and lake-side features and give me some transport for skirmish games. Who knows, I might even get something a little bigger to go with them, there are several nice schooners and cutters out there to choose from..

Ainsty boat on the left in the first pic, the other 2 are from Games of War: