Rivers Need Water

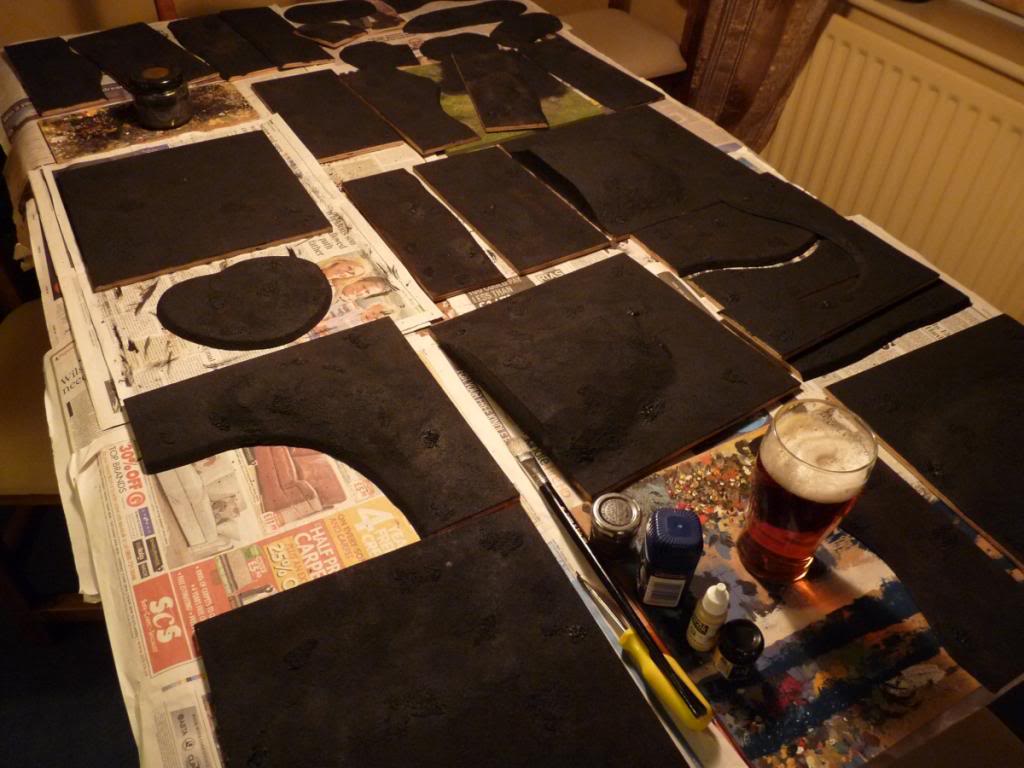
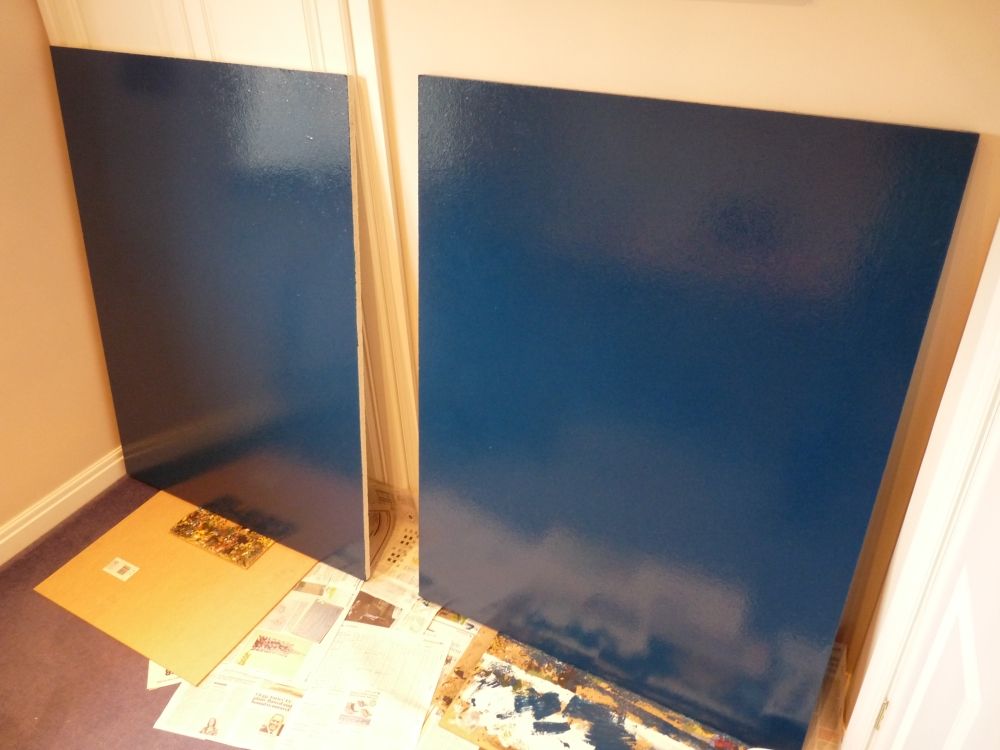
..and here are a couple of boards I prepared earlier (last October to be precise). They’re 4×3 feet of 20mm chipboard, so they’re pretty heavy. I’ve had them for about 15 years and in recent times they’ve been relegated to garage rafter storage duties, but I decided to renovate them with a fresh coat of a dark blue gloss paint in readiness for the riverbanks project. They’re stored behind the door in my games room/office, resting face to face with the reverse of one board painted the same colour as the wall, so they’re pretty much invisible unless you’re looking for them.

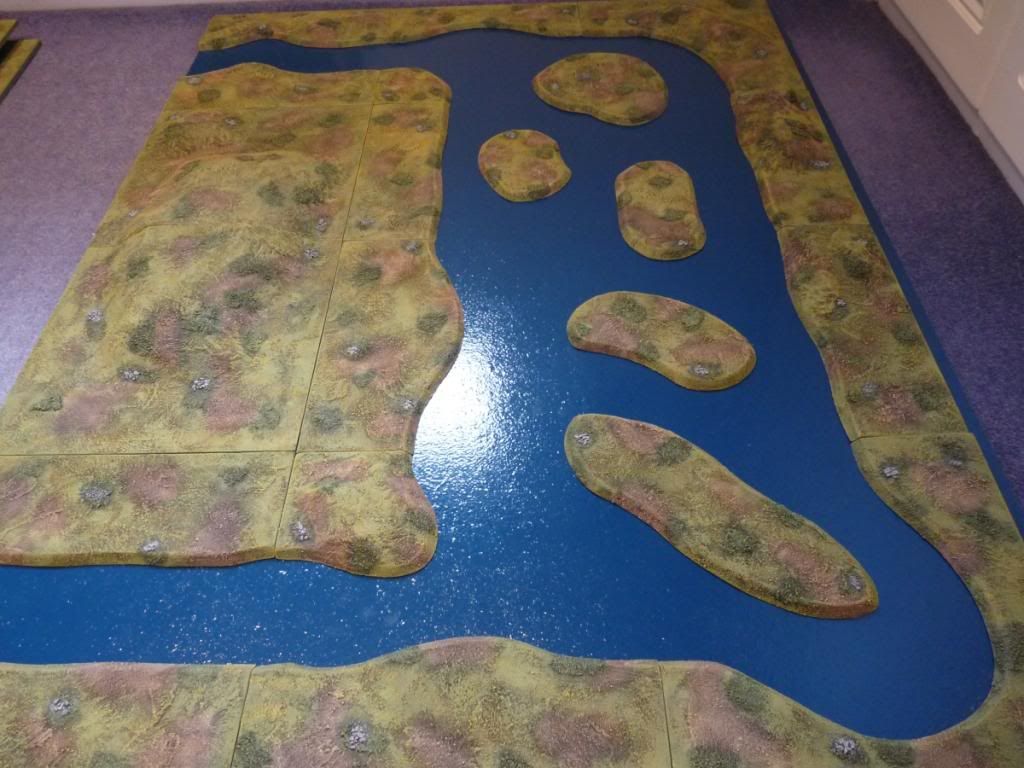
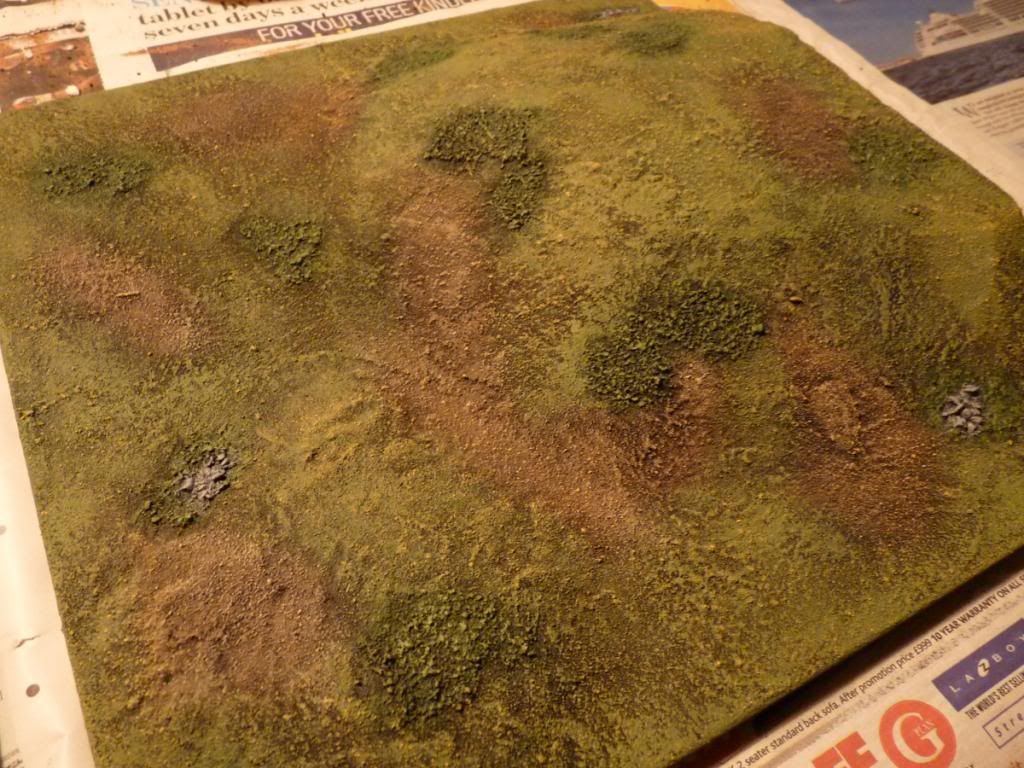
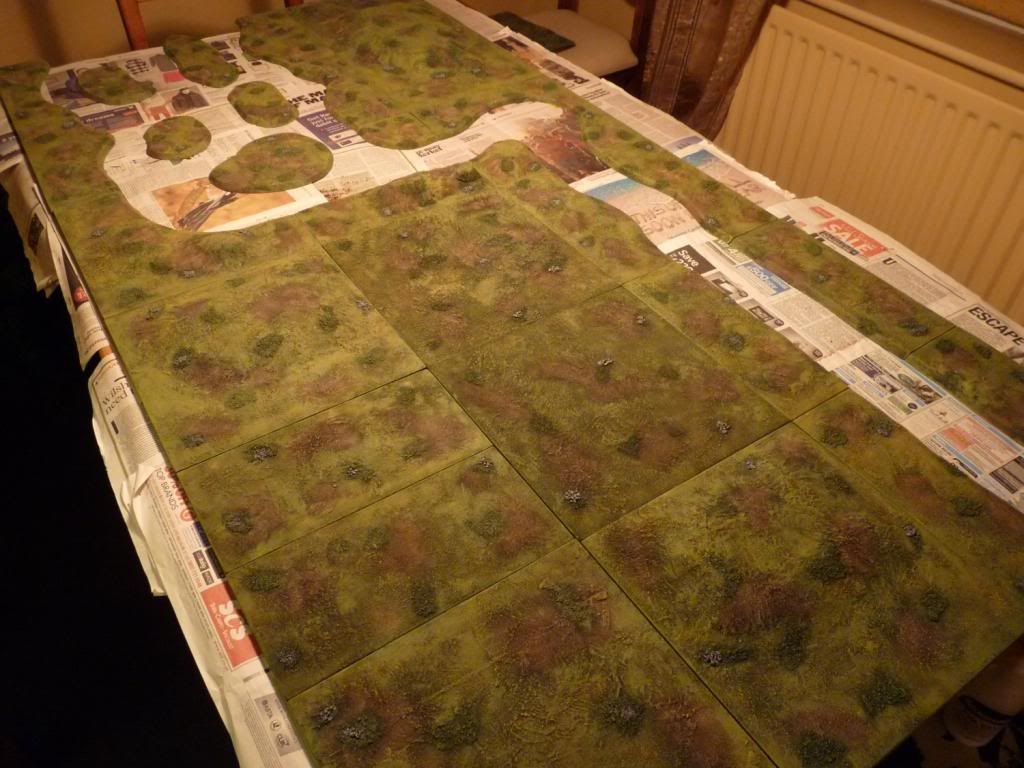
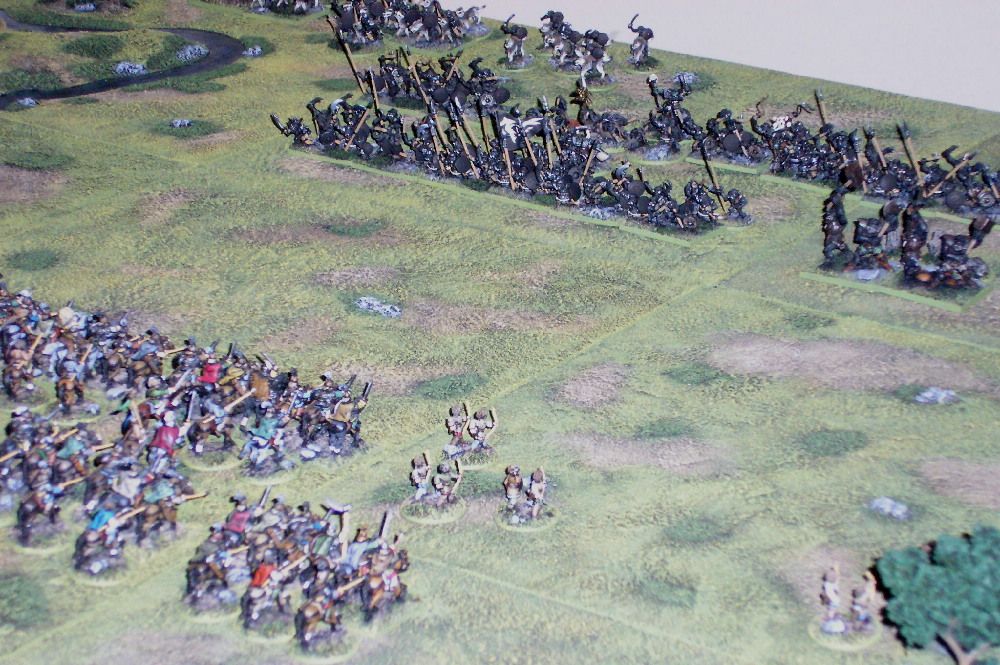
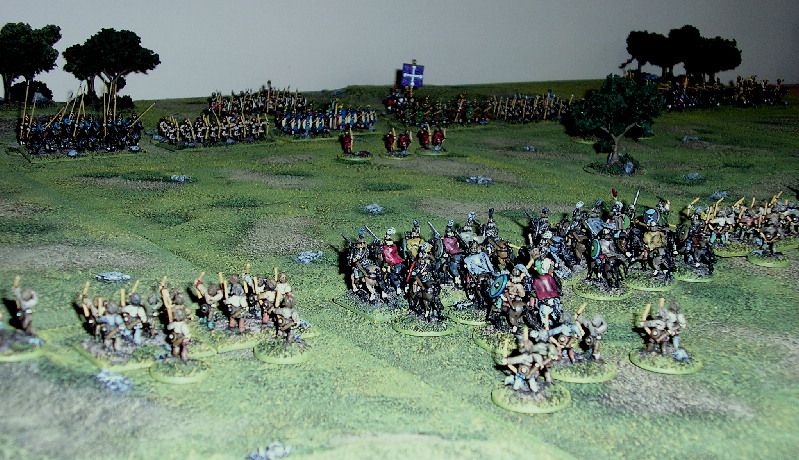
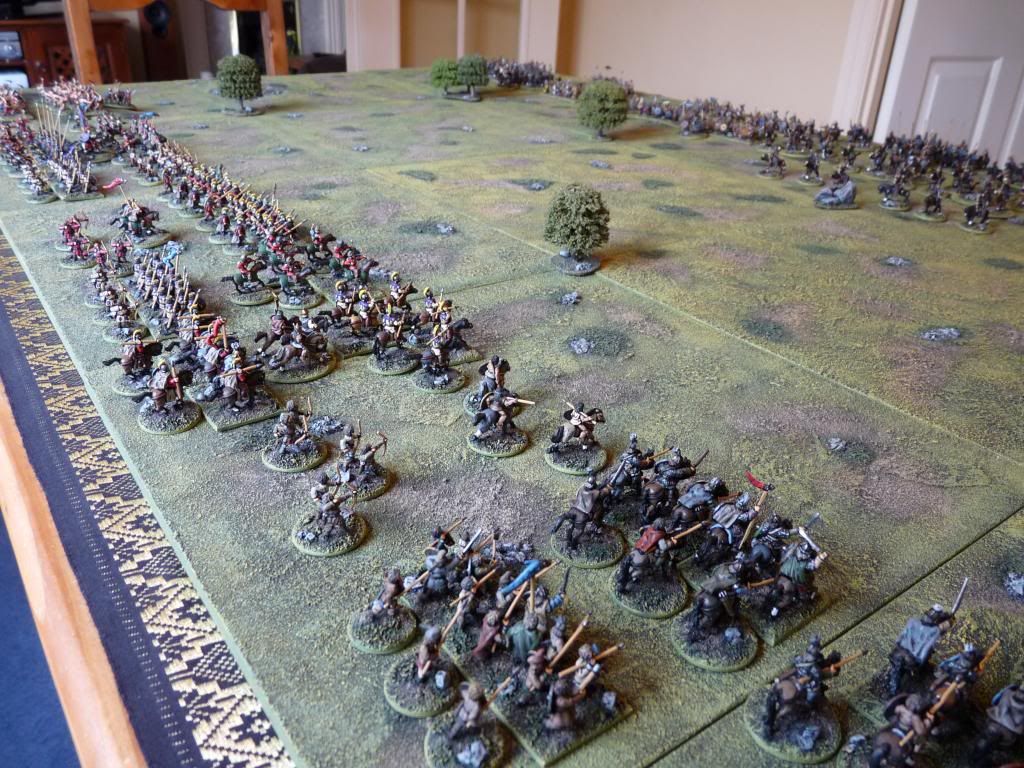
Here’s a quick set-up with some of the new boards placed on top. Obviously the addition of some trees, buildings and other scenery will enhance things, but this is the basic look I was after.


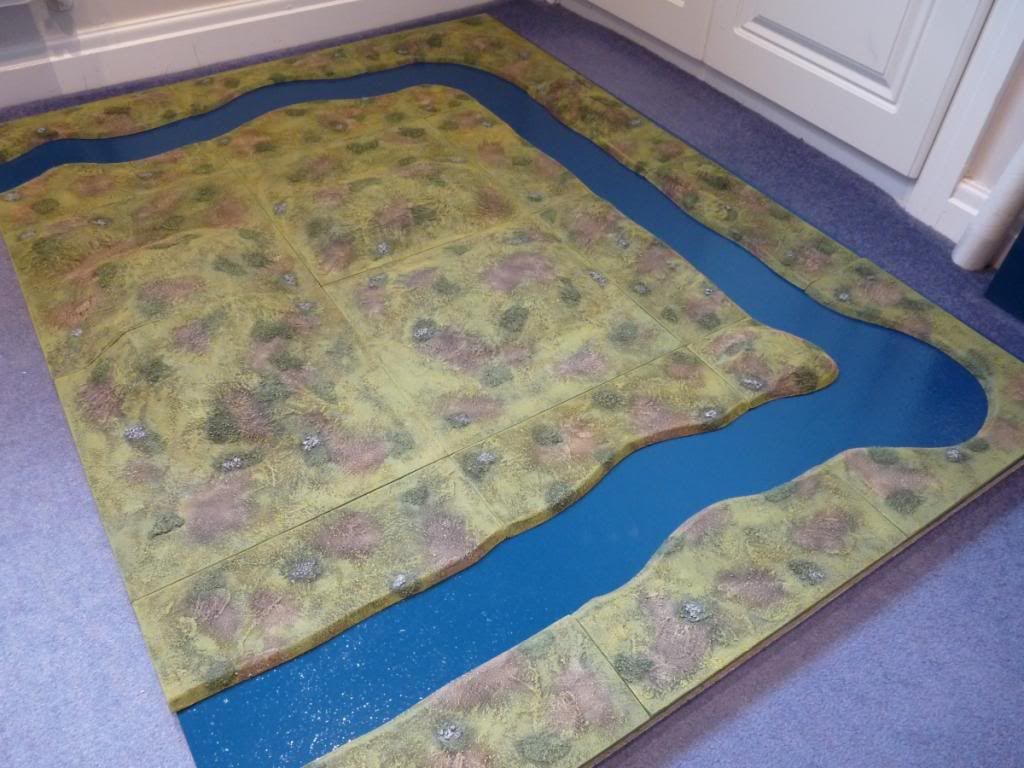
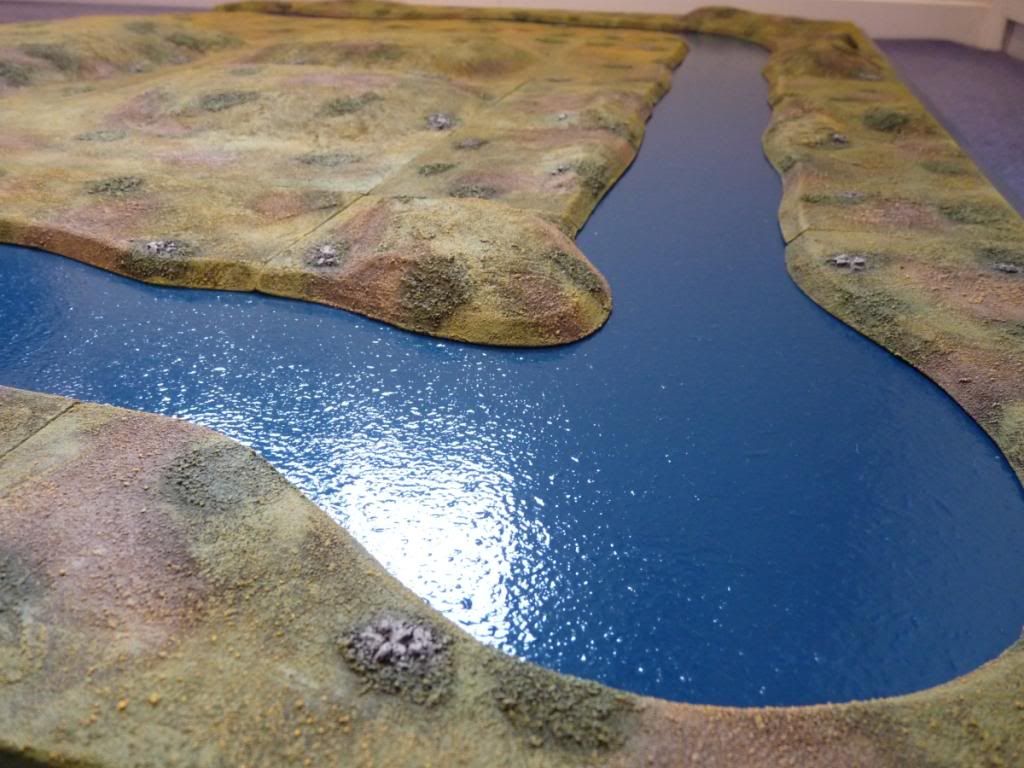
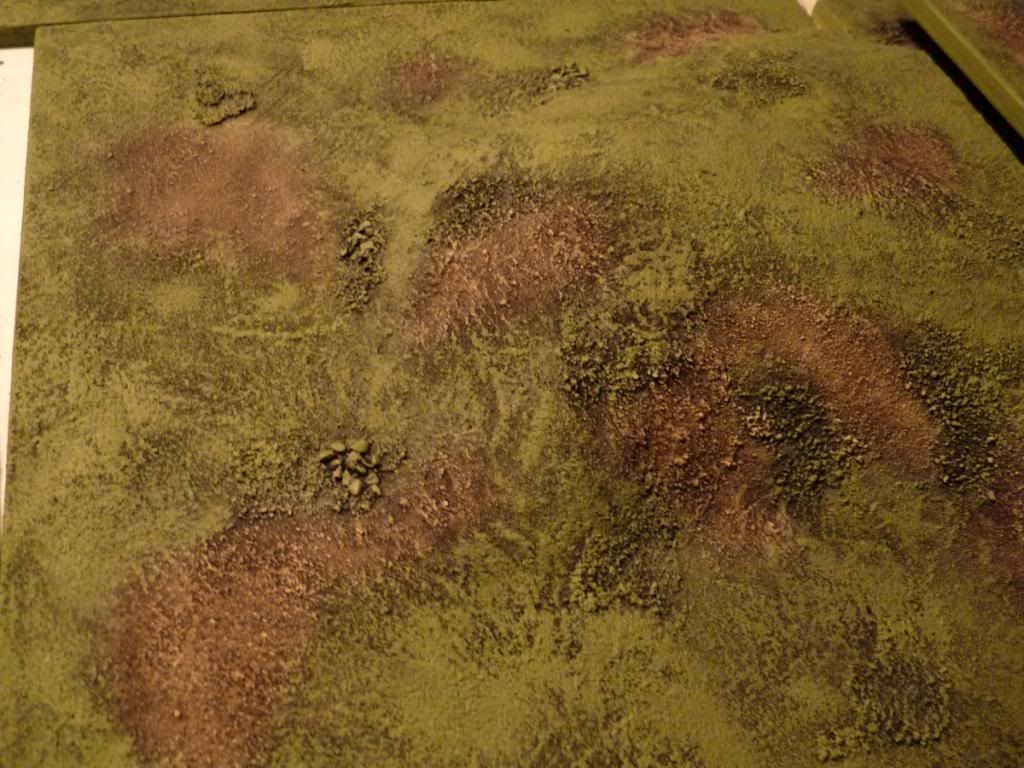
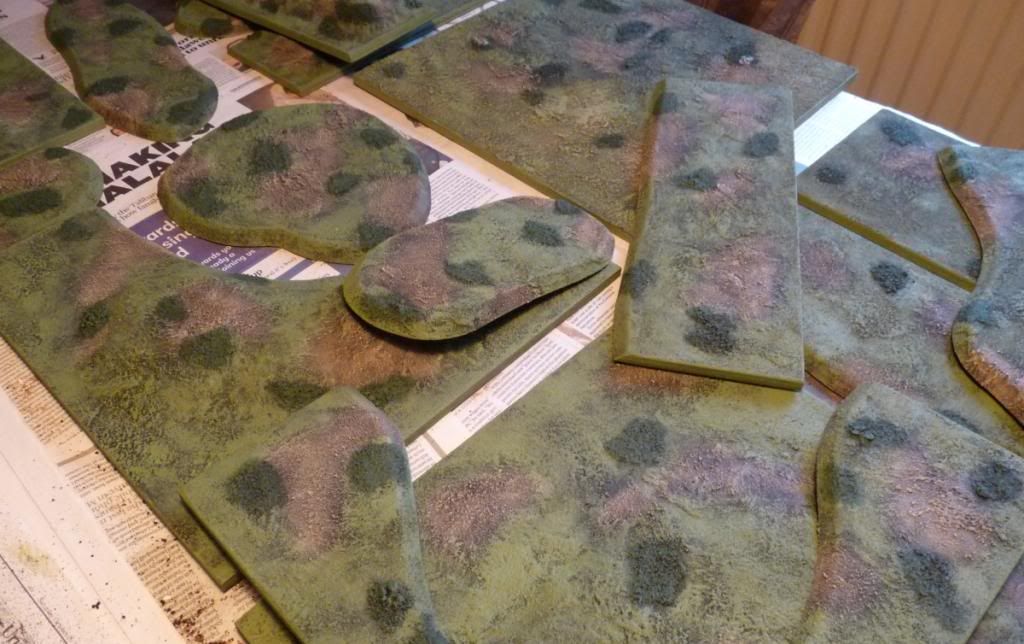
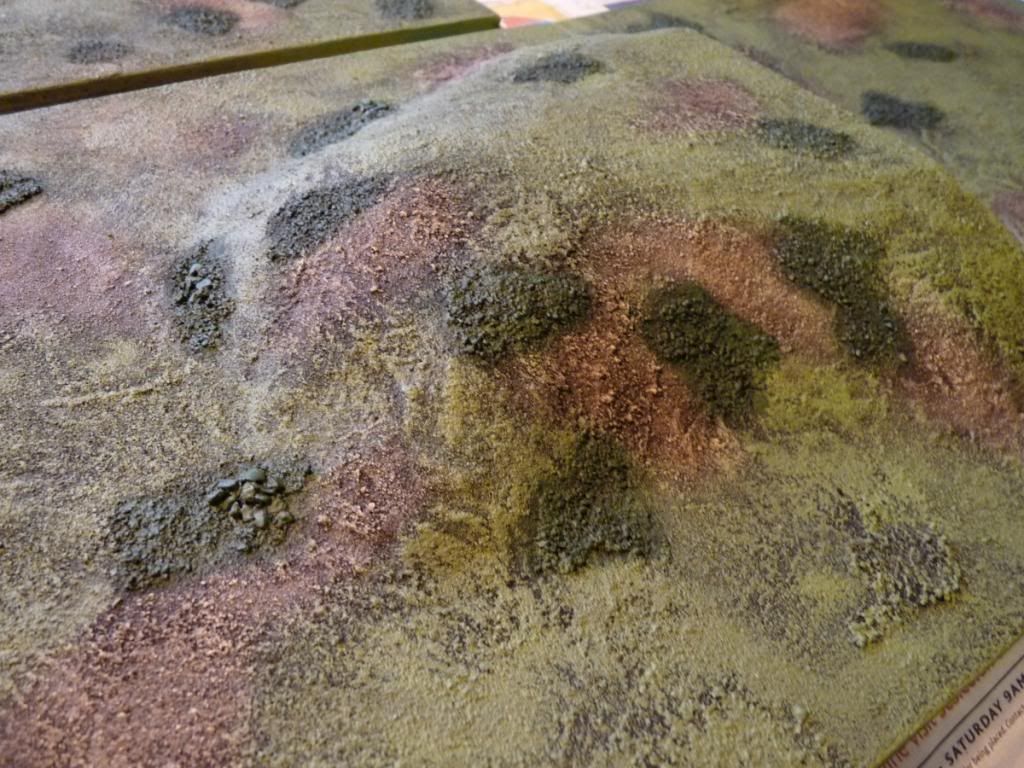
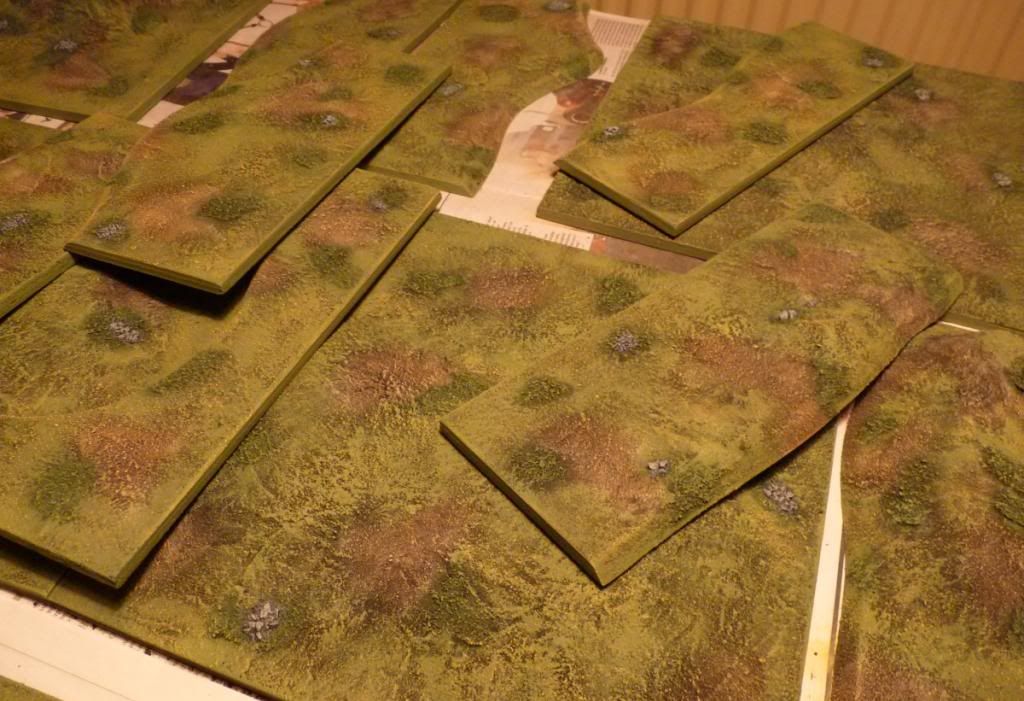
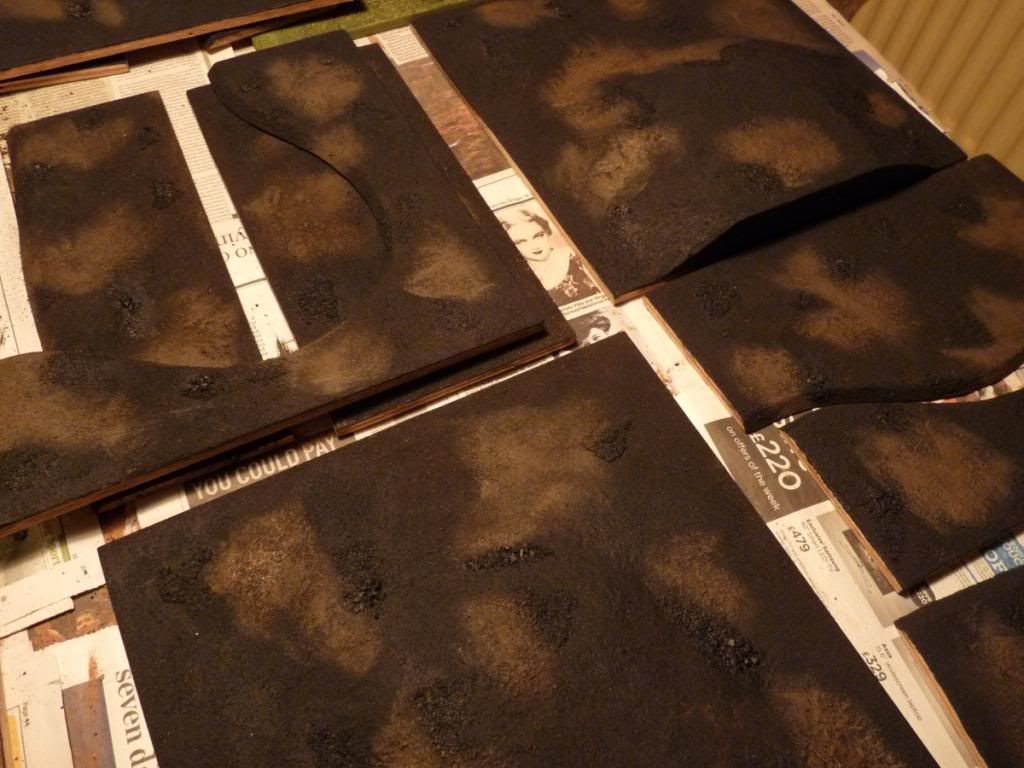
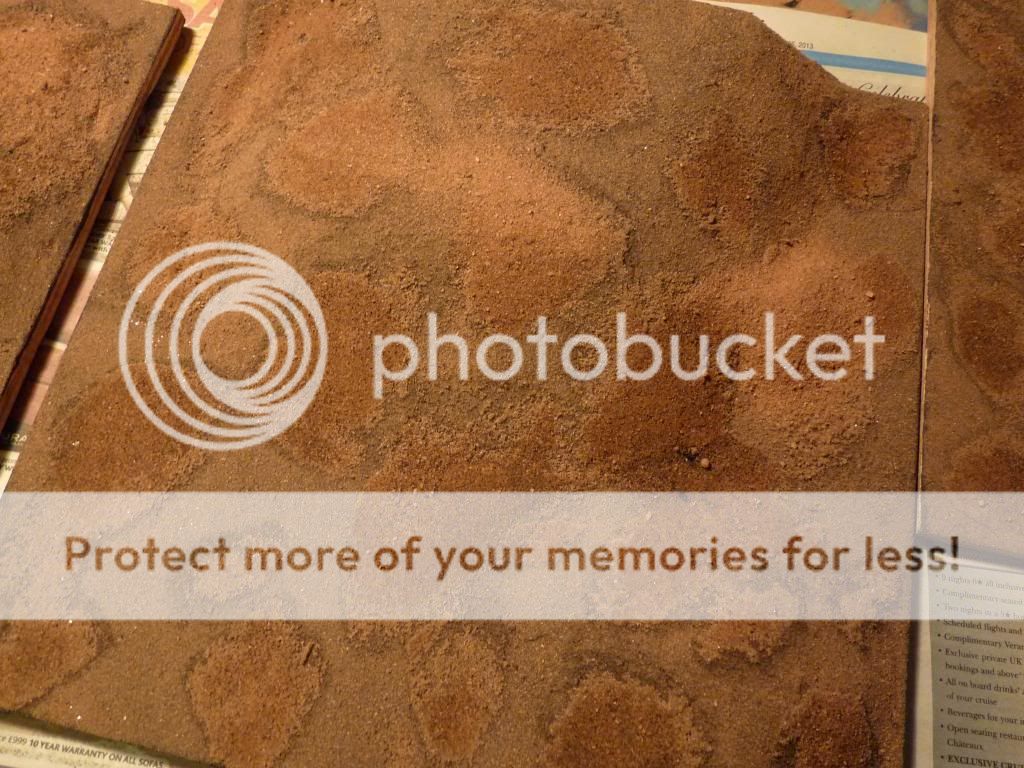
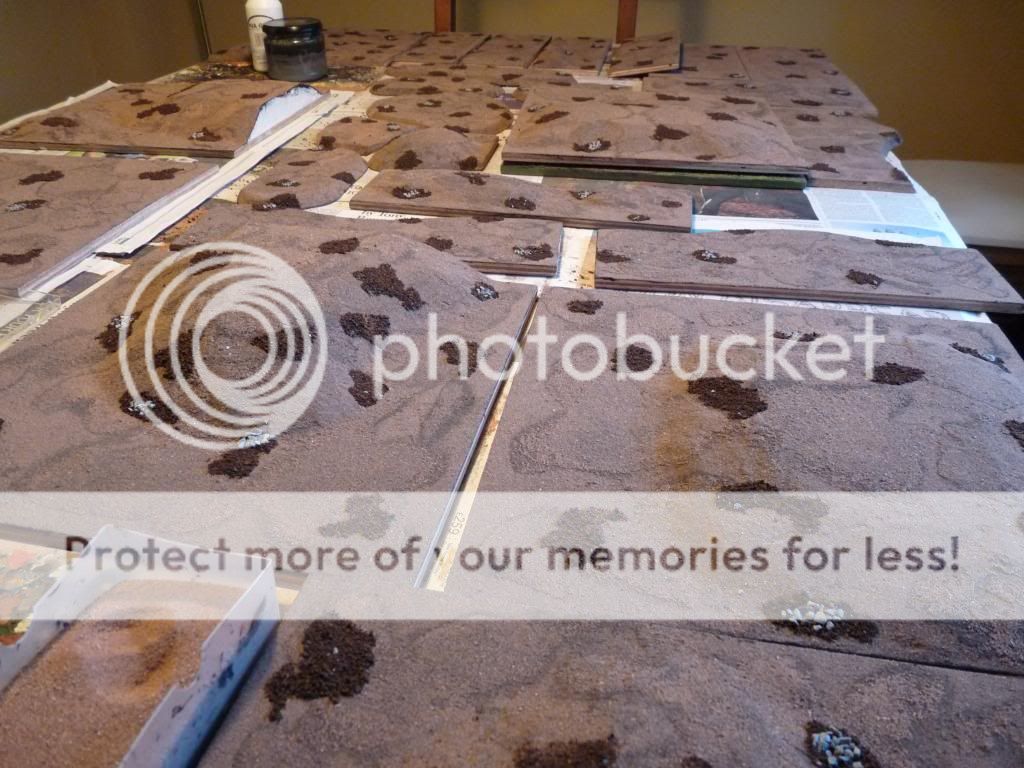
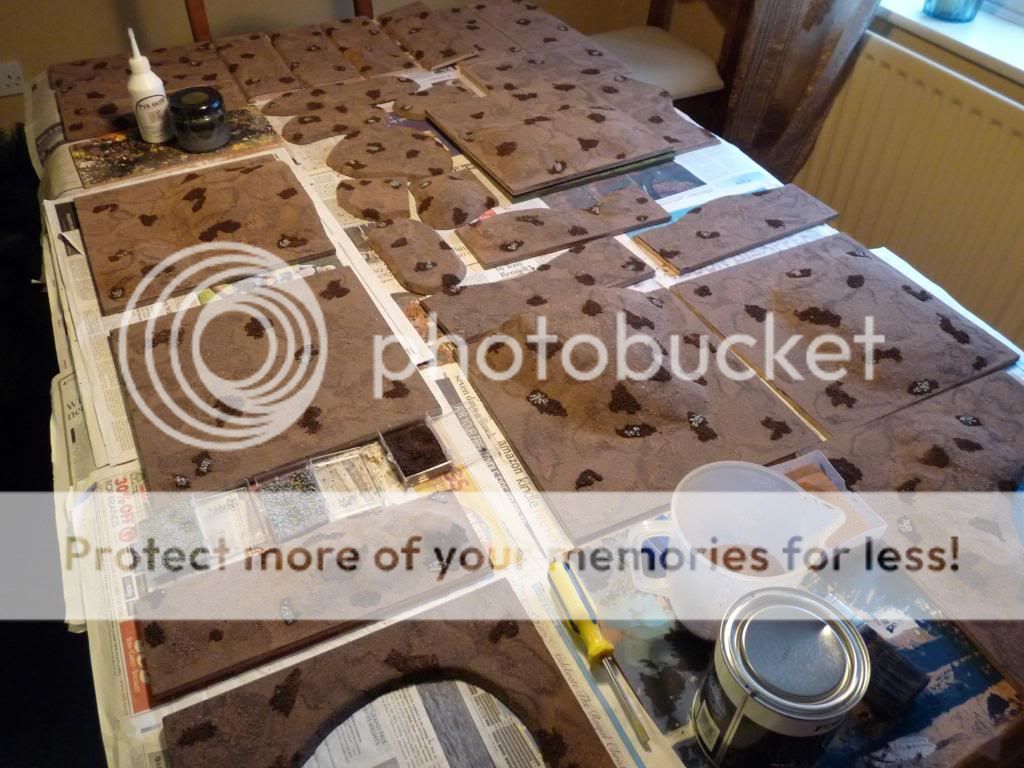
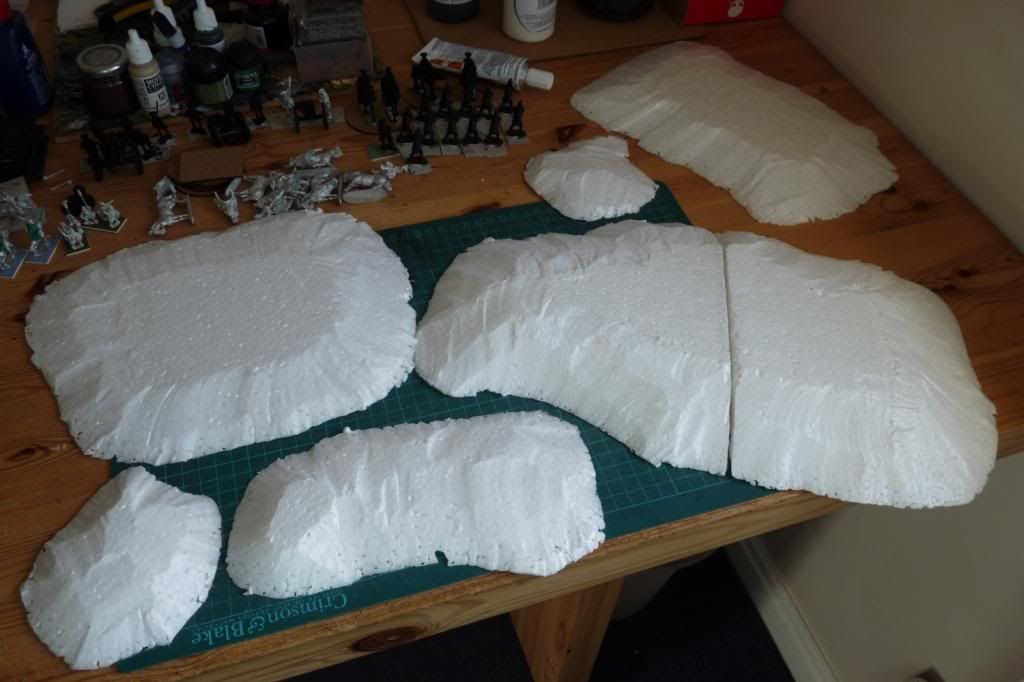
With a row of terrain squares removed the river can be widened, allowing for the off-cut islands to be used. I think this will offer me plenty of flexibility and options for different types of battlefield. I can do a large bay or inlet, a big central island, as well as straight or winding rivers. As I’m aiming to get my post-Napoleonic Sharp Practice project ready to play this year, I think a bit of water, with the odd bridge or boat, will make things interesting! These rivers, like the rest of my terrain, are designed to be used for all scales I play with, from 6mm to 28mm, and I’m looking forward to getting plenty of use from them.

Rivers and Hills part 5 – Finished!

Finally some colour!

All the boards have now been given a coat of green to bring them to life a bit. The colour is a specific Dulux mixed shade (‘Jungle’) found after a lot of trial and error, which I’ve used for probably 20 years on all terrain, scenery and figure bases. I suppose it’s a brybrush or overbrush technique, I’m not sure which, but it allows a hint of the black beneath to show through to add some depth and texture. I’ve brushed green over the edges of the brown patches too to blend them together as I don’t want them to look like bunkers on a golf course later. The board edges are painted too.

Next step was to dry brush the brown areas with my highlight colour, Vallejo’s Iraqi Sand. This not only lightens, but also softens the underlying brown, which is otherwise pretty dark.

After that the patches of vegetation were recovered, having been mostly lost in the ‘green’ phase. I use Vallejo’s Luftwaffe Green for this, although on this occasion I actually tried their new Heavy Green basecoat colour which appears to be an identical shade, just with presumably slightly better covering power. These will be drybrushed again later.

The next step was the real key to tying everything together – the yellow drybrush. Trying to keep it light and even is always a challenge when you’re also trying to do it reasonably quickly, but it worked out OK I think. Then the dark green patches were re-highlighted with the main green, to soften them a bit while still keeping them distinct. Lastly the rocks were given a coat of dark grey and then dry-brushed with a light grey.

Which meant… everything was finally finished! A fair amount of work over the last couple of weeks, and further back into last Autumn when the river banks were cut, but I’m very pleased with the results and it was well worth it. These boards can now be added to the ones I already have (making just over 40 square feet in total) and hopefully be used in a game before too long. I’ll post some pics of them in situ with the water base boards before putting them away.

Army of the Month – A Hairy Horde

I realised I was running out of time for the inaugural Army of the Month posting, which I said would be before the end of Janaury. So here goes..

I’ve chosen my 15mm Goths for my first AotM. This army is a good few years old, and although not big by many wargamers’ standards, it’s not bad for me. It’s been added to over time and has crept up from a single DBA-sized force initially, to its current strength of about 90 mounted and 160 foot figures. The vast majority are from Lancashire Games which, although they can be a bit flimsy at the ankles and with some of the weapons, for me they capture the look of the period very well (and they were cheap to buy!) There are a few Old Glory command and cavalry figures in there too.

The army is based around the Ostrogoths of the late 4th century onwards, containing as it does just 3 basic troop types; heavy cavalry, close order foot, and light archers. This means it can represent, or contribute units to, almost any dark age army which has these types, such as Gepids, Vandals and so on. The cavalry is nicely generic and the infantry can either represent fiery warband or poorer clumped spear-armed tribal levies. The archers are a mix of larger unformed ‘units’ and skirmishers, allowing for massed bows, a loose swarm, or a combination of both.

The army is based for the in-house rules I use (By Force of Arms), written by a wargaming buddy. These use a gridded board and a system where unit strength, morale and cohesion is defined visually by the number of bases remaining (plus any disorder markers added). Most units (skirmishers and light horse excepted) have 2 main bases which remain until the unit is destroyed or routs, and a number of smaller single or 2-figure bases to be removed as losses mount up, and otherwise add a bit of visual bulk to the unit. That’s a brief explanation of why the army looks as it does for those who are interested.

I decided to take 2 sets of pictures, one ‘dramatically’ posed and telling a story, as it were, the other with the army deployed in a typical formation as they would under the rules (albeit in a narrower, deeper space than would usually be the case). I also dug out some old pictures of the army in action, including one where they were playing the part of Rohan-esque types in a fantasy battle with my friend’s Orcs. Hope you like.

With their warchief slain by the enemy, his men bravely form up around his body while the rest of the army pours forth to avenge his loss..

Deployed for a game of By Force of Arms


Doing battle with the Orc hordes in 2008

Facing off against Late Romans in 2006


Taking part on both sides (as Visigoths and Ostrogoths) in a 2011 re-fight of the Battle of the Catalaunian Plans (Chalons) between Aetius and Attila

Hills and Rivers part 4 – Paint it Black

Stage 4 then..

Everything got a black undercoat from a big tin of ordinary black paint (which I kep well away from the beer to avoid an unnecessary, but inevitable, mistake). Yes, it looks awful, but it’s all uphill from here.

Brown patches added, these will get highlighted later on.

Green basecoat next, hopefully one evening this week.

A 15mm Diversion

I recently fancied a dabble in a smaller scale, after all the 28mms I’ve been doing lately. I was given some very nice Khurasan 15mm Goth cavalry and command, and already had some Baueda Dark Age (Lombard?) foot command figures to go with them. These are intended as an extra command base, and some ‘heroes’ for my Goth army, which are inserted in the middle of a unit to provide some additional characterisation and battlefield punch when playing more ‘heroic’-style historical games. When I get round to certain future Armies of the Month this will make more sense!

In the meantime, while the Khurasan figures are very nice, the basic heavy cavalrymen lacked a bit of drama – specifically a lack of cloaks and some very short, insignificant looking swords. An upgrade was in order, so out came the green stuff for 4 cloaks and a couple of sword extensions. Much better. Quick pic below. I just need to squeeze them into the painting schedule somewhere now and they can join the army.

And that reminds me, after my earlier announcement, I’ve only got 5 days left to post January’s Army of the Month. Better get cracking on that!

Hills and Rivers part 3

I’ve now reached the stage where, once the glue is dry, I can give all the boards their black basecoat. I have applied the second (partial/patchy) layer of sand to create a bit of depth, while still retaining a mostly flat surface. I have also added some patches of rougher, but still faitly low-profile, vegetation using loose leaf tea (as I do on my figure bases) and some small scenic rocks. These will add a bit a variety when painted and break up the otherwise featureless terrain.

Painting everything with a wash of black is going to be tedious and messy, but it’ll be progress!

Second layer of sand

Patches of vegetation and rocks. I could stop now and call it North Africa!  🙂

A Visit to Campaign Headquarters

This weekend I had the great pleasure of visiting the renowned wargamer and figure sculptor John Ray at his home, and more specifically in his tremendous wargames room; to meet him for the first time, be introduced to his post Seven Years War campaign (which he’s kindly invited me to join), see the mighty collection – all sculpted by John himself, and natter about wargaming for several hours.

The company and hospitality were first class, and we discussed all aspects of our shared hobby – and our respective approaches to it. The figure collection was everything I’d expected it to be and more, with gorgeous units filling the display cabinets. As a big bonus, John had thoughtfully laid on a ‘small’ game (a tiny percentage of his armies but enough to represent an interesting tactical challenge) with which to illustrate how his rules work, and contribute a small piece to the overall campaign picture. I enjoyed the game very much and was impressed by the smooth simplicity of the rules, which belied their subtle cleverness and suitability for the mid-18th century period. I think my Wurttembergers made a sufficient showing at the border against the Prussian invaders to ensure that honour was served, before pulling back to preserve their strength for another day.

John also shared with me some of his plans which follow on from his book (A Military Gentleman – if you haven’t got a copy already, get one now before they’re all gone!), which sound very interesting indeed. I for one am looking forward to these developments, and the campaign is clearly going to be a fascinating experience.

All in all I had a superb day in the company of a true Wargaming Gentleman and came away inspired to keep working on my own 18th century collection while I look forward to my next visit.

Hills Part 2 – and Rivers

With the hills cut and shaped, I decided to plough on this weekend with getting them onto their boards, and making a start on the other terrain I’ve been planning for a while – rivers. As with the hills, there are always compromises when it comes to adding rivers to a wargames table. By their nature they look best with a bit of depth, and that’s the challenge of course. In an ideal world these are carved into thick sheets of high density foam board, providing the opportunity for deep banks, as well as sunken roads and realistic undulations everywhere else. With my terrain built from 9mm marine plywood that’s not a possibility, and with the rough texturing I use nor are ‘place on’ rivers.

So the choice comes down to painting rivers onto the boards and texturing flat ground up to the water’s edge (which I’ve done before) or cutting right through the boards to create river banks and placing everything on an underlying ‘water’ layer. I’ve gone for the latter, for a couple of reasons. The deeper banks work better for me aesthetically, especially with larger scale figures. Also, the ply boards I use have a grain on their surface, making smooth-ish water a difficult effect to achieve.

So I enlisted the help of a good friend who assisted with some quality timber cutting to ensure that the river bank sections all match up, both in terms of positioning and angle (45 degrees, thanks to an angled jigsaw setting). The rivers were measured at 10cm/4 inches across, so represented the removal of about a third from the middle of each board. Of course, they then have the potential to be broadened by moving the 2 river banks apart either by a full board width (making a 16 inch wide river) or by any other incremental amount. Some of the cut-outs were rounded off to provide islands which can be placed in the river, and used in naval games too. With this batch I’ll have 6 feet of straight/meandering river and 2 x 90 degree bends. Plenty to start with considering the biggest table I can manage is 6 x 4 feet.

On Saturday I kept warm outside by sanding all the board edges smooth, and rounding the river bank tops off a little. Then I stuck down the hills with PVA and a bit of tape, before moving onto covering the polystyrene with a layer of quick-dry plaster for protection and smoothness. The afternoon was then spent making a right old mess applying the first layer of sand – sticking it down with black masonry paint. I’ve decided to add some small raised areas on a few of the river banks so I have a bit more hot-wire cutting to perform, and then once all the boards are up to the same stage with a basic layer of sand I can move on to the remaining texturing before undercoating and painting. As the dining room table is now a sandy, messy work area, I better get my skates on this week!

Some pics of the various stages described:

Hills added to boards

Plaster coat

Plaster done, including some filling on a older board

River banks added to the workload

First layer of sand goes on

Sand done

New Hills – Stage 1

I have a terrain expansion project planned, with which I hope to make good progress over the next few weeks (well, we’ll see eh?)

This will mean more 1 foot square boards to join the existing collection, to accommodate some additional features in order to provide me with more scenario and tabletop options. One priority is for some more hills, especially some slightly bigger ones than I currently have. The ones I’ve done previously are fairly small and low – one of the natural drawbacks of 1 foot boards I guess.

I have (like all sensible wargamers) collected a variety of polystyrene pieces from packaging over the years, and I recently dug out a few promising candidates to take the good old hot wire cutter to. Pic below, black undercoated 28mm figures in the centre background give a sense of scale..

In order to completely integrate them into the small size of the terrain boards, I need to get them ‘up and down’ in under a foot of space. Inevitably there are compromises, but they are reasonable gaming compromises and I can live with them. On the larger hills I have been happy to leave a flat top as there is a practical need to be able to place figures and scenery on them without having trees and building leaning over. The smaller ones are really more for providing some undulations to otherwise flat boards and should work OK. The thickest sheet of polystyrene I had was big enough to provide 2 hill ‘halves’ which can be placed back to back for a large hill, or separately on the table edge. I’d like to perhaps do more of this type, perhaps something much bigger with 4 ‘quarter’ hills.

None of these ‘hills’ are more than 25mm tall, but for the variety of scales I will use them with (6mm-28mm) they’ll give a decent impression and break up the general flatness a bit. I’m hoping to have a crack at stage 2 (sticking them to the boards and applying a layer of plaster) at the weekend and will post an update when I’ve managed this. I will also then be able to dig out the raw materials for the other part of this terrain expansion exercise and get to work on everything from there..

Army of the month – An introduction

It occurred to me that with the nature of a blog being to tell an on-going story through updates, it was perhaps less suited to looking back or showcasing earlier stuff. So I’ve decided to instigate a review of my existing armies and forces, partly as an opportunity to do a bit of ‘show and tell’ on the blog and partly to build up a photographic record of the collections that otherwise spend their time hidden away in dark drawers (good for keeping direct sunlight off the paintwork but bad for enjoying the figures on display!)

So, from January I’ll be running a regular Army of the Month feature which, while it won’t necessarily contain pics of newly completed stuff (which will be the subject of specific posts anyway), will encourage me to get out my existing armies and possibly even get them onto the gaming table. It’ll also give me something to post about if I’m having a barren painting spell and there’s nothing happening hobby-wise!

Now I just need to clear a bit of space and decide which army to cover first…

Most of them are currently in here: