
Yesterday Simon (Goat Major) hosted me for our second ever game using the Sharp Practice rules. We used one of the scenarios from the Compleat Fondler supplement, which involved the British attempting to rescue an important officer from the clutches of the dastardly French before he could be hustled out of the Peninsular. We took advantage of some of our own back-story from the first game we played last year, where the British commander, Fondler himself, was captured (due to my carelessness and Simon’s initiative). It was therefore Fondler who was to be rescued then, by his own men.
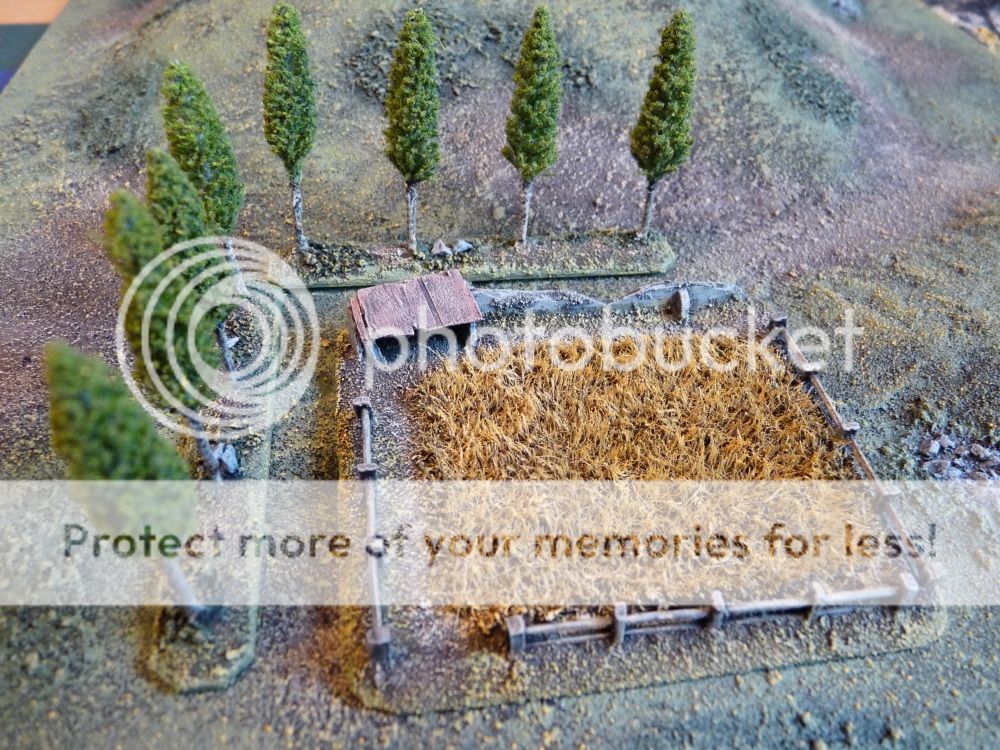
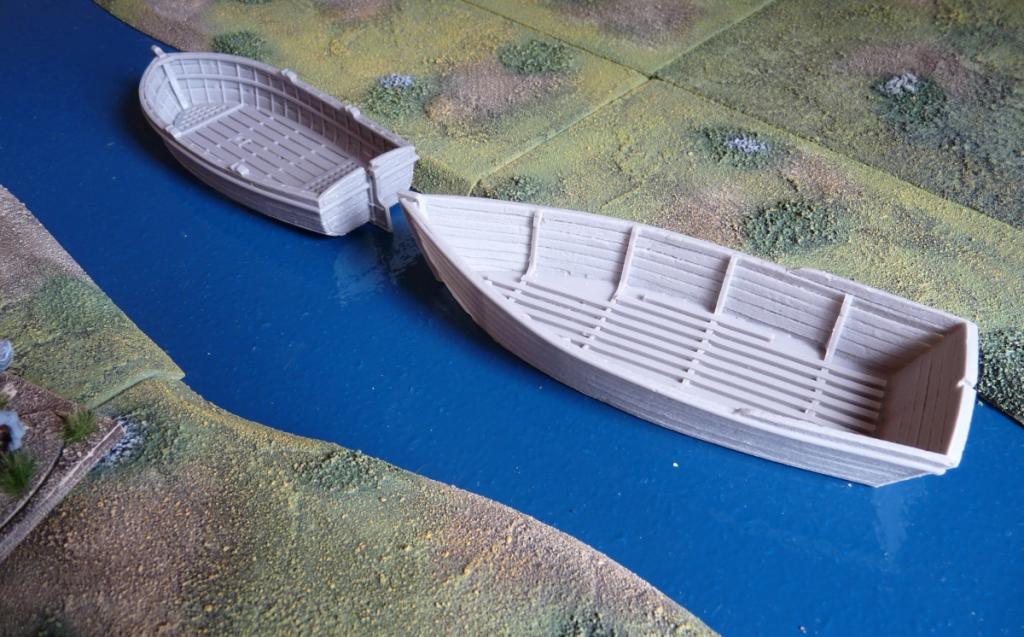
Simon had set up the table (6′ x 4′) as an exact replica of the one called for in the scenario, even going to the trouble of putting in some after-work sessions last week to add a necessary large hill! As you can see, the battlefield looked enticing to play over. Pics are from my phone, but hopefully they’re OK.

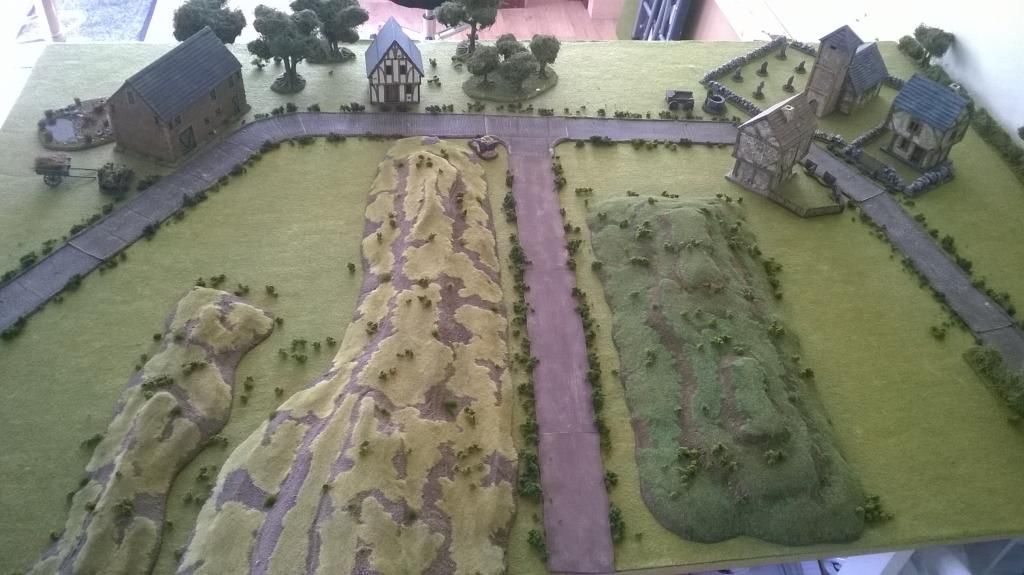
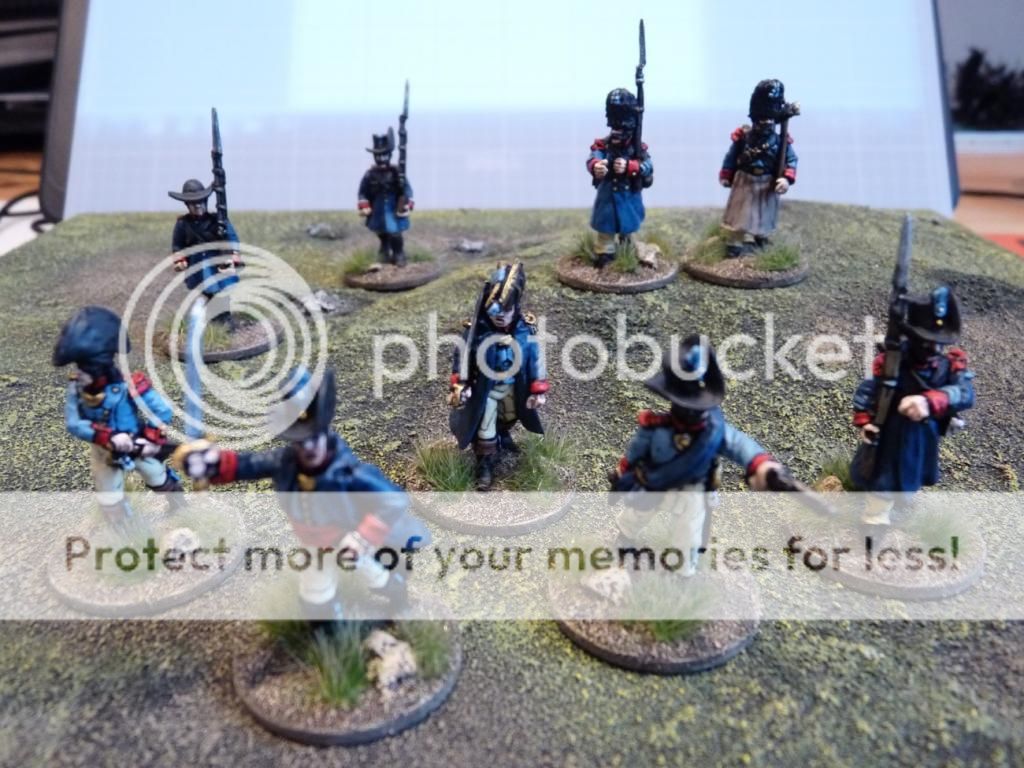
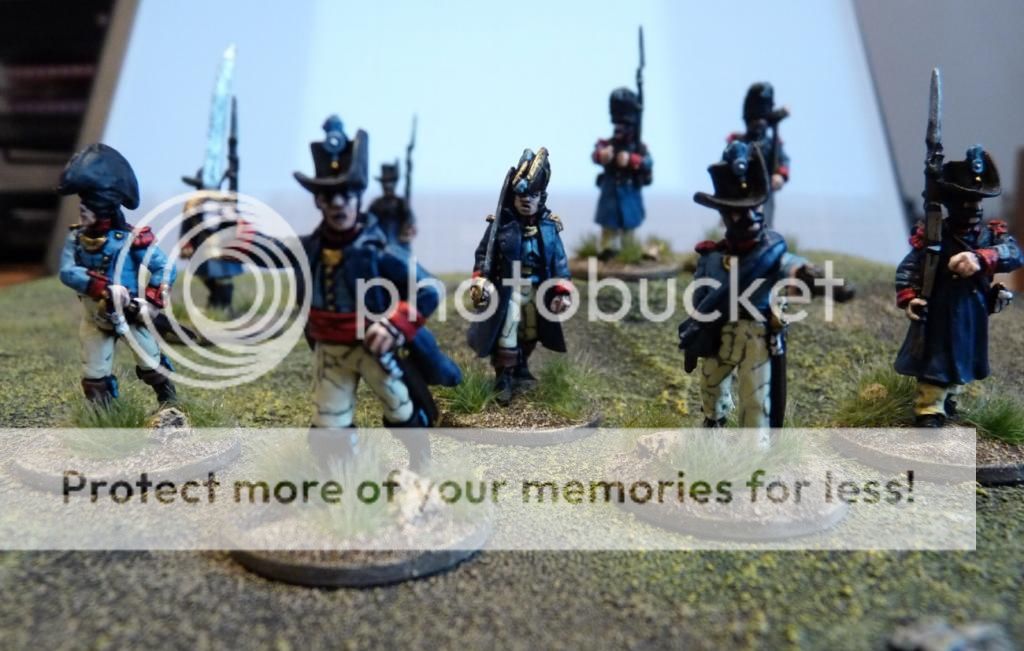
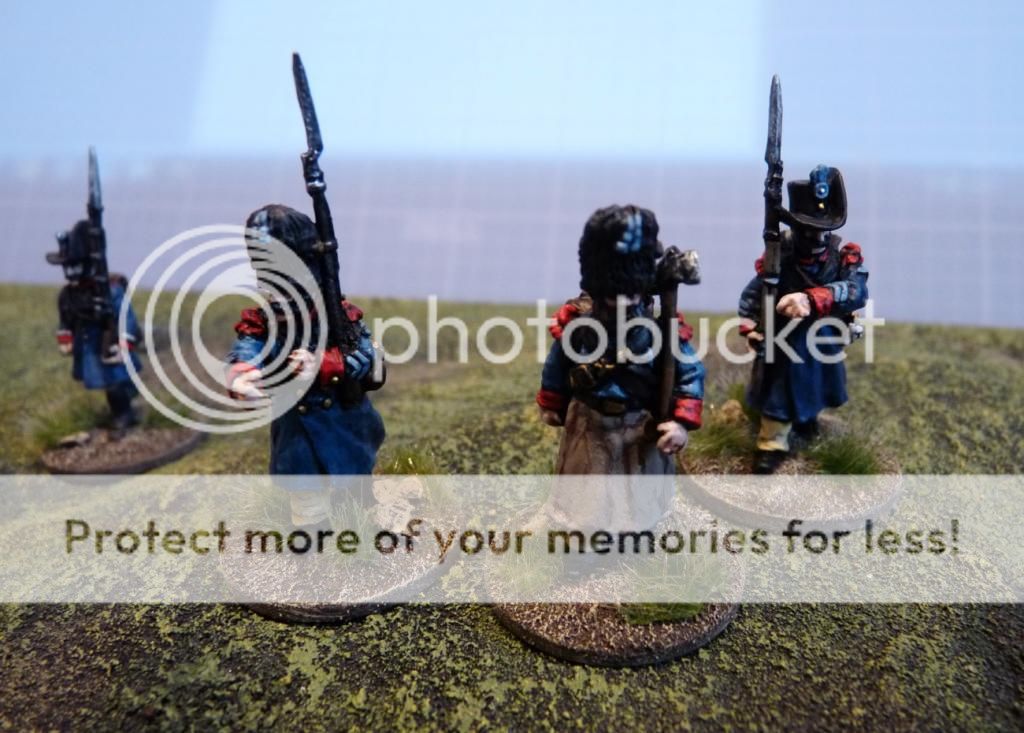
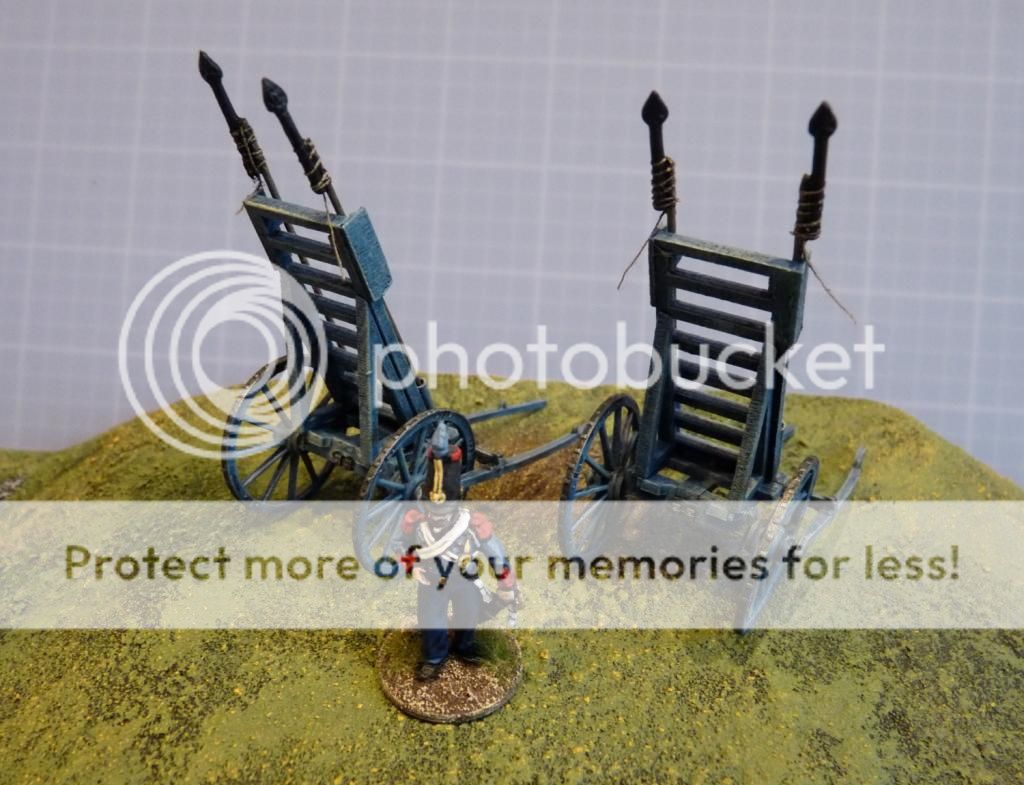
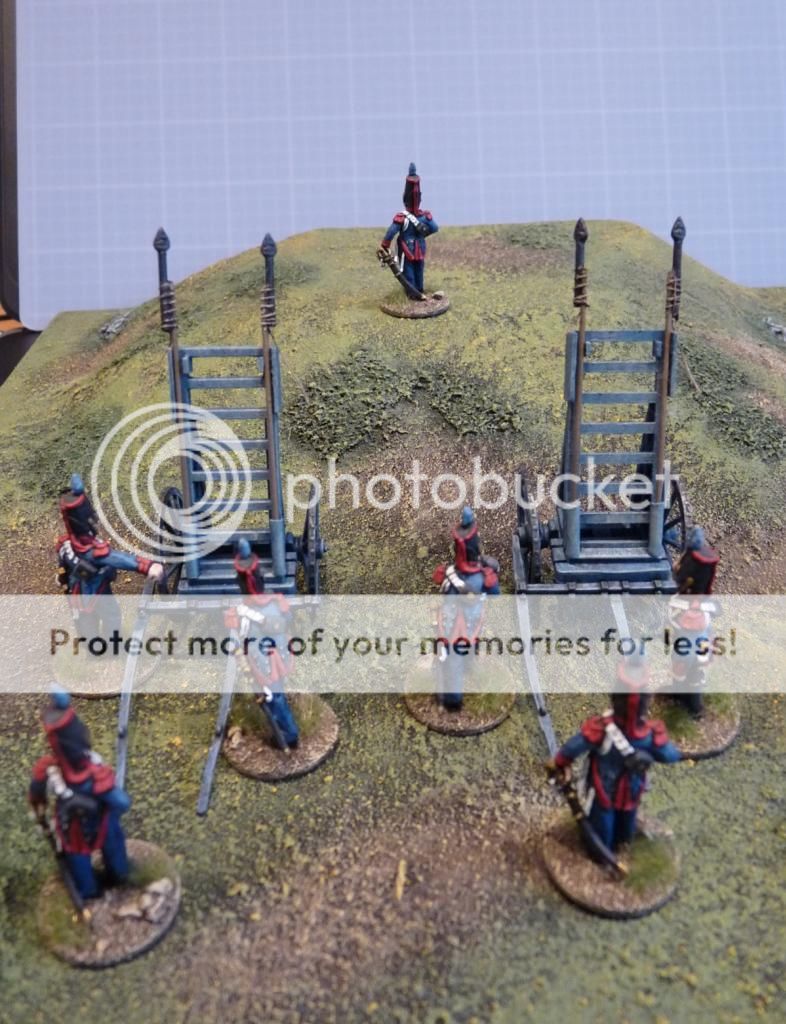
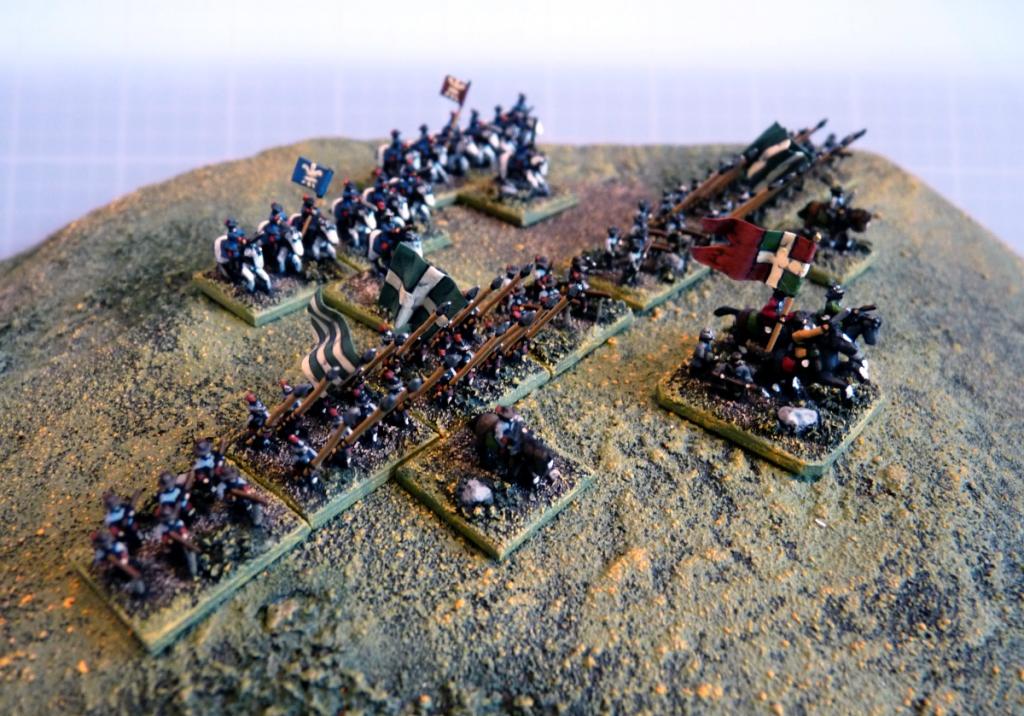
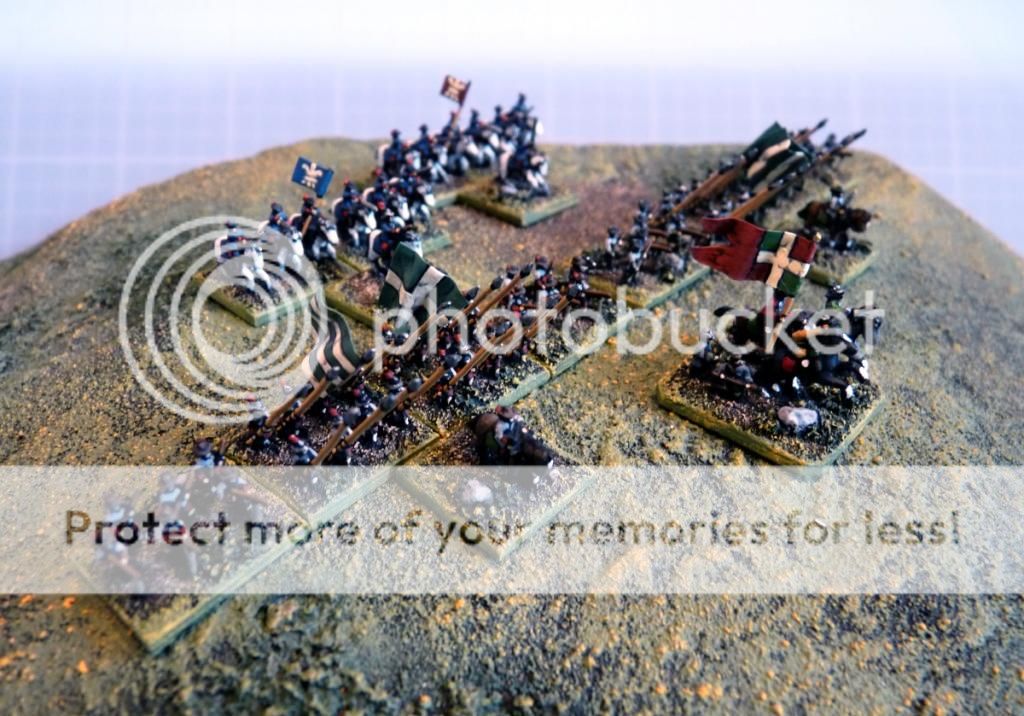
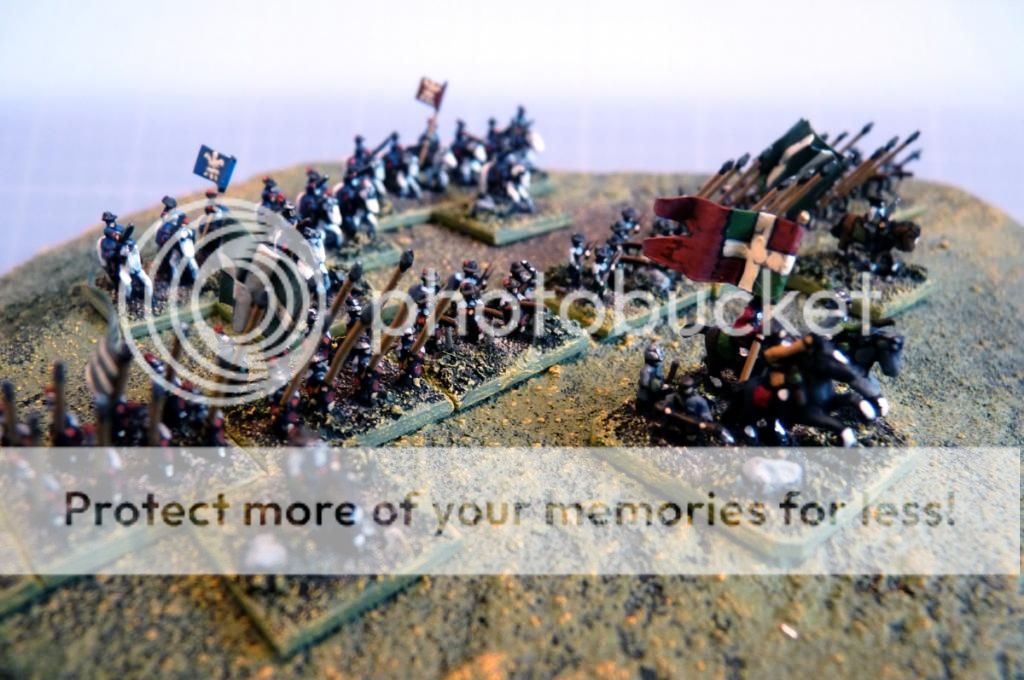
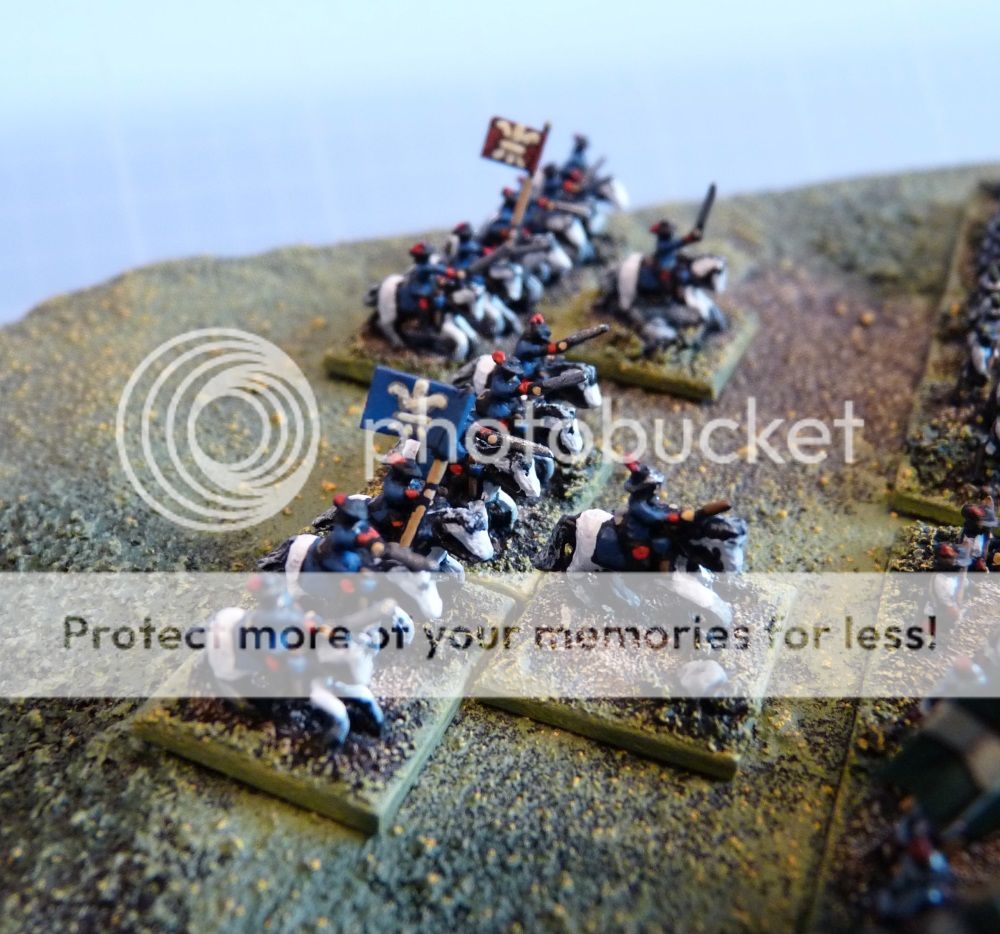
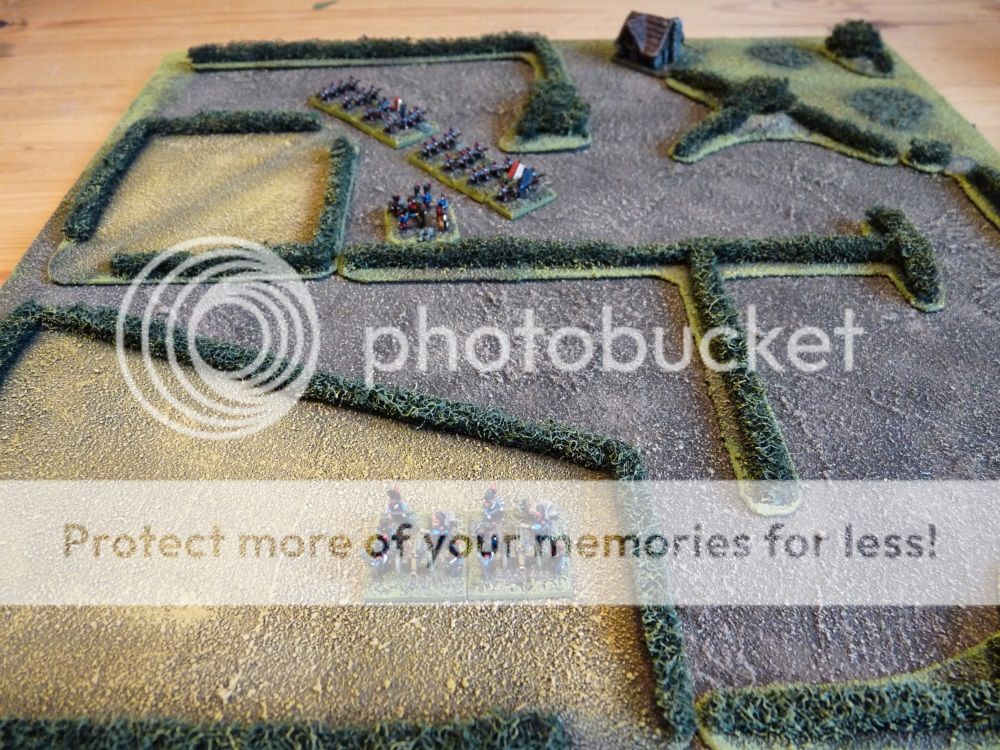
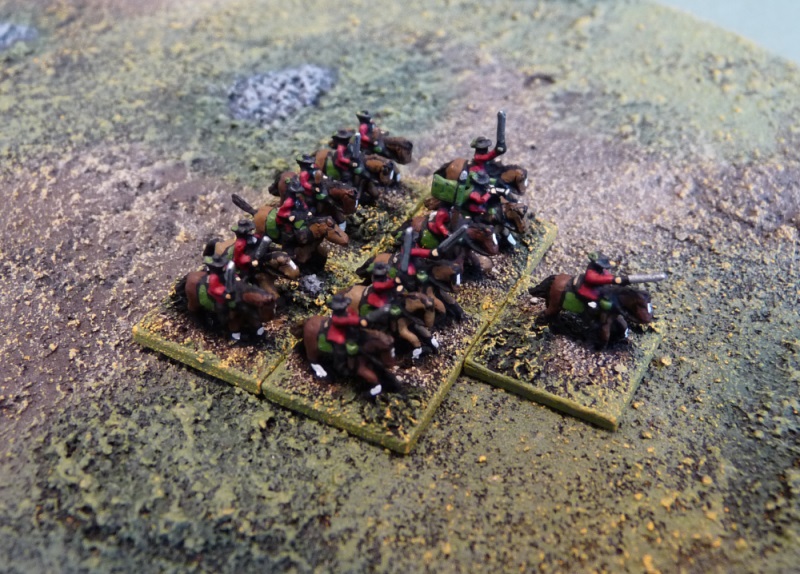
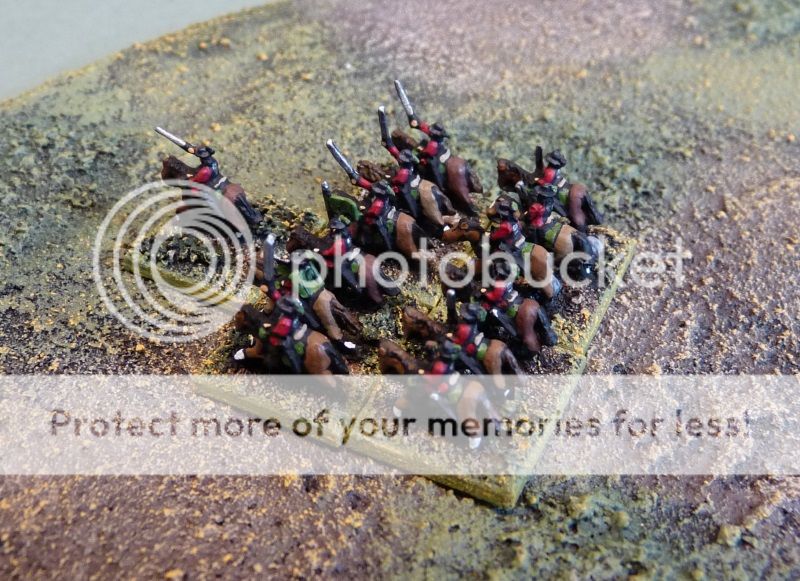
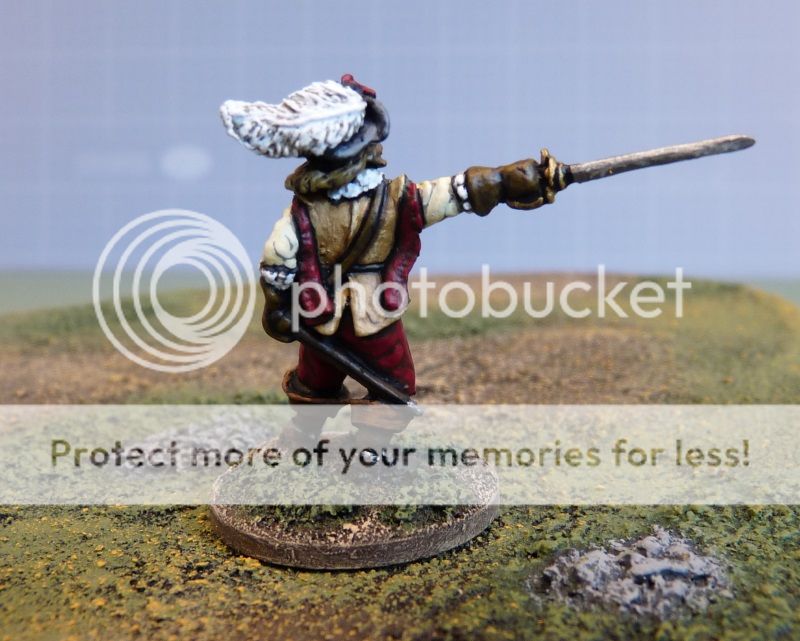
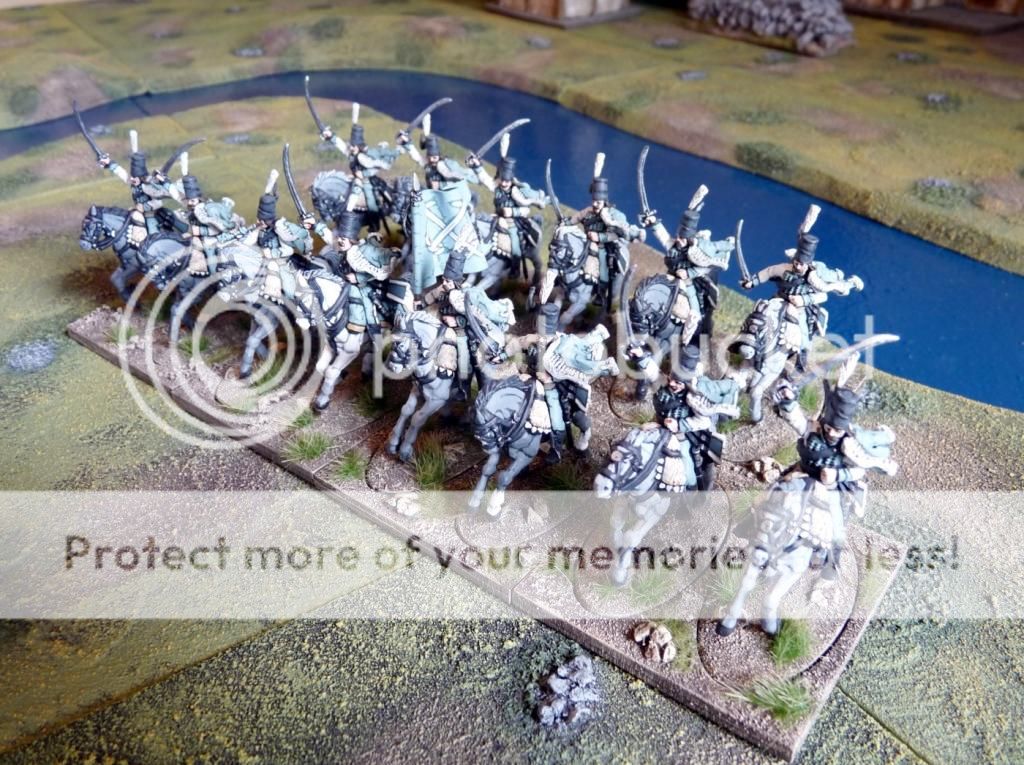
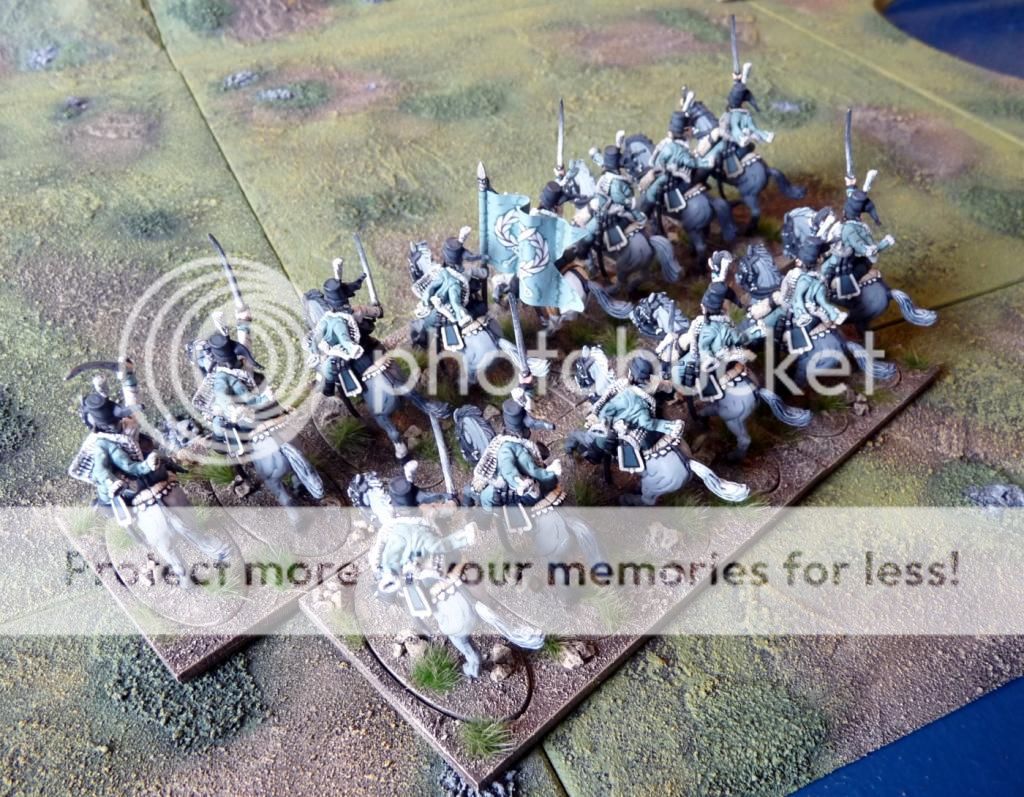
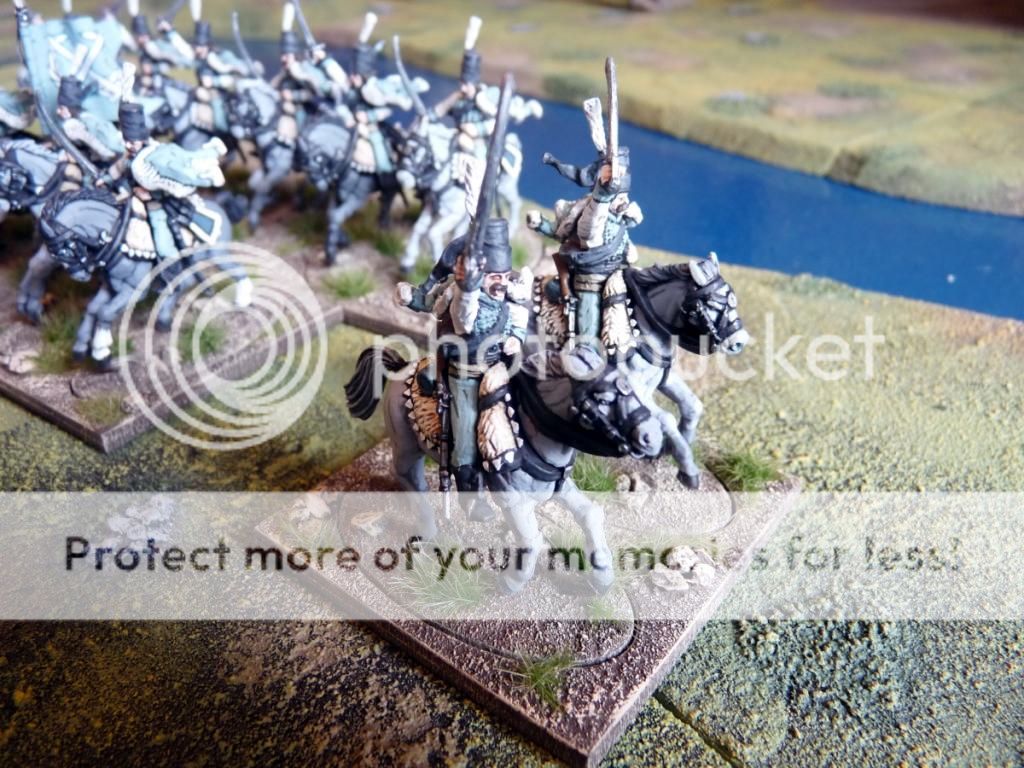
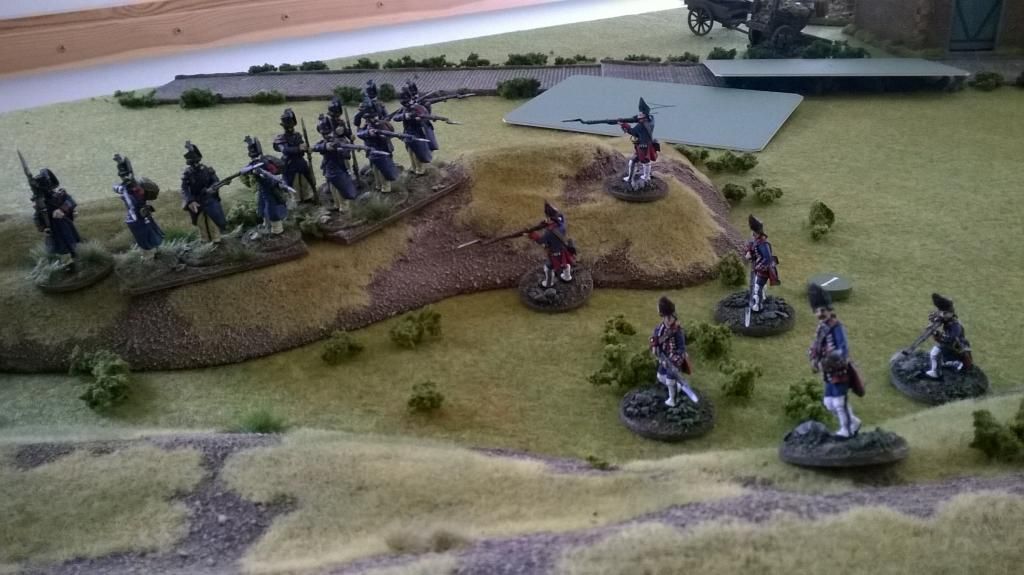
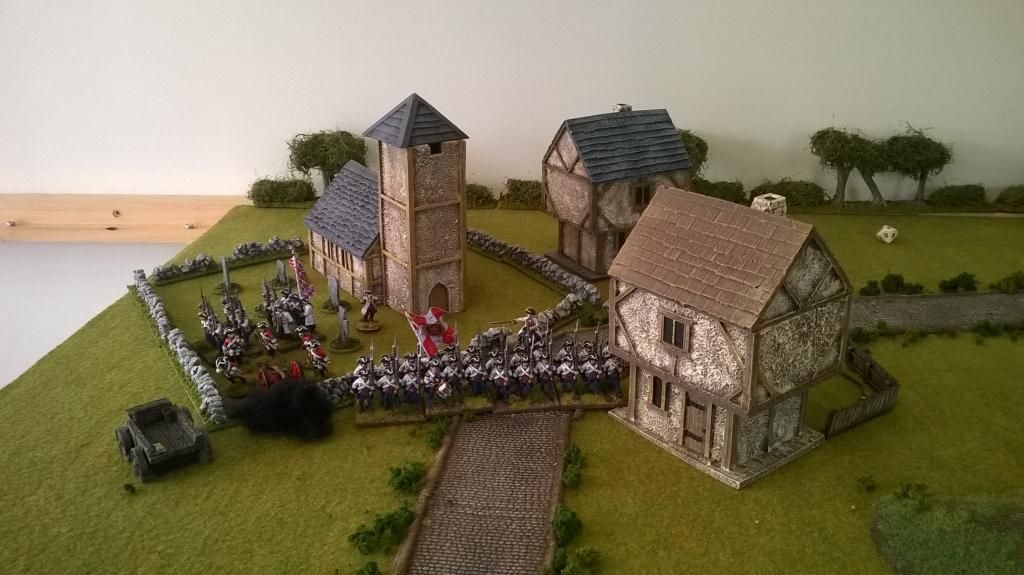
The figures were an eclectic mix of our 18th and 19th century forces, some on group bases and some as singles, along with the appropriate Big Men to lead them – and my new rocket battery of course. We rolled for sides, with me getting the ‘British’ and therefore being the one to attack. Simon duly set up a tough-looking defence of the church in which Fondler was being held, with one squad of voltigeurs under Sergeant Petain required to be out on the hills to provide warning of the British approach.
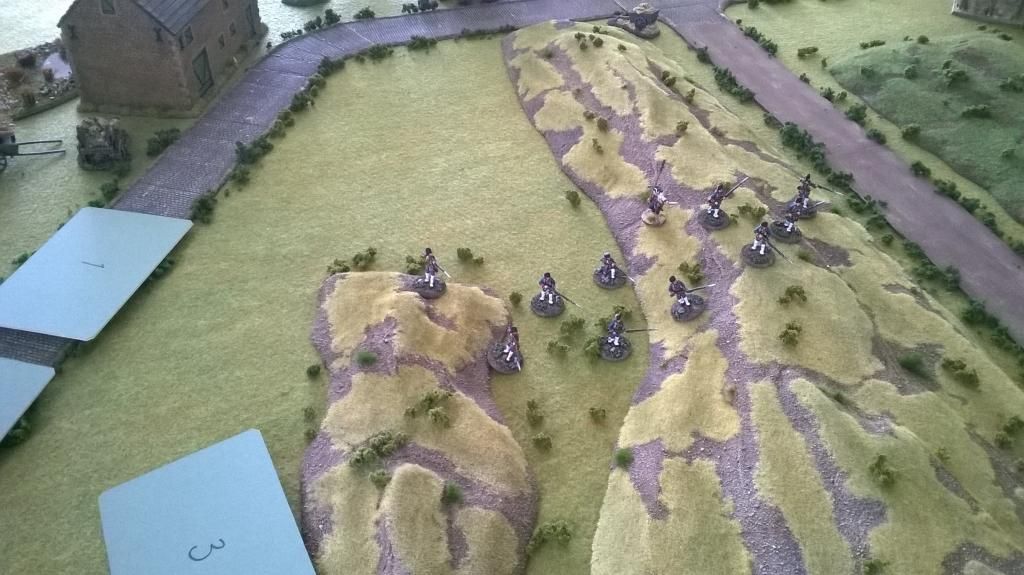
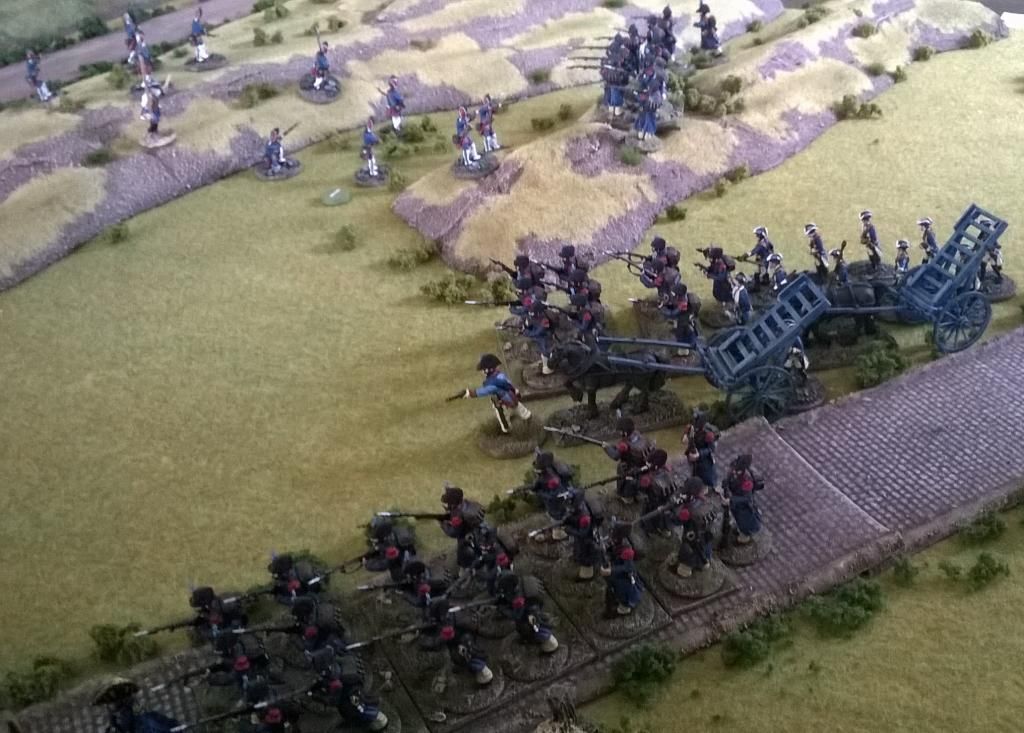
The various arrivals due included my main force of light infantry and the rockets by road at the start (on blinds), my riflemen (represented by Simon’s lovely Grenzers) via the middle road after a few (but randomly timed) turns, and finally the French cavalry which Simon had to hope would come to his rescue in time. The action kicked off with increasing numbers of my infantry peeling off the road to go cross country and push the voltigeurs back so the rockets could deploy unhindered. It was to take a long time to drive them away, which definitely had an impact on my troops’ positions in the closing stages of the battle.
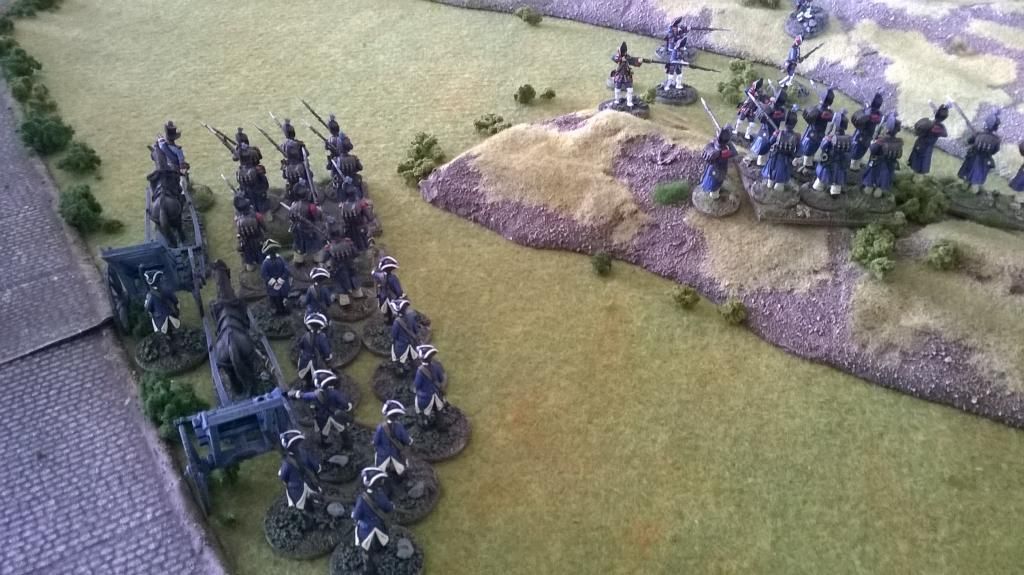
I had some luck with the timing of my rifles’ arrival and they were soon racing to cut off the frustratingly resilient voltigeurs, who were benefiting from the cover offered by the scrub-covered slopes they were retreating across.
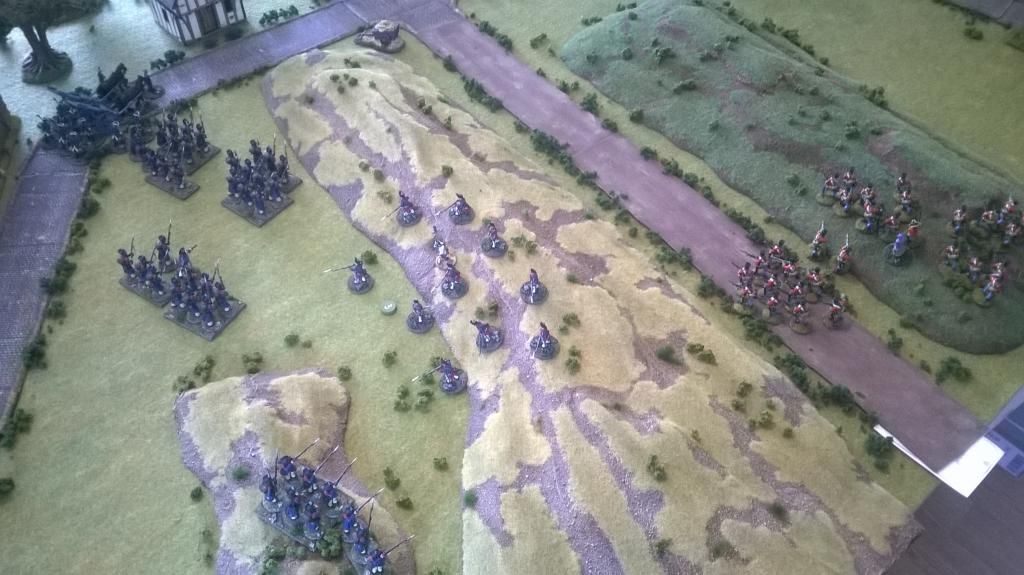
The game was beginning to hot up as the rocket battery deployed on the road within sight of the main French position and started taking fire from the enemy’s light gun. As the eccentric Major Brock (slightly mad scientist and inventor of these experimental rockets) ordered the first fuses lit, no-one on either side could prevent themselves from ducking a little in anticipation of the impending mayhem that was expected to follow.
Part 2 to follow..