Junk!

Granted, not an original post name.

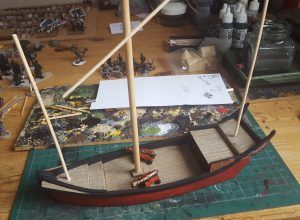
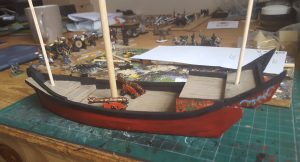
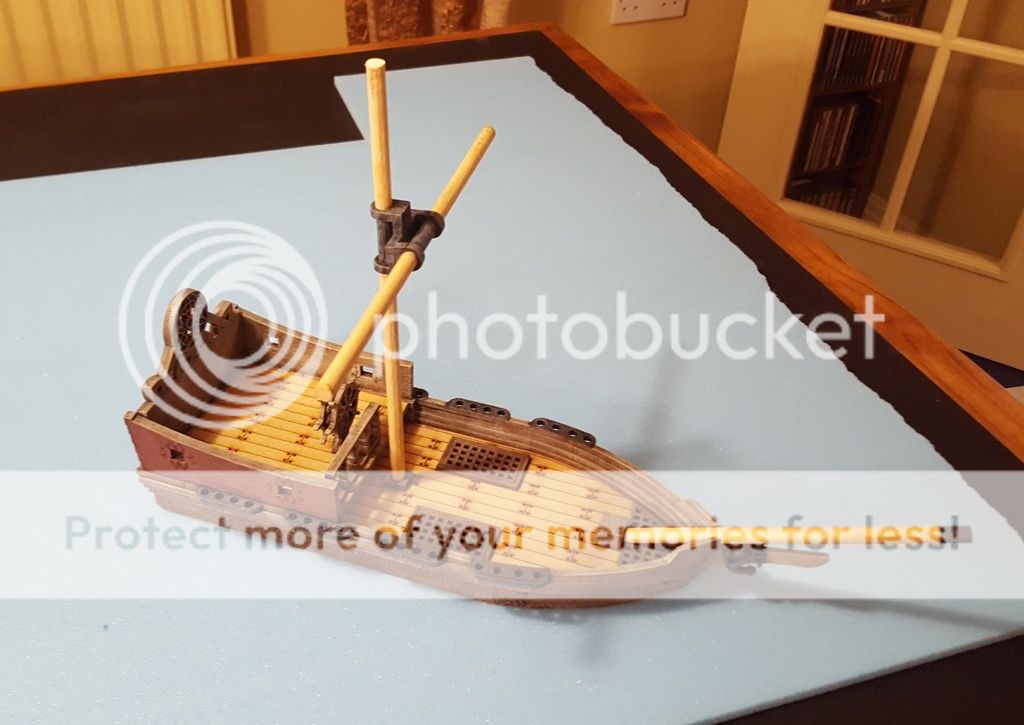
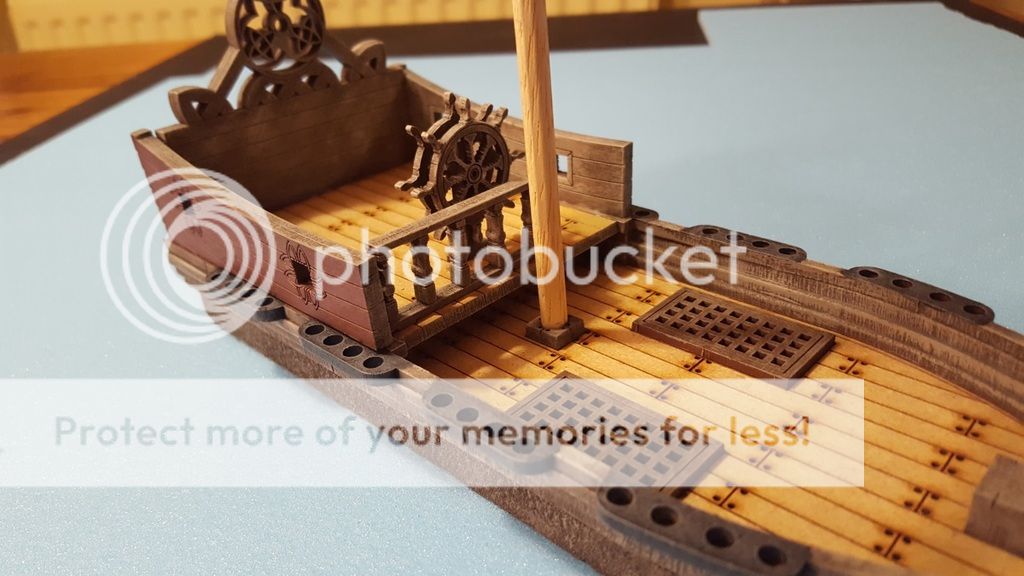
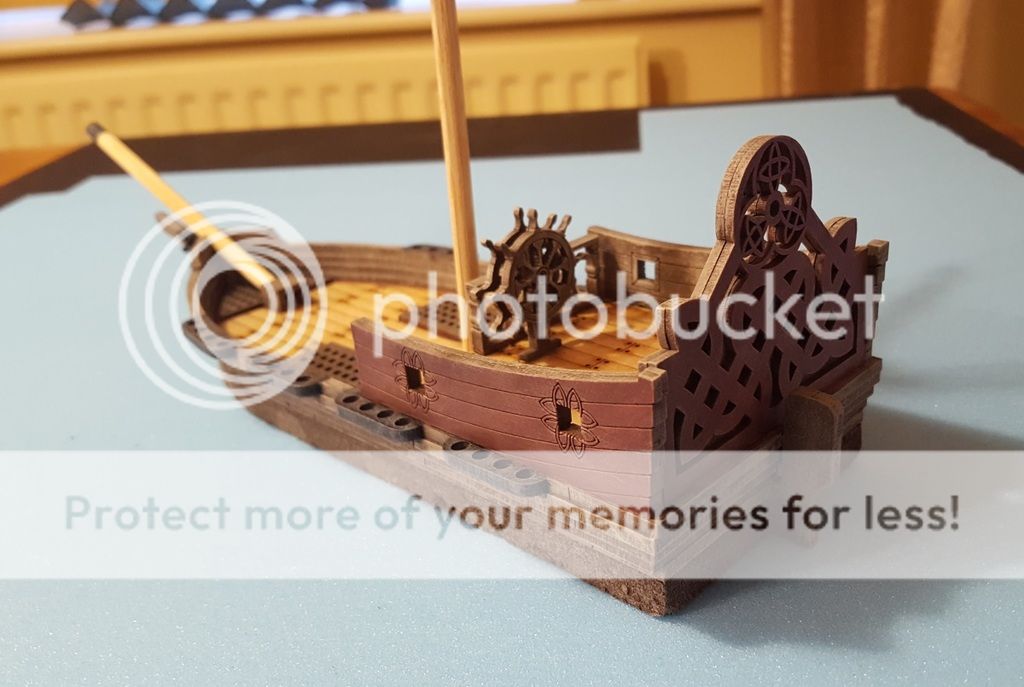
At the AMG weekend a few people brought along things to sell/dispose of and I picked this up from Paul for a few quid. It’ll fit in nicely with my non-specific colonial setting, either as an operational vessel for the locals or just as a nice piece of scenery. I gave it a dust, added the masts, and repainted the black bits. And that’s it, ready to go. 🙂


Big Buildings!

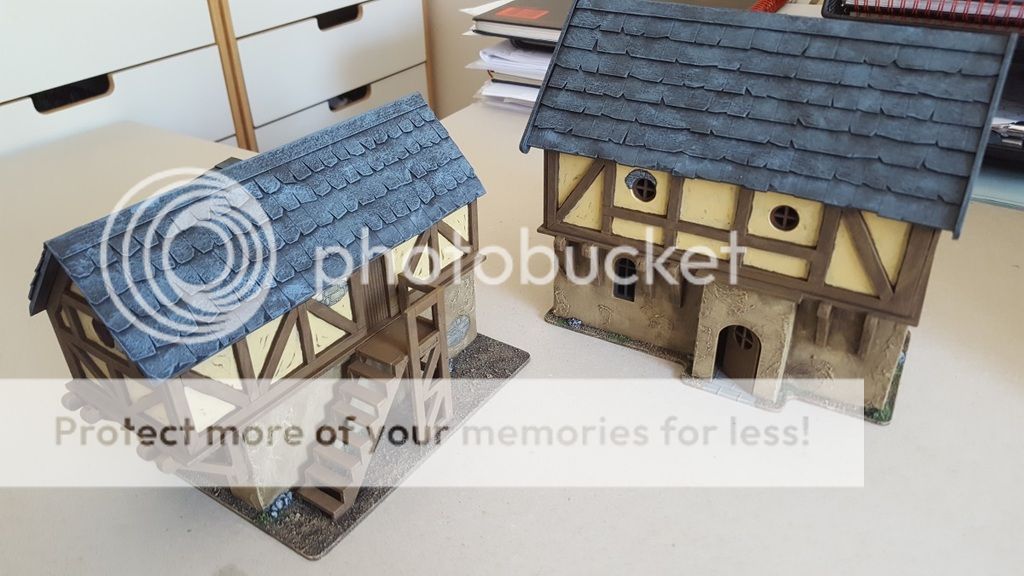
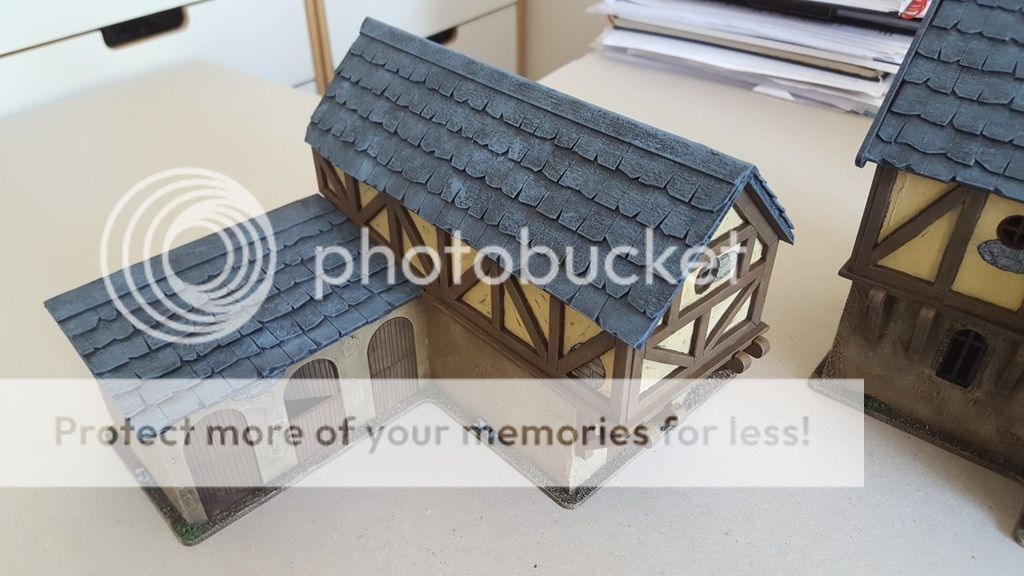
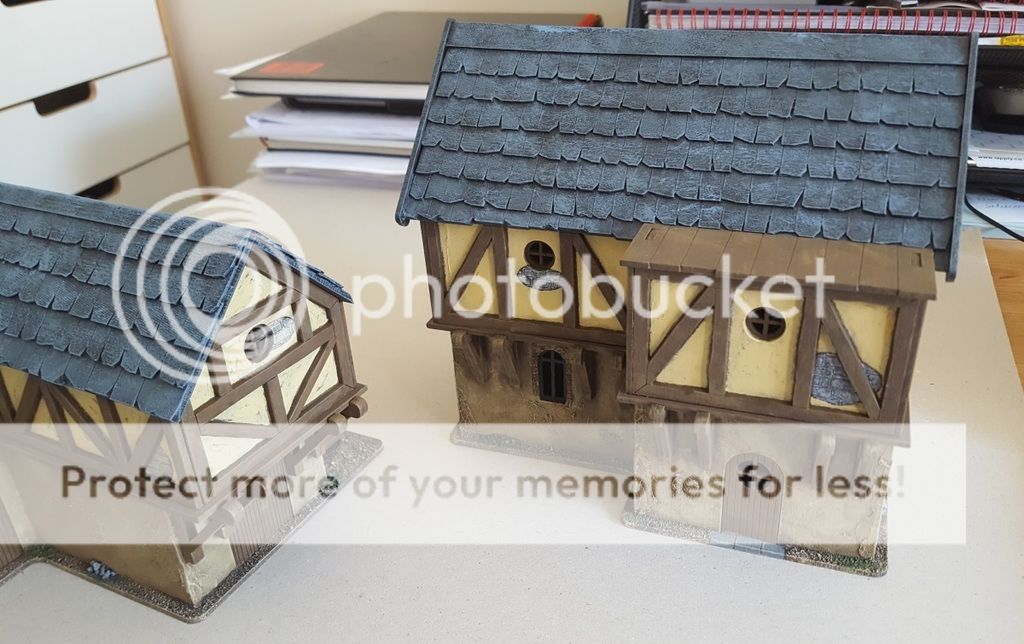
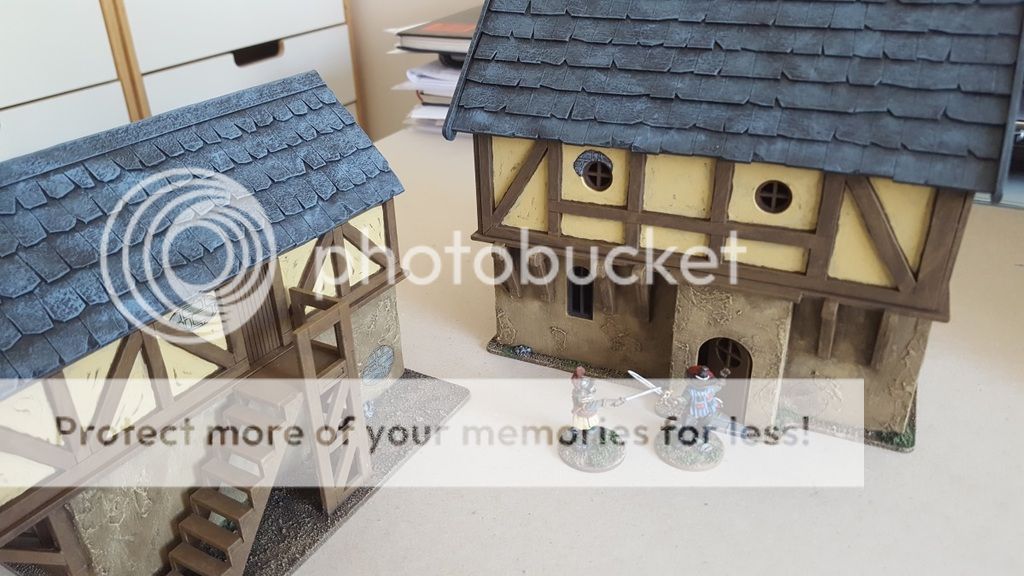
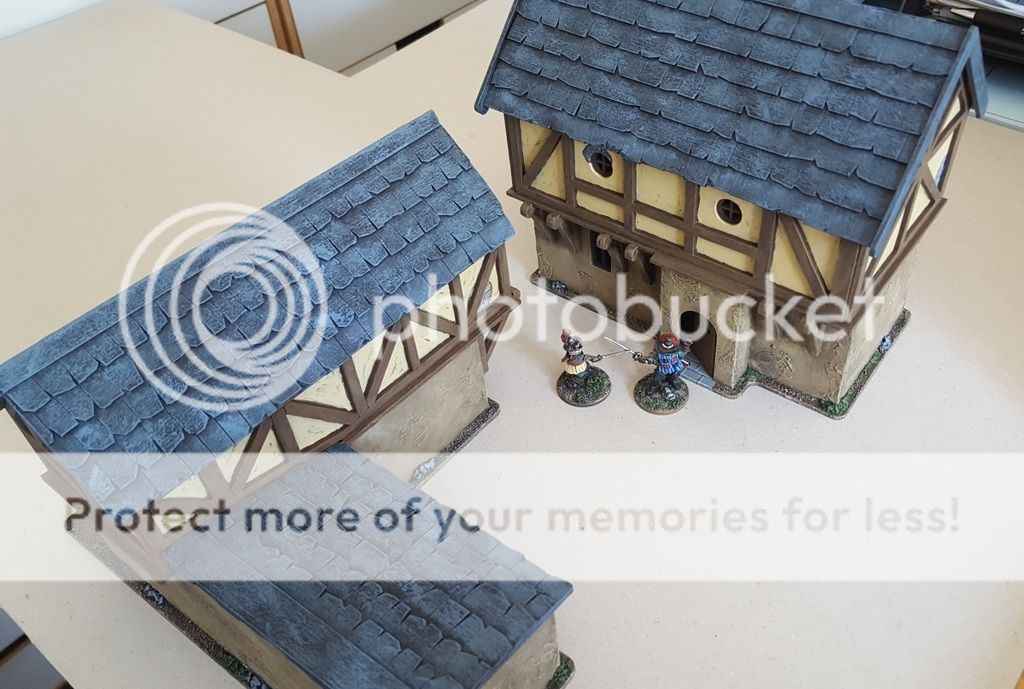
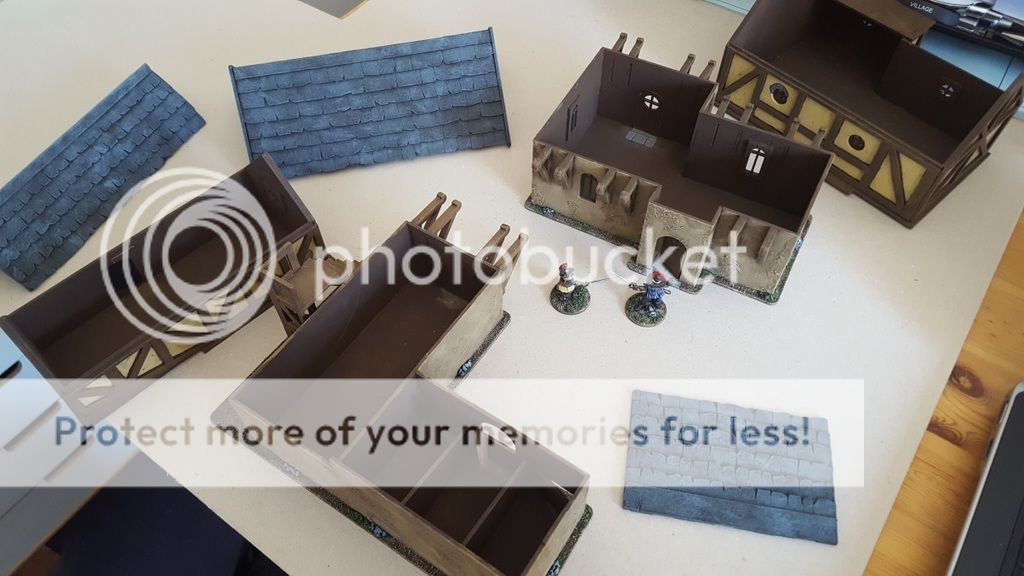
Back in January I made an effort to get through the MDF mountain (more of a hillock really), assembling a number of kits and painting most of them too. I was stalled with these 2 Timeline buildings as I needed something to tile the roofs with, so they sat unfinished while I searched the web (in vain) for what I wanted. In the end I decided to just get on and make my own, using the time-honoured card strip method. They’re not perfect, but they’ll do and are better than the standard flat MDF roofs.

I added some texture to the walls to cover up the construction slots and joins, and painted everything in shades to roughly match my existing 28mm buildings. I decided to ‘hinge’ the doors with insulation tape as I didn’t want them fixed in place, but wasn’t up to anything more complicated. The are no features inside as, for me, wargame building interiors are best kept simple and clear, as figure bases are oversized anyway.

I added the usual bit of texture around the bases and declared them finished. I like these kits a lot. They’re big buggers, but should look good on the table, especially for skirmish games.


Another MDF Cart

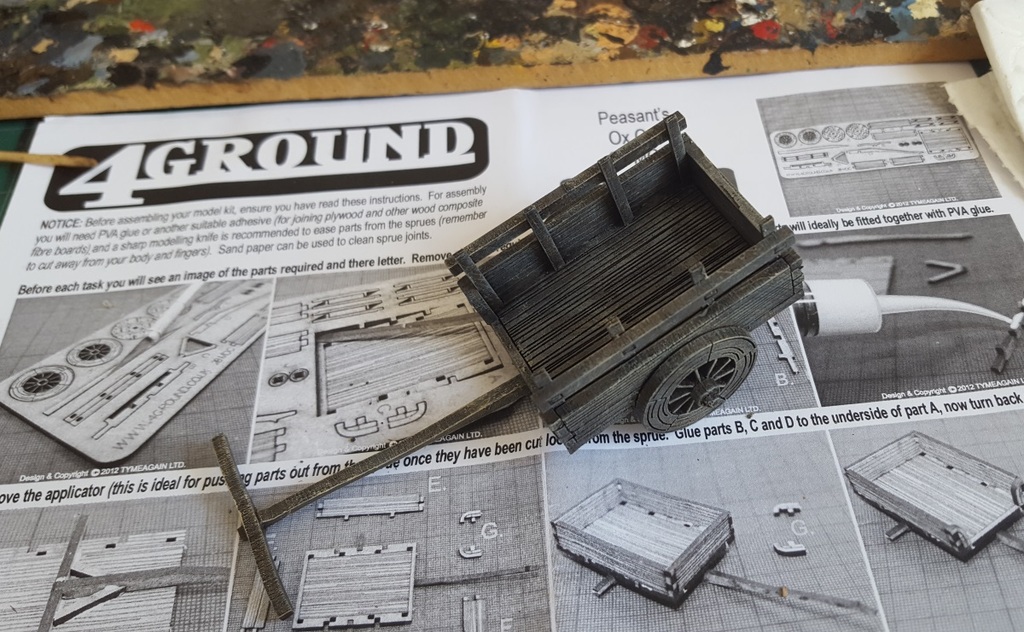
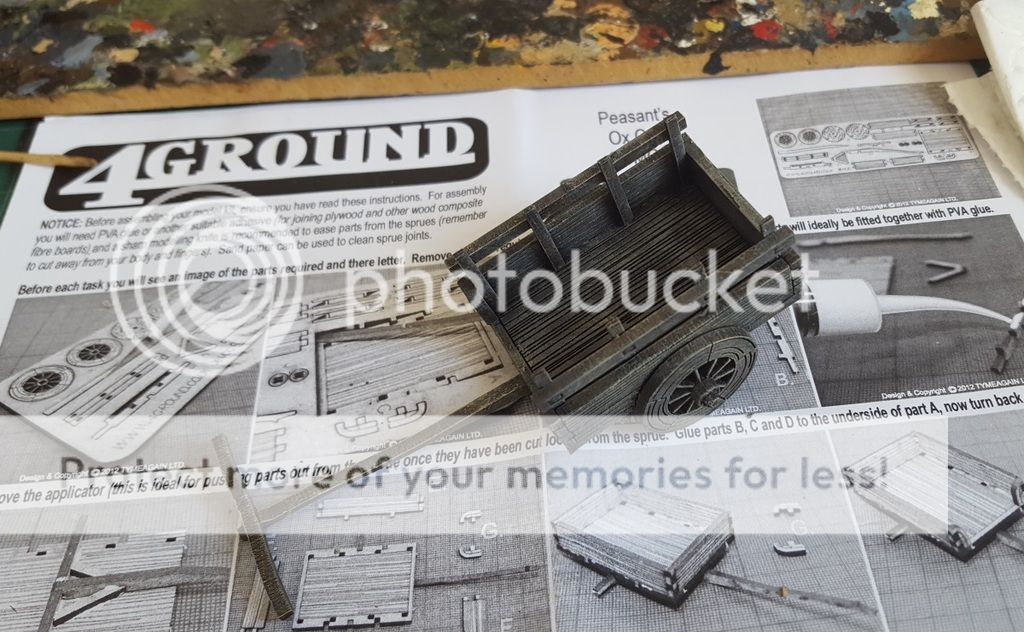
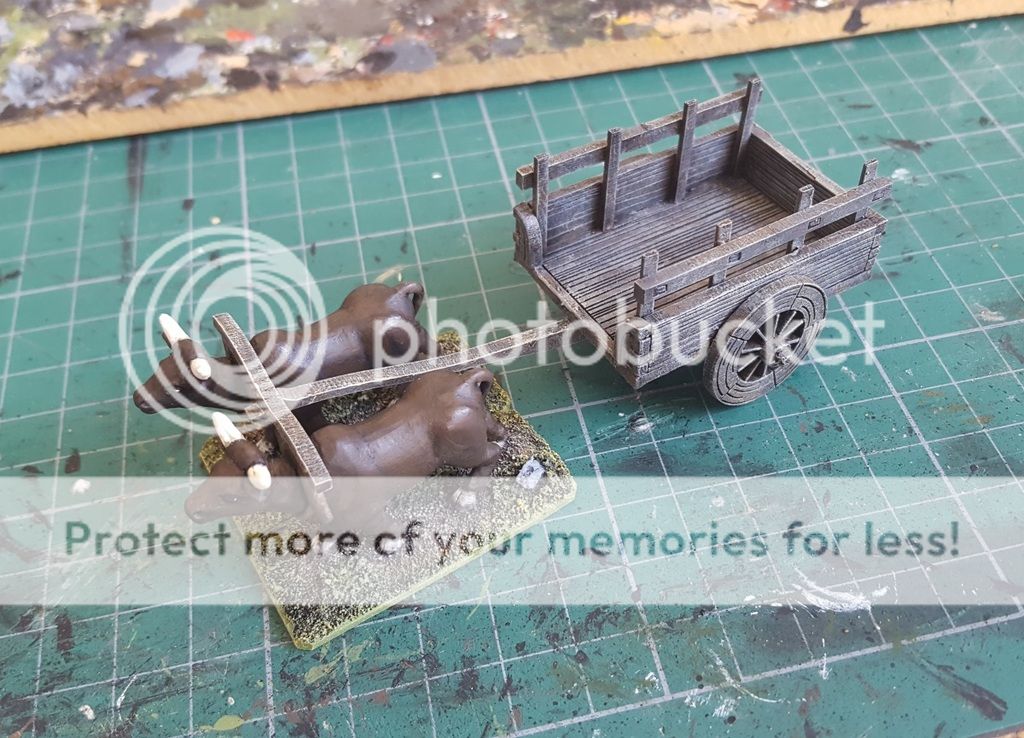
I can’t resist a cheap MDF wagon/cart kit – here’s the latest, bought last year from 4Ground. There were a couple of options for the final look, including not adding the high sides. I just wanted something generic so left them on.


It even came with full illustrated instructions, which help a bit. A quick three-shade drybrush and it was sorted. It’ll get use in a variety of periods, even just as scenery.

Frosty Ruins

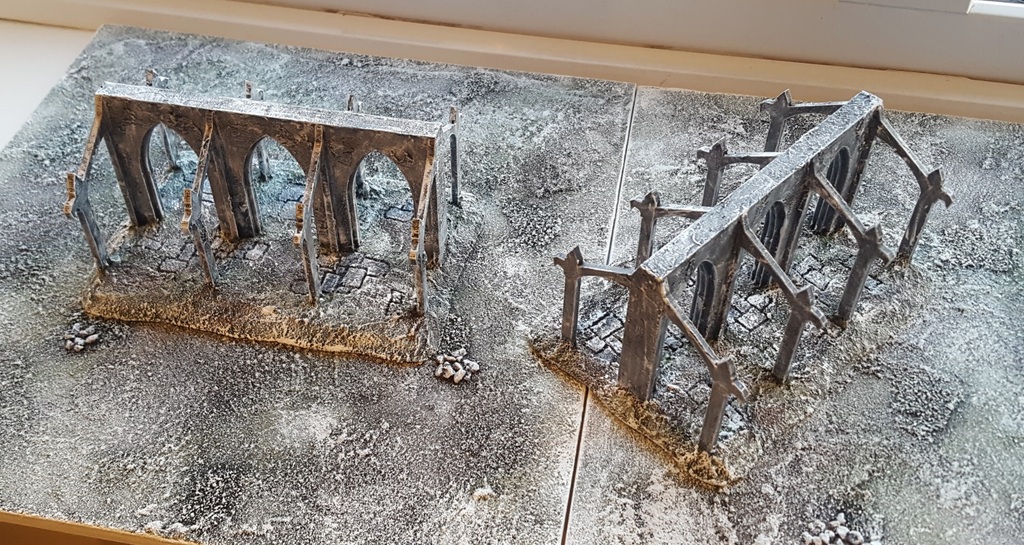
Another couple of bits of MDF scenery completed. These kits are from TT Combat, good value and easy to assemble. I decided to base them on 5mm styrofoam so that I could easily etch some paving slabs into them, and carve a slope to the edges.

I left the bases reasonably plain instead of covering them in lots of rubble, etc, as they’re just intended as gaming scenery for figures to be placed on, not an exercise in modelling!

Although I may not ever go the whole hog and collect enough winter-look ruins for Frostgrave, I fancied doing these in that style. I’m going to be expanding my winter terrain this year and am intending to build up some more generic scenery. The nice thing about these arches is that they’re not so big that they won’t work for 15mm as well as 28mm.

More MDF – Dark Seas Ship

I bought this kit at last year’s Derby show, having been impressed by pics I’d seen of the model (and the price – £15). It’s the smallest of their age of sail ships, and I intend to use it with my 17th century skirmish games, mostly as a piece of scenery but potentially for boarding, raiding and cutting-out actions too.

It was quick to assemble (once I’d looked at a pic online and understood how the mast/yard connection went together anyway). The detailing is very good, especially the decks, which I decided not to bother painting, and the intricate stern decoration.


I did make a couple of modifications though. I added a removable bowsprit and some supporting pieces for it, as I felt the model was lacking in this regard. I also added some height to the whole model, with a piece of 10mm styrofoam cut to fit underneath. I think together these changes enhance the model and give me something closer to what I’m after.


I will probably pick up a few guns, which will look good on deck, and may even get fired in the odd game 🙂

Now, back to the wood glue for more MDF delights…

Some MDF stuff

Hopefully this is the first of a few posts about some completed construction and painting projects. At the weekend I gathered together all my MDF kit purchases from the last year or two and realised that I had a built up a bit of a backlog – as you do.

So.. I’ve assembled a few, and finished the first small items.

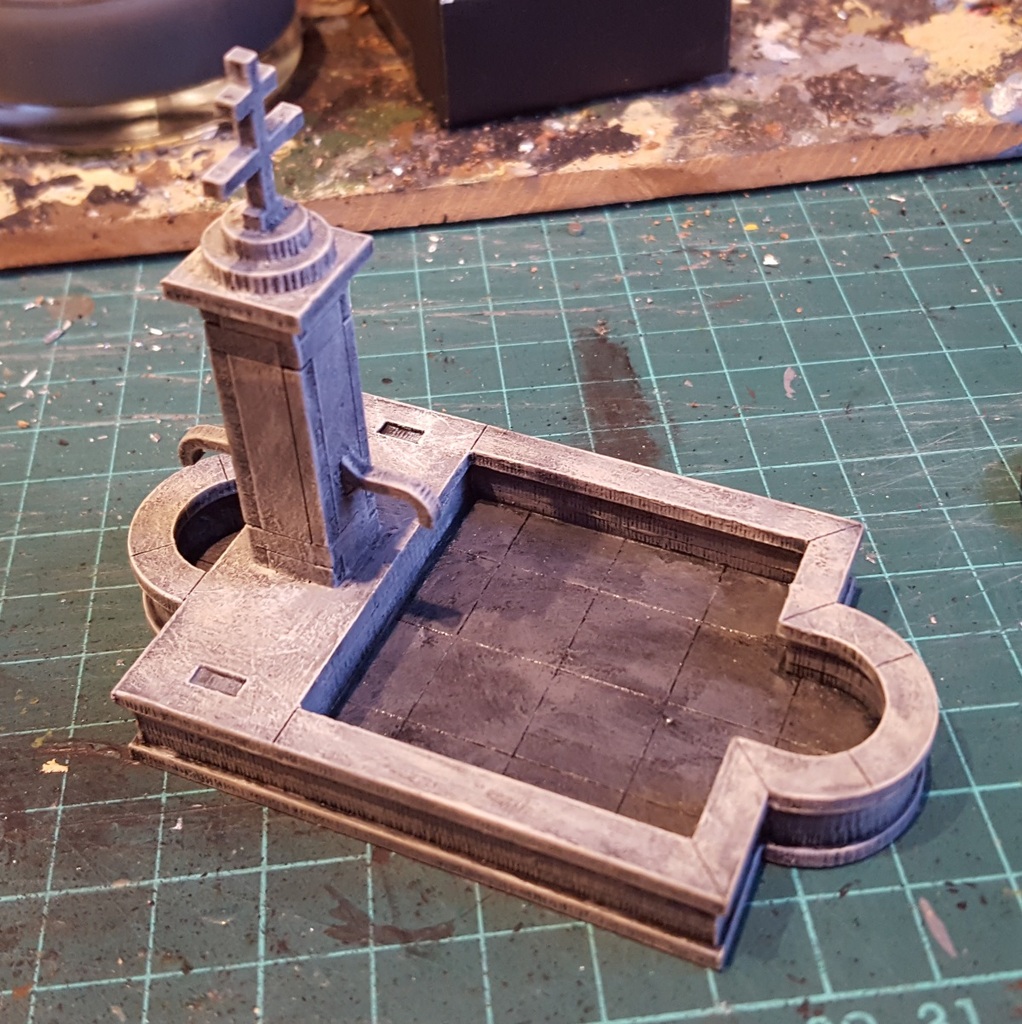
This is the village fountain from Sarissa Precision. It’s a nice model that will make a good centre-piece in the village square for skirmish games. I’ve given the bottom of the pool a coat of gloss varnish for now, but will get some modelling ‘water’ to give it a bit of depth.

My second order from Supreme Littleness arrived very quickly, allowing me to try one of their small bridge kits. Because of the nature of my terrain I didn’t use the end-pieces, and extended the 2 central supports a fraction, allowing the bridge to sit in place. A very nice model, it only takes seconds to assemble and a few minutes to paint.

More to follow!


More Supreme Littleness Buildings

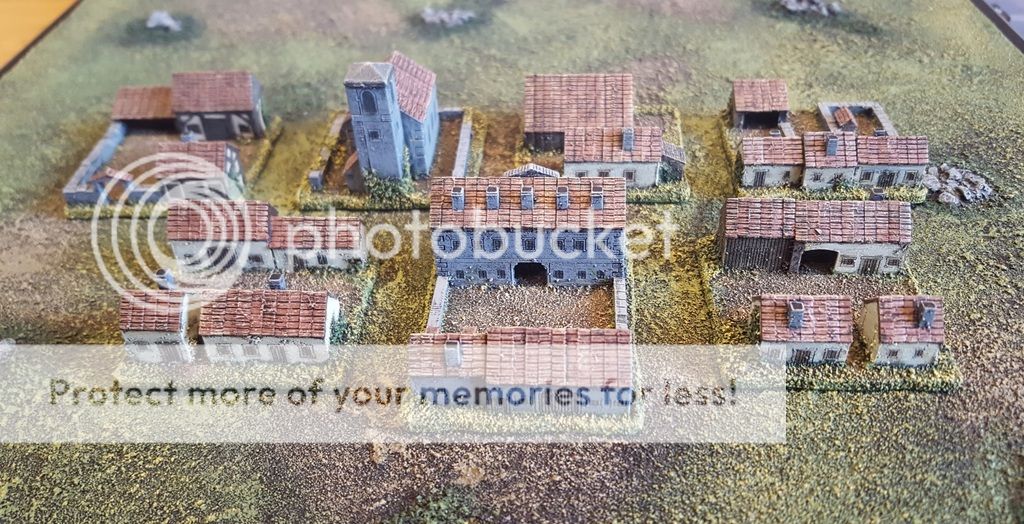
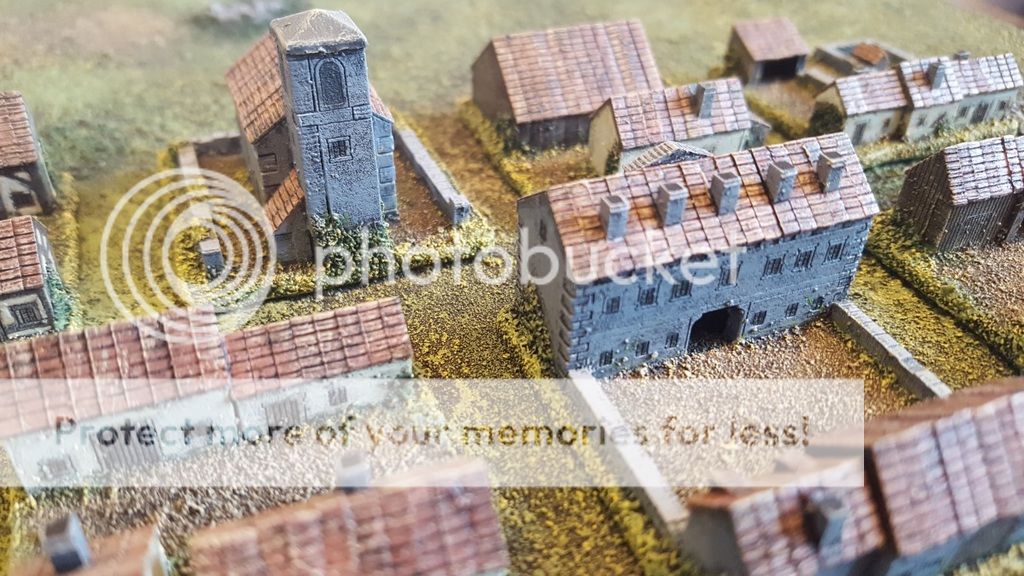
I’ve finished off the rest of the buildings I ordered in December. This means I’ve now got 7 bases done, including a church and manor house/schloss. I think I’ll order more soon so that I can place 2-3 villages on the table. I may add a taller spire to the next church, and possibly a bigger surrounding wall, as per Leuthen.

Since painting the farm I’ve speeded the process up a bit by cutting out most of the half-timbering, which isn’t a very Silesian look anyway. I’ve basically just used a couple of dry-brushed colours, some washes for the windows, plus sand on the bases.

With some trees interspersed and some other bits and pieces, I think they’ll look the part.

They may even get used in a game this weekend!


Testing Downsized Buildings from Supreme Littleness Designs

Despite my intentions to make all the rustic buildings I need for my 6mm SYW setting, I have recently been tempted to drop down a scale for them. I think there’s a sliding scale for the aesthetics of matching buildings to figure size – and it relates to the size of the conflict being represented.

For skirmish games you need a good match, as the individual figures will generally interact closely with the buildings, sometimes even being placed inside them. For a big battle, the main problem with matching scale buildings is the footprint. You end up saying ‘this cottage represents the whole village’, etc, which is fine, but coupled with the towering height of the building over the supposedly substantial troop formations, this can jar a bit.

Others have taken the approach of going to the next ‘wargaming scale’ down for their buildings, and I’ve always been interested in this approach. Goat Major is putting 1/300 buildings with his 10mm DBN Napoleonics, and I’ve liked what the Baccus guys have done in the past with their miniature big battle show games, using 2mm buildings.

So, when I saw an advert for the new 3mm MDF buildings from Supreme Littleness Designs I decided they might just work with my Heroics & Ros armies, as these figures are a bit smaller than the more modern approach to ‘6mm’. I ordered a few packs from their central Europe range and they arrived very quickly via their friendly and efficient service.

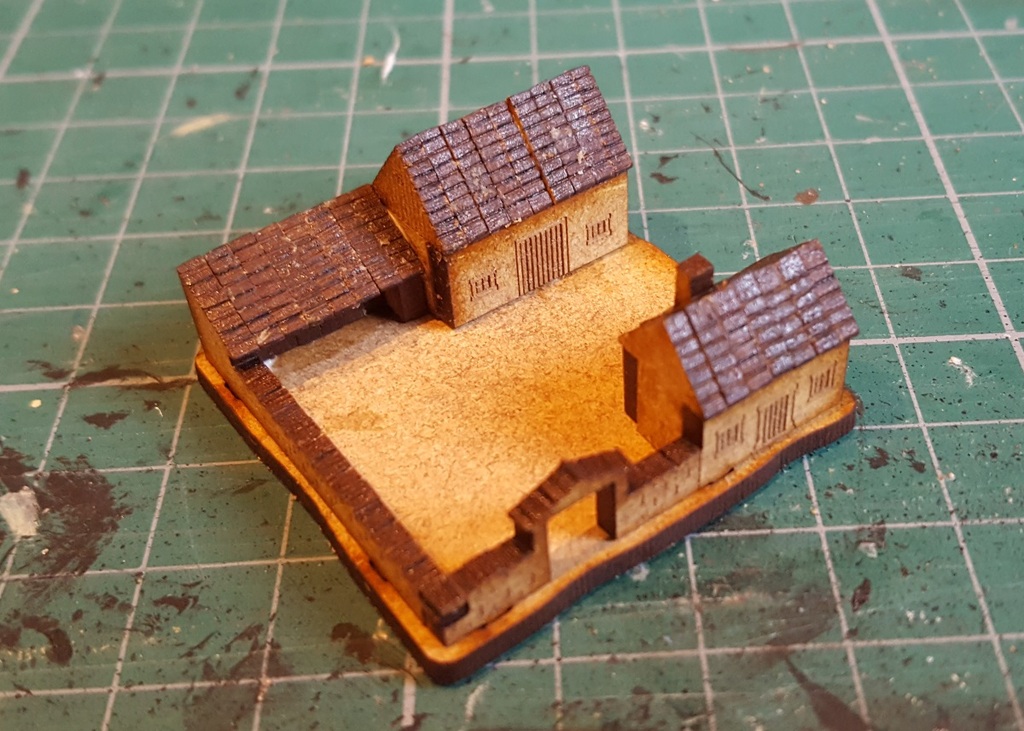
I put the first one together, a partially walled farm on a 40x40mm base. Everything popped out of the pre-cut MDF sprue very easily and then I set-to with the glue. What I hadn’t realised was that the buildings come not as ‘boxes’ to be assembled, but rather as a sort of swiss roll that needs to be built up layer by (vertical) layer. This was a bit tricky, but I was probably just being inept. Adding the long side fascias helped align them better, but I didn’t manage to get them 100% right. Still, rural buildings don’t always adhere to straight lines do they?

First one assembled:

With a battalion of Prussians:

Painted (I added some timbers with the brush), with a bit of texture on the base:


I have more village and farm buildings to do, plus a church and a manor house. Most are about £2, which is very good value.

All in all I really like these models. They’re fun to put together and very easy to paint. Some climbers on walls, the odd tree drilled into the base, and some tactical dry-brushing, and they fit in well with my terrain and other scenery. In terms of size, I don’t think they look too small compared to the figures, although I won’t be sure until I’ve done enough to create a settlement from several bases. I also like the 40x40mm basing approach, which makes them modular and easy to place, and move when more space in a game grid square is required.

I’ll aim to get more done over the Christmas period and post again when I finish them.

Merry Christmas to everyone who’s visited this blog in 2016, your interest and encouraging comments are much appreciated. Have a good one.

Warbases Engineers’ Wagon

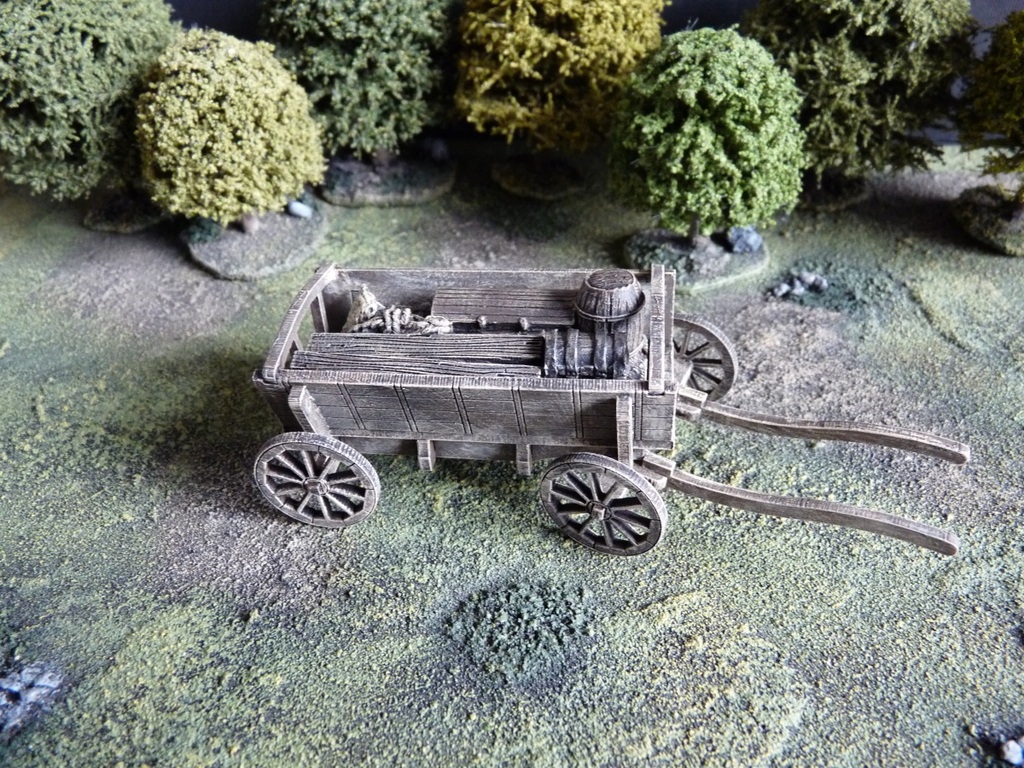
Another nice model kit from Warbases, this wagon was quick to put together (once I’d worked out the assembly order). Everything fitted neatly and the engineers’ equipment load can remain loose for removal when not required.

Great value and perfect for Sharp Practice, either as a general wagon, engineer option, or just as a piece of scenery.


A Small Big Bridge

Although I made my riverbank terrain sections some time ago, and have bridges for 15mm and 28mmm, I have only just gotten around to making a bridge to get across it for 6mm games. I do have a couple of pontoon bridges, but nothing fixed and proper, as many a good scenario demands.

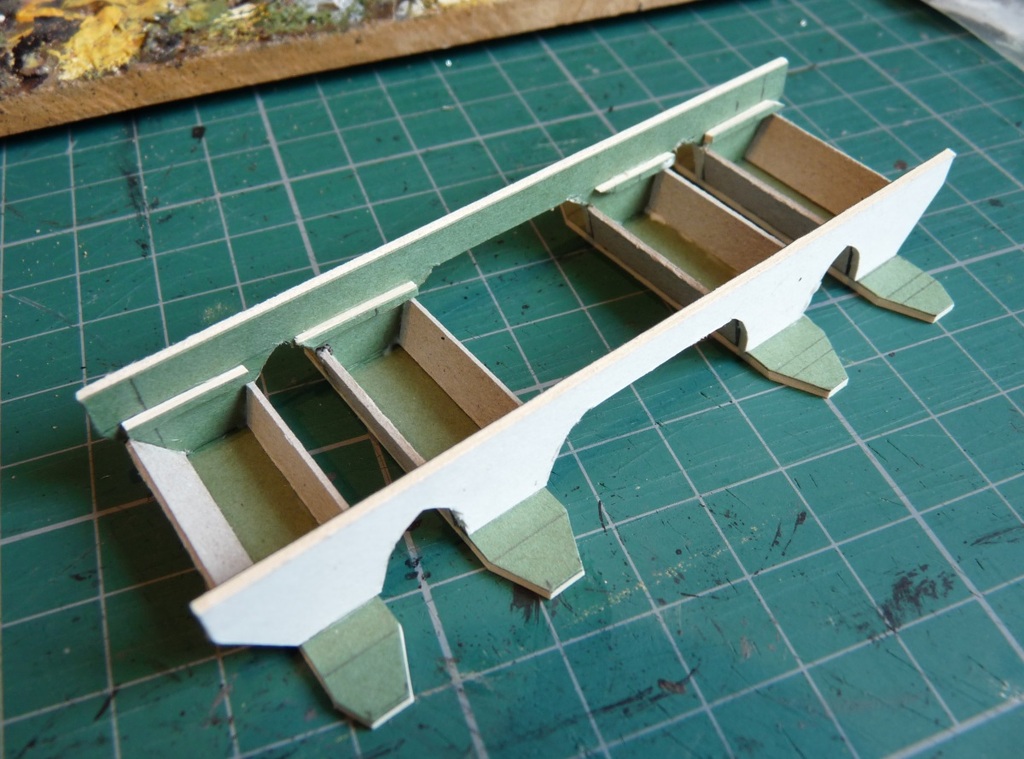
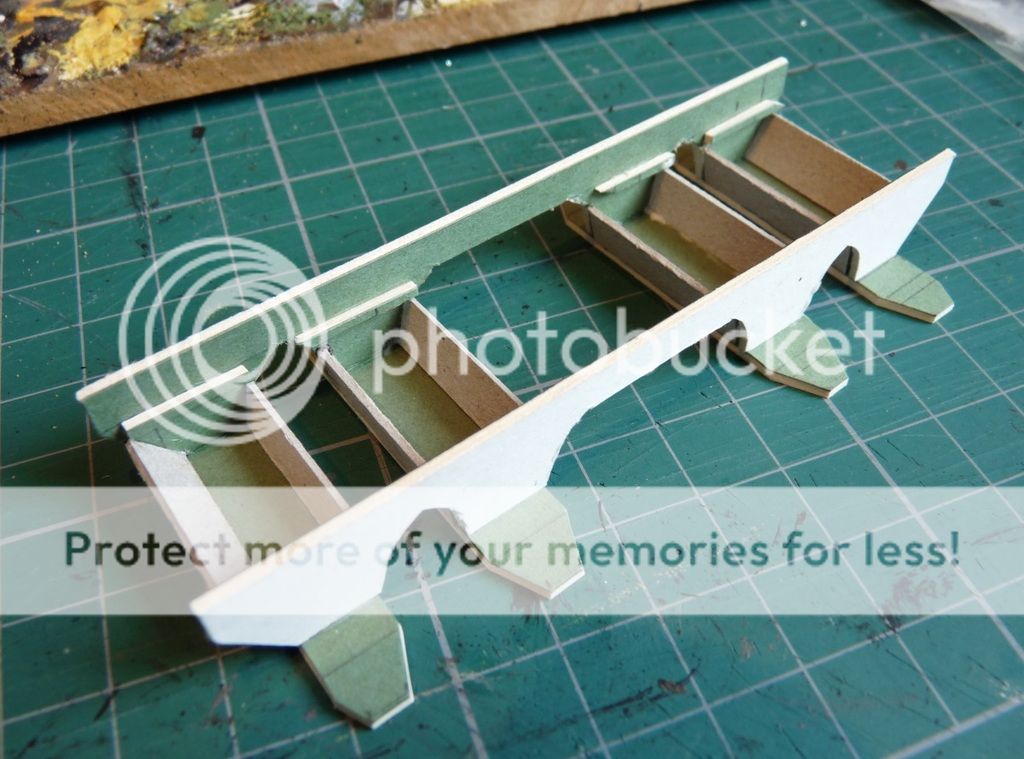
So, yesterday I did a quick bit of measuring and quickly started marking out and cutting some card. I was after a useful generic stone bridge that would serve for all my 6mm gaming from the mid-17th century up to the present day (should I ever dabble again with Moderns, or even WW2). I would normally have gone for something a bit narrower, but my recent SYW efforts in this scale have generated figure bases 24mm wide, so I decided the new bridge would have to be wide enough for these.
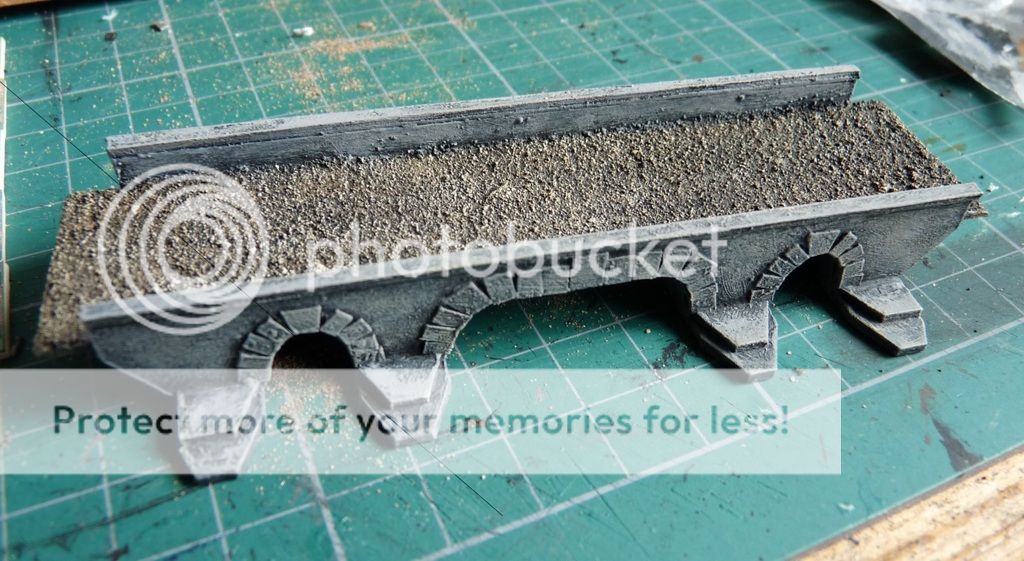
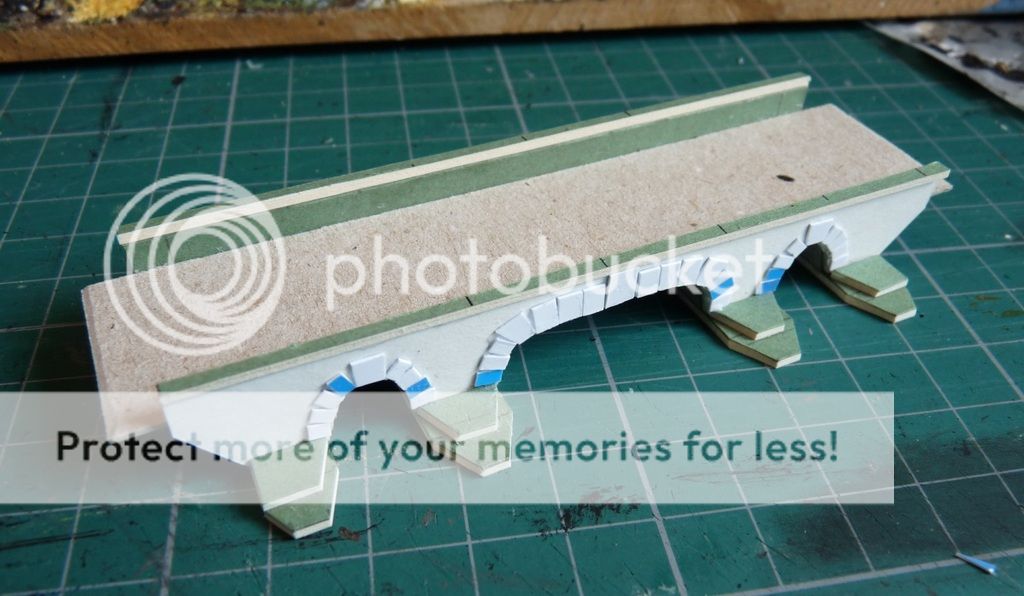
With about 90-100mm of river to span, I decided on a flat roadbed rather than anything fancy, largely due to my modelling limitations. A few arches would add some visual appeal and, although curves are never easy with a knife and card, it went OK. I could also mask the dodgy cutting with some arch stones made from thick paper.
I made the structure first and then added the road layer (a thin piece of card) after.


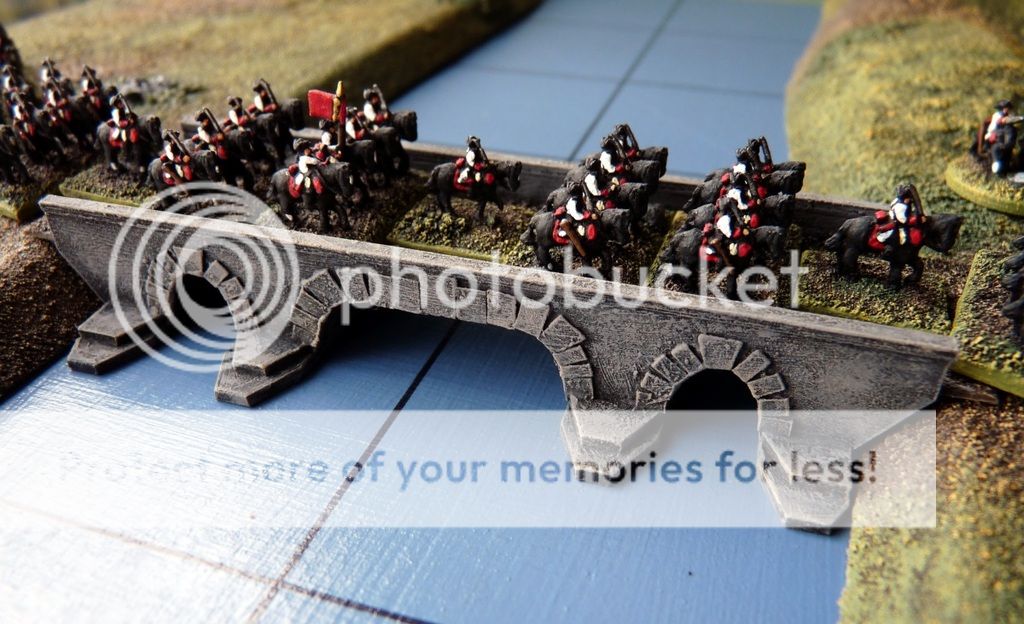
Everything was black undercoated first and the stone got a couple of shades of grey, plus some light weathering with a pale buff shade. I textured the road with sand and painted it to match my terrain.

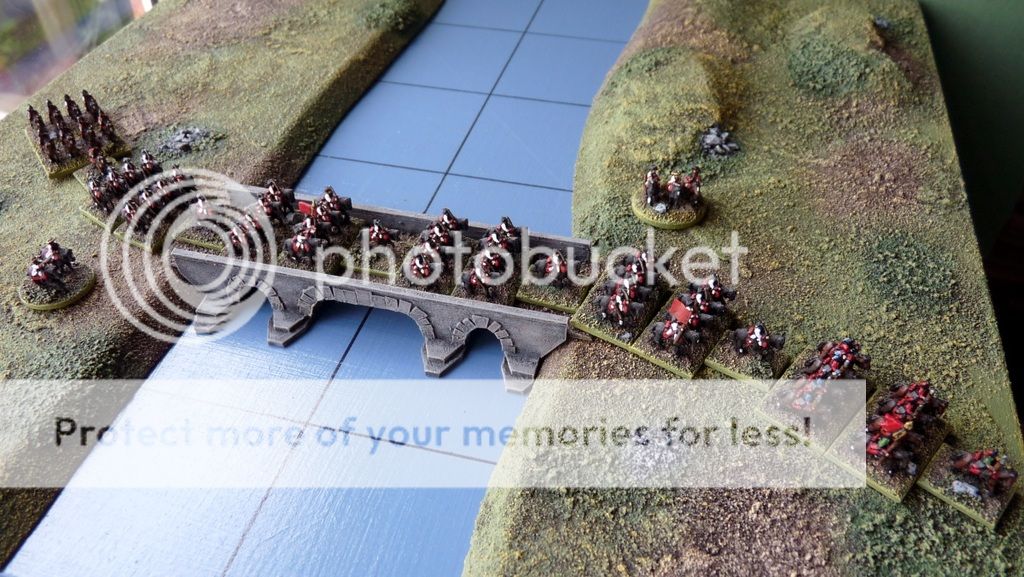
The finished bridge:

I may return to this model later to add a removable customs house/arch at one end, which I think would be a nice touch.

Here it is being made use of, by Austria’s finest (not my usual river board but it’ll serve):


Now, back to those Heroics & Ros!