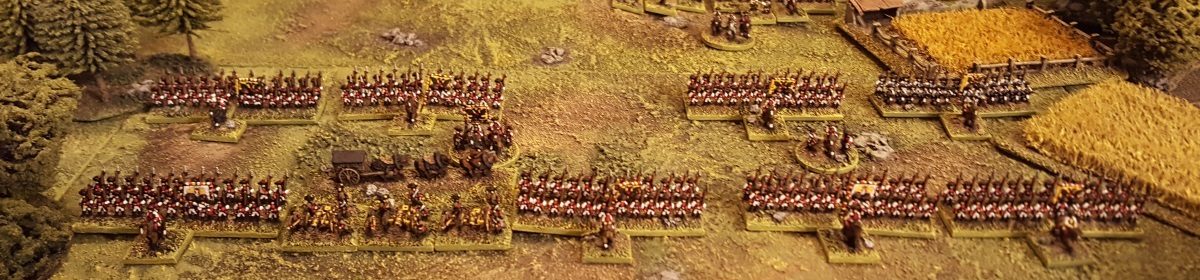

I picked up a copy of Neil Thomas’ book a little while ago and the scenarios in particular looked interesting and worth a try. We used one in the recent first game of Sharp Practice 2, which worked well, and I fancied trying a few more. The rules included in the book are, obviously, designed to give simple games in under an hour. However, the design principles make a lot of sense and there are some clever touches. I thought I’d give them a go at the weekend, so dusted off some terrain boards and picked a few of my freshly painted SYW 6mm figures to give them their first outing.
I basically played these solo games ‘straight’, making the decisions for each side in turn, as I thought best at the time. The mechanisms are easy to learn and remember after the first couple of turns, and the tactical challenges made even small, simple games like these a lot of fun.
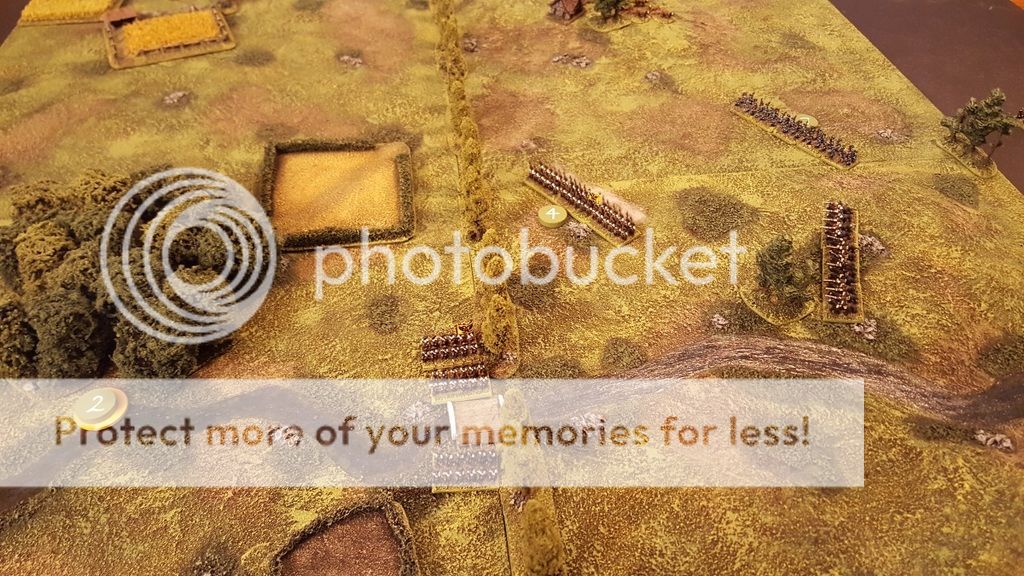
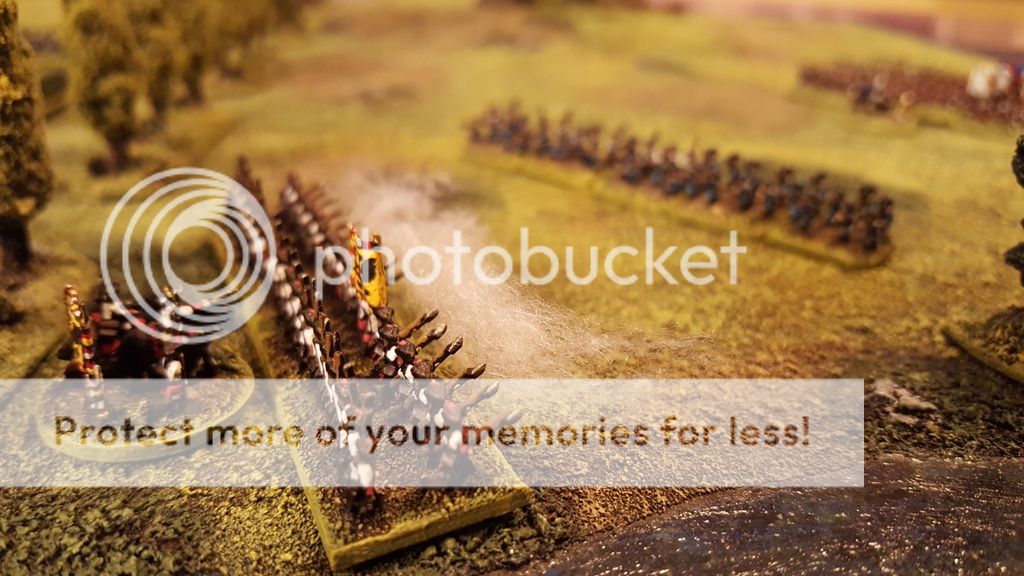
Games 1 & 2 (scenario 4 – Take the High Ground) Prussians vs Austrians on a 2’x2′ board
In the first game the Austrians pushed the Prussians off the hill and consolidated a decent line that was able to deal with the counter-attack. The cavalry pretty much took each other out along the road, and the Austrians secured a solid victory.
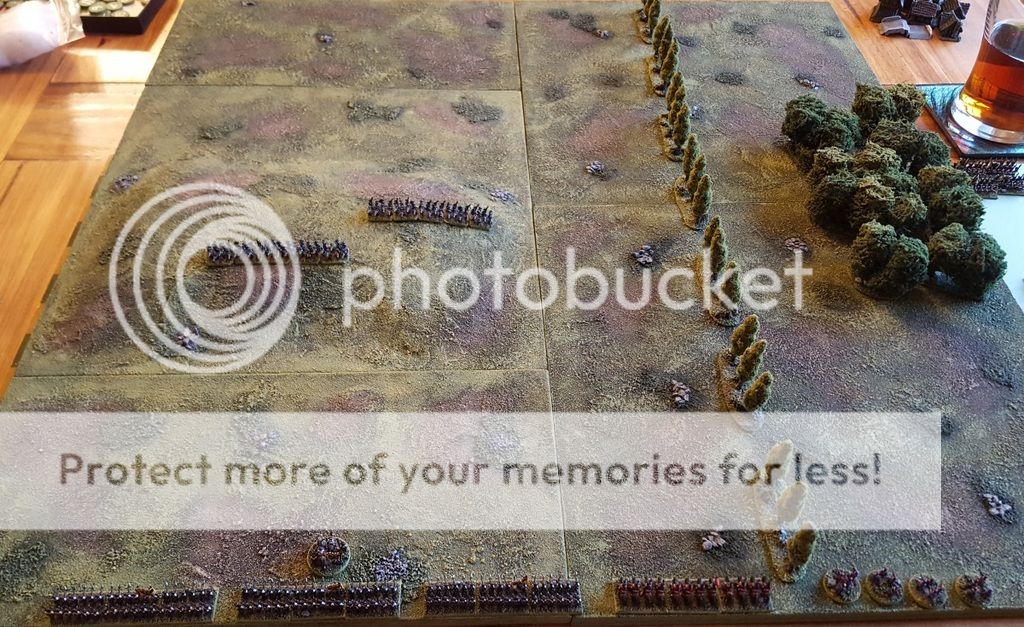
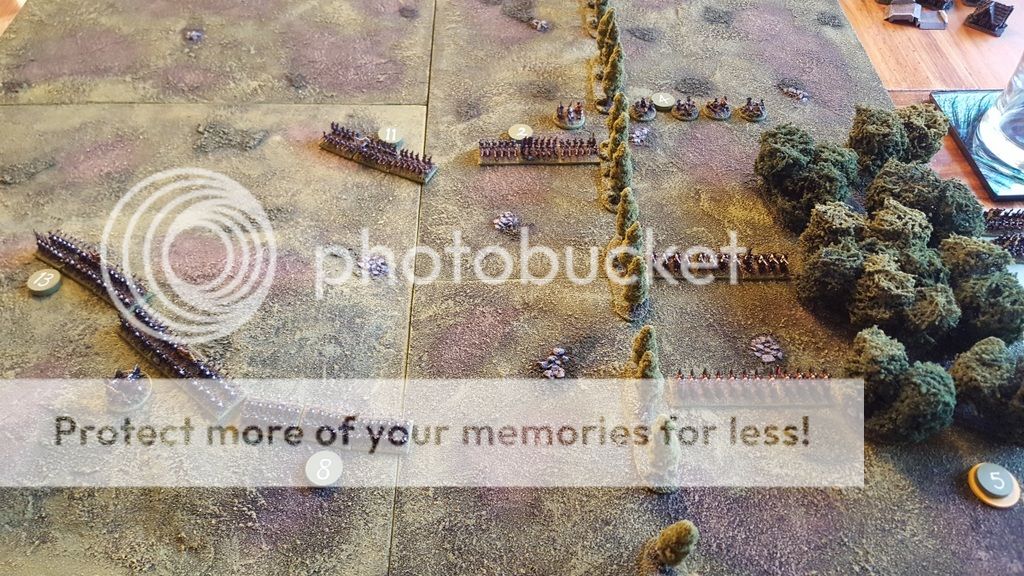
In the re-match the outcome was much the same although the Prussians put up a stiffer fight, only to be cleared off the hill again!
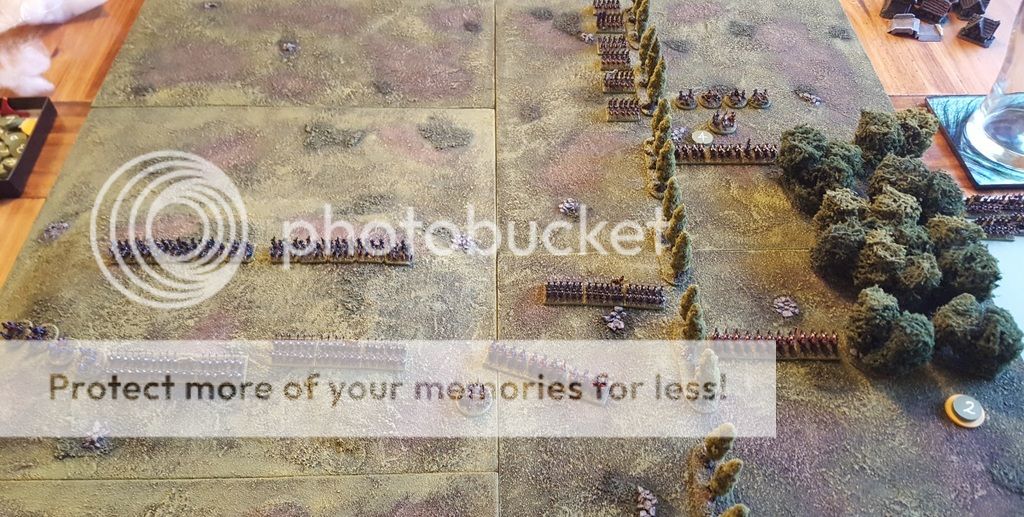
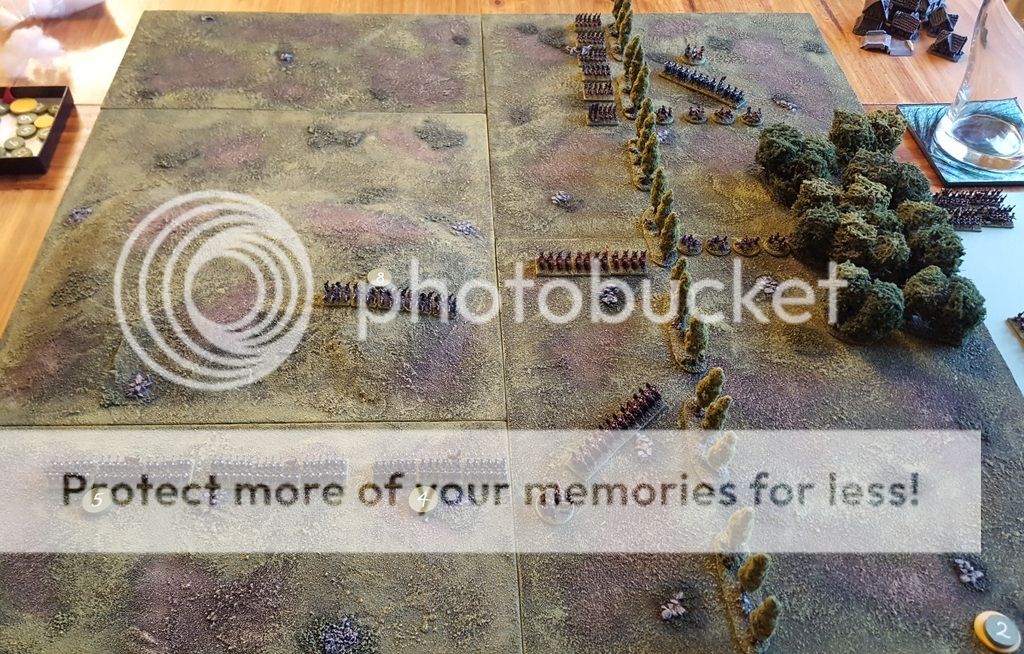
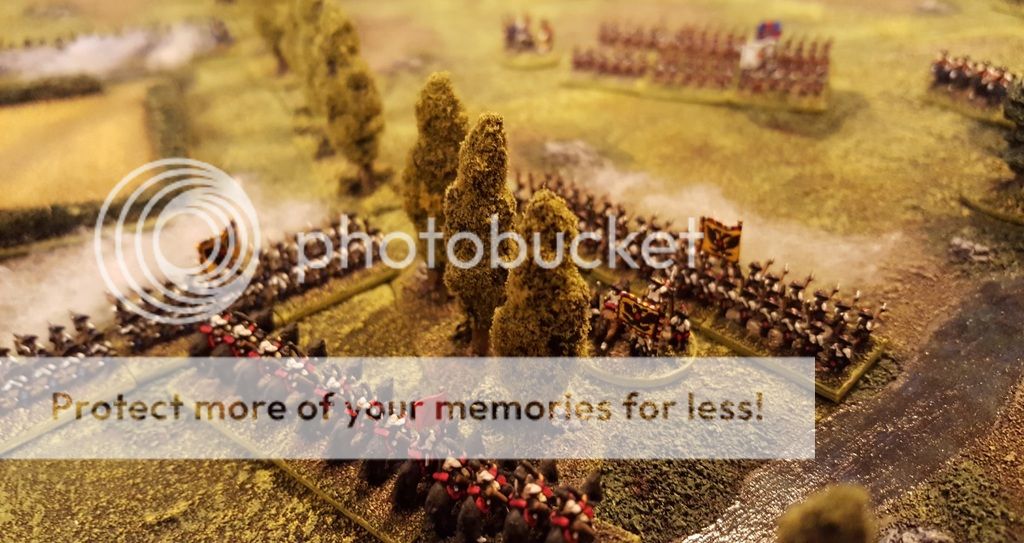
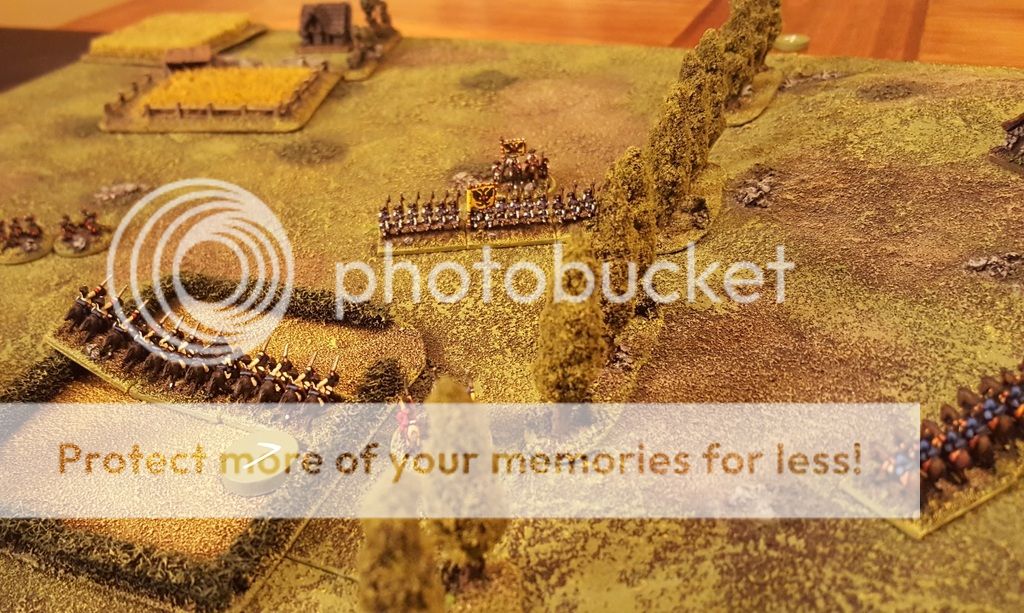
Games 3 & 4 (scenario 5, Bridgehead) Prussians vs Austrians again.
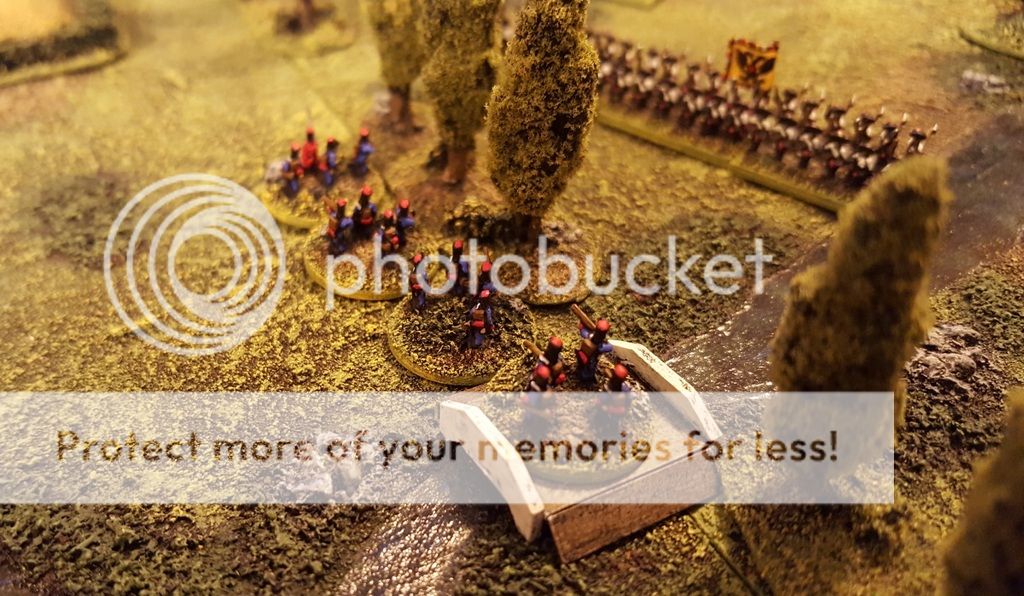
A more interesting scenario this one. Both sides receive reinforcements in the early turns – the Prussians (top) were coming on randomly from 3 potential arrival points while the Austrians were having to cross at the bridge to join the action and hold the crossing. Both sides need to clear the enemy from the north bank of the river.
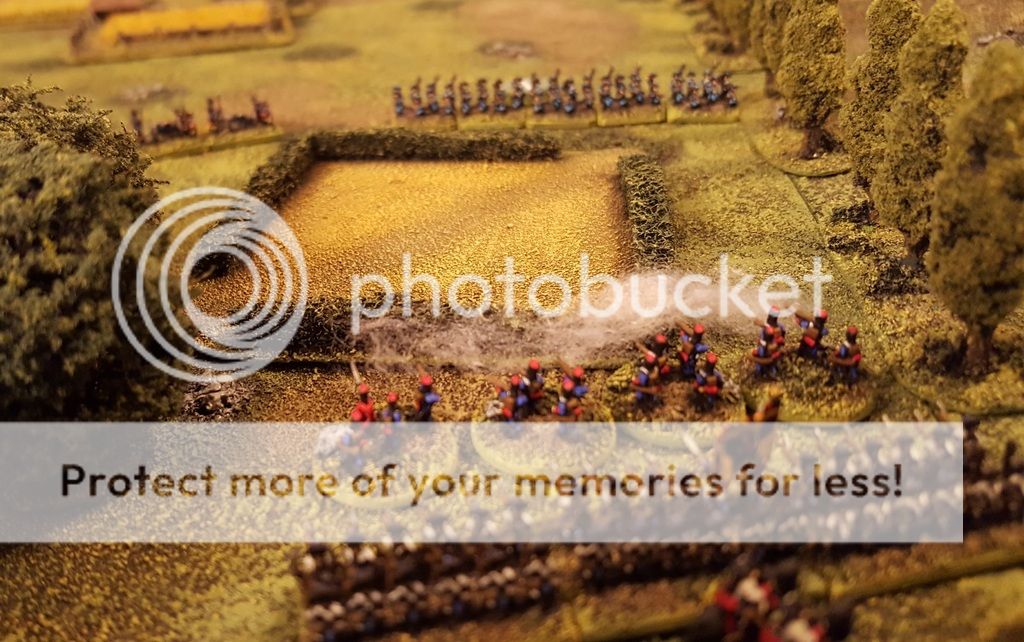
I decided to make the board look a little less plain, with some additional terrain features that were just for show and could be moved a little if they got in the way.
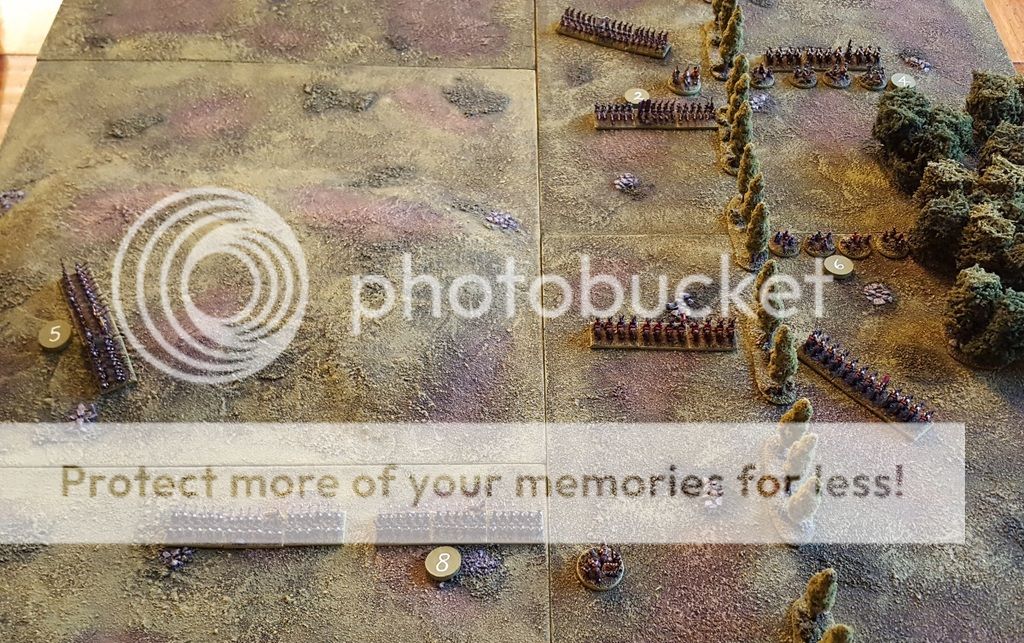
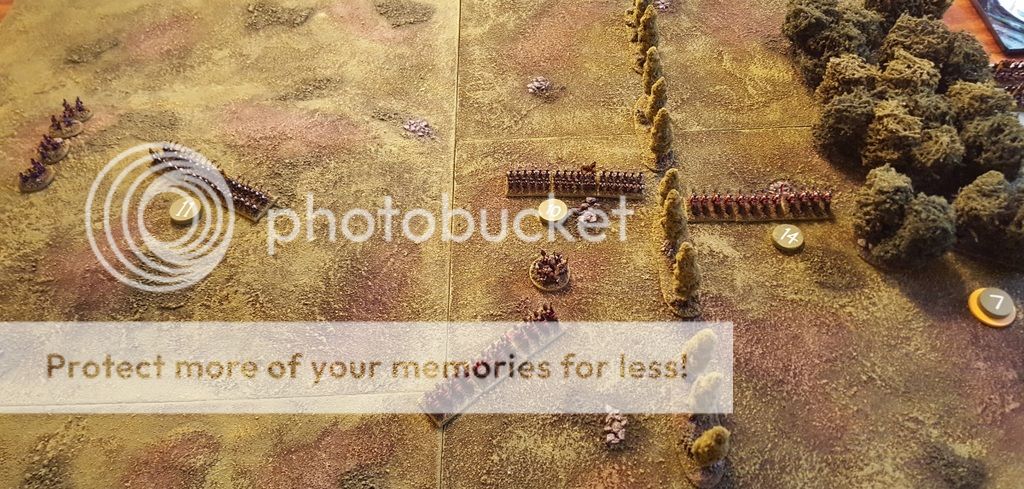
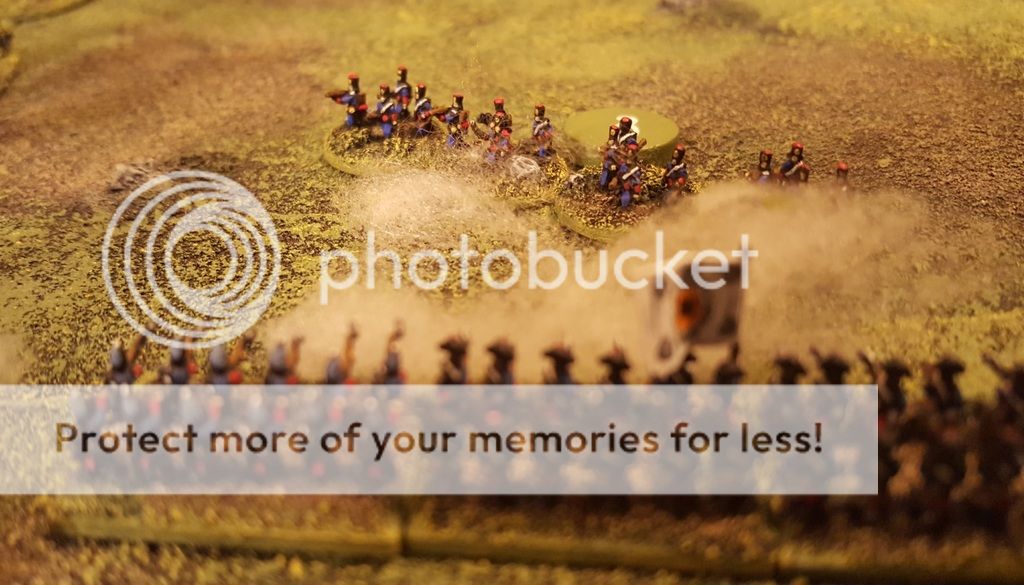
The Austrians put up a good fight but the Prussians, coming from both directions, kept them penned in near the bridge. Prussian artillery fire and cavalry charges caused some damage and the Austrian Grenzers couldn’t make sufficient use of the wood to disrupt the Prussians. In the end it was a victory to the Prussians as they closed the vice and cleared the Austrians from the north bank.

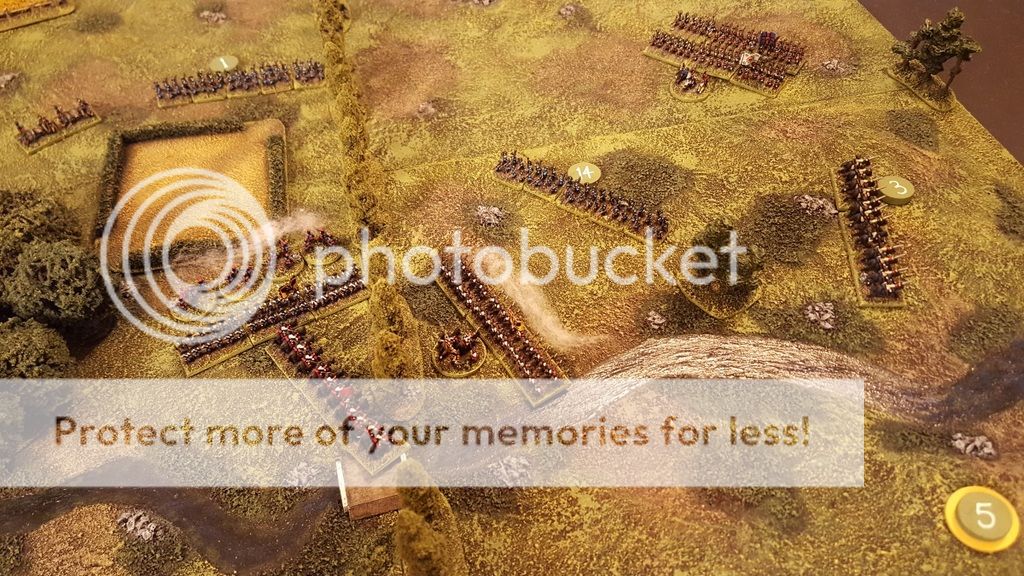

Game 4 also saw a Prussian victory, despite the sides being swapped round. The Austrian arrival point rolls (4 units coming on from the west behind the wood) allowed the Prussians to spread out to the east and gain room to operate. They managed to drive north and destroy the Austrians piecemeal. Again the Austrians had suffered from a bit of a traffic jam, and this prevented them from forming a more coherent line to maximise their firepower.


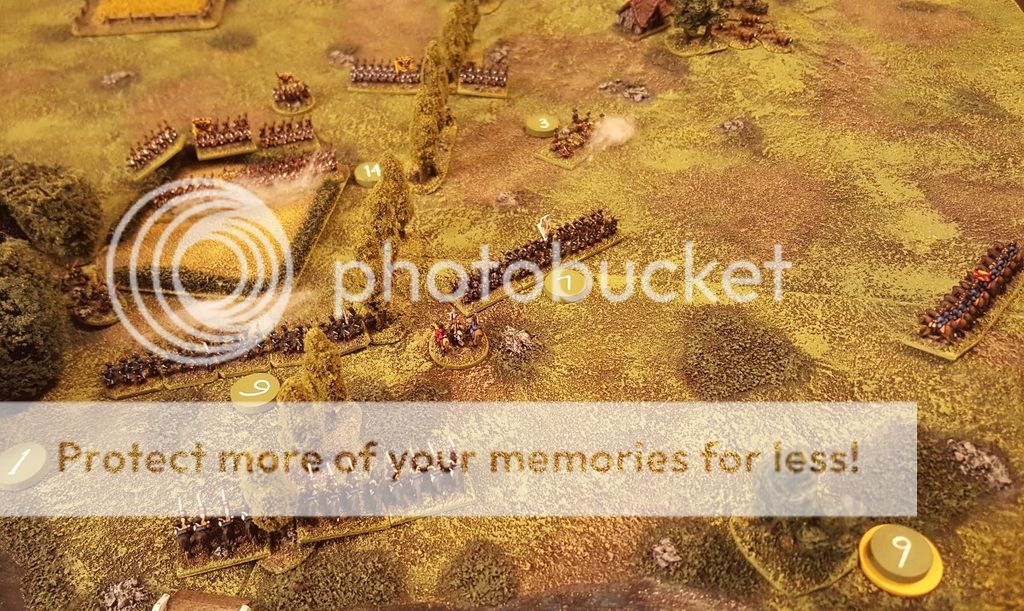
The green numbered markers next to units denote hits suffered (collect 15 and you’re dead). The one on the yellow background is my turn counter.
Even with just 6 units a side (some scenarios give one side fewer units than this) these scenarios still deliver a challenge and no two games are the same. I was keen to try out some of the other periods for which rules are provided, so in the next post there will some pics of a couple of further One Hour games, this time set in the era of Pike and Shot.
Excellent looking game and shows what can be done with well presented 6mm figures and terrain.
The 6mm collection looks superb. I need to have a look at this book I think.
Great looking games! This is one of those set-ups which make me want to start a 6mm project immediately… I've got the Thomas book at home and until now only used it for scenarios, but I will give the rules a try.
Always such a pleasure to see your 6mm chaps in action on your amazing terrain.
I've been enjoying One Hour Wargames lately too. The rules are simple but the scenarios are what make the book great.