

The action resumed this weekend, with further battles as the German III Army pushed forward on both flanks, keeping up the pressure on the French.
The campaign account continues..
6th
August: Two battles were fought on this day, at Sturzelbronn and Walburg.
August: Two battles were fought on this day, at Sturzelbronn and Walburg.
The Battle of Sturzelbronn
On the northern flank the Bavarian II Korps encountered
elements of V Corps at Sturzelbronn in the foothills of the Vosges and
immediately engaged, 3rd Division following 4th Division
into action. The French began the action with their 1st Division
deployed in key positions, being successively reinforced from the south by the
tired but still spirited 2nd and 3rd Divisions who had
fought at Worth 2 days previously. The French 1st Division took
heavy casualties from massed Bavarian batteries and fell back, while both sides’
cavalry divisions were used aggressively, causing considerable disruption to
the enemy. Eventually their losses, coupled with the collapse of their left
flank (and the loss of no less than 3 generals), forced the French to cede the
field to the Bavarians and withdraw toward Bitche, and away from the rest of
MacMahon’s army.
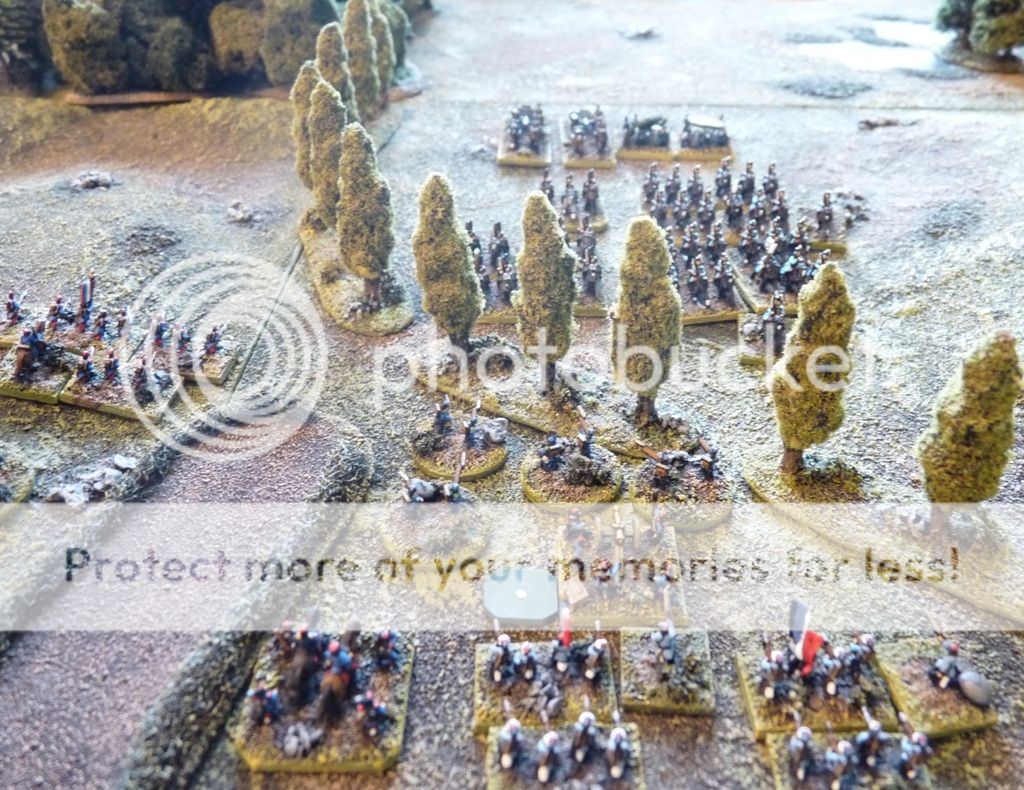
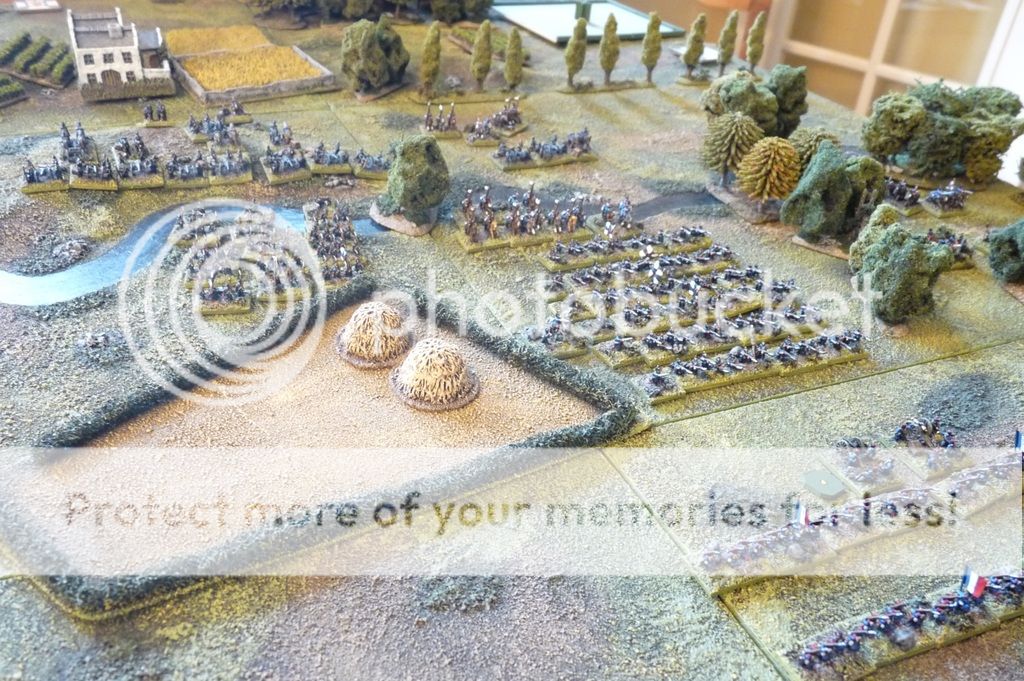
The battlefield near Sturzelbronn, looking east:
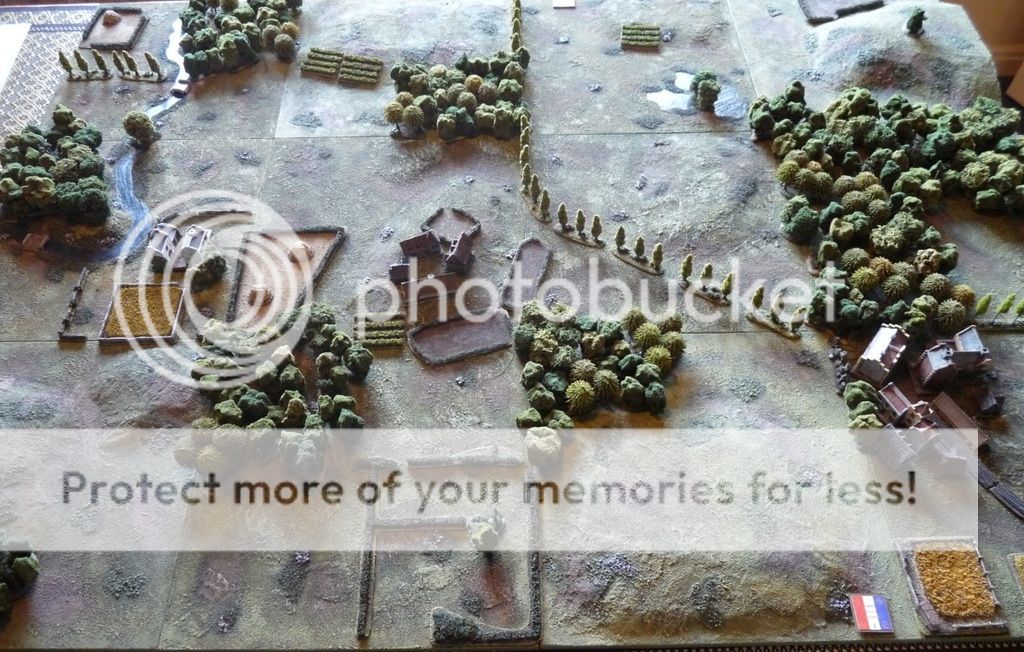
The French 1st Division looking fairly frail as they take up their defensive positions. They’ll be casting anxious glances to the right in the hope that the rest of the Corps arrives before the Bavarian hordes do:
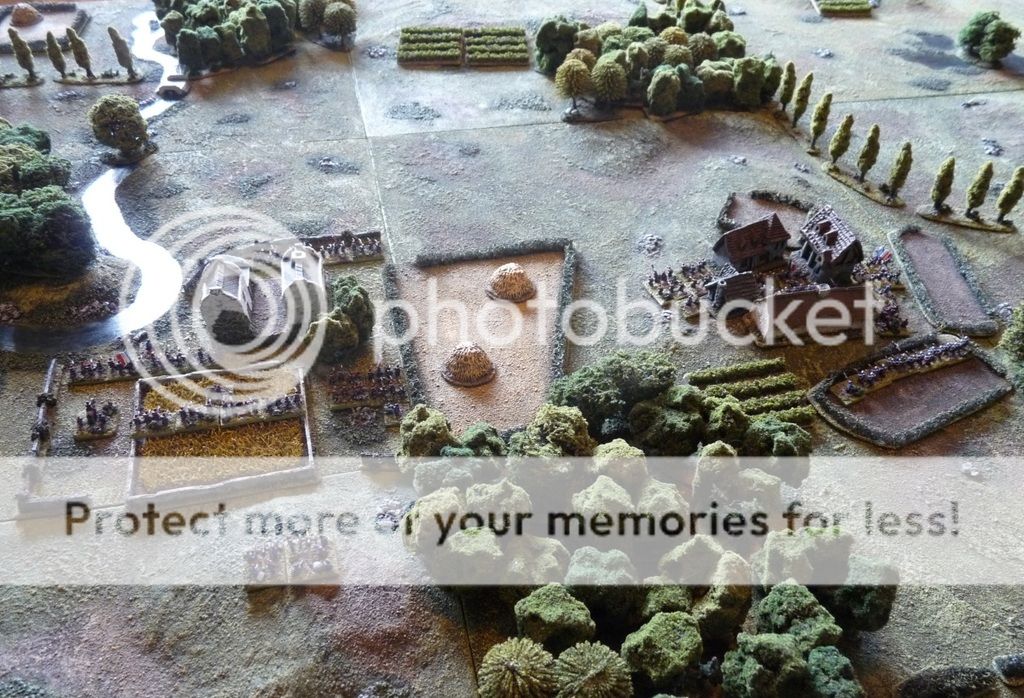
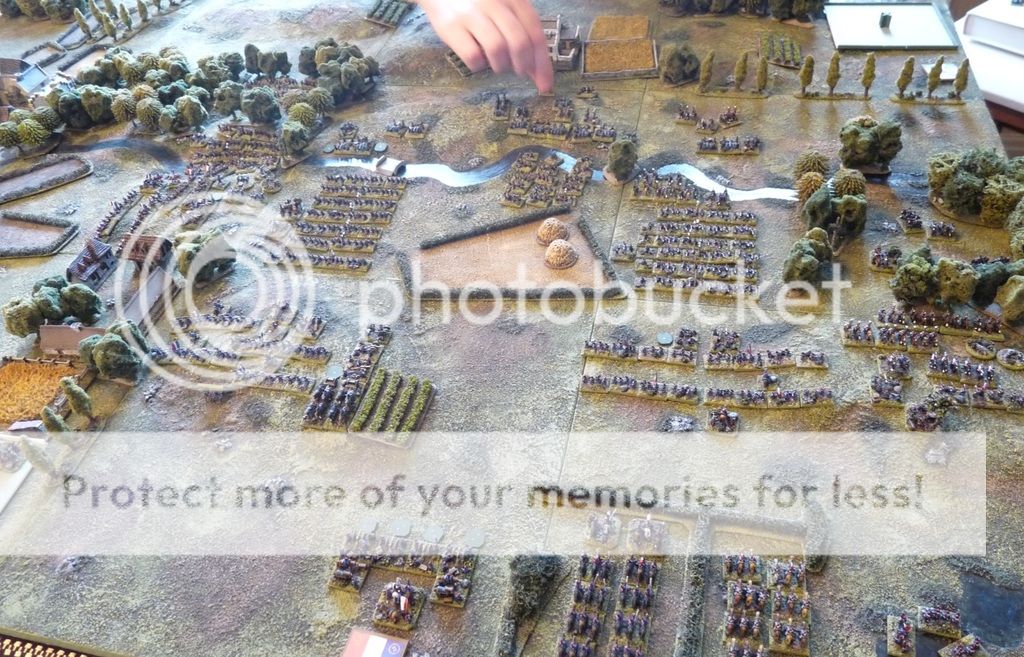
Naturally the Bavarians win the race, and they waste no time in forming up for an assault while their artillery masses in the centre:
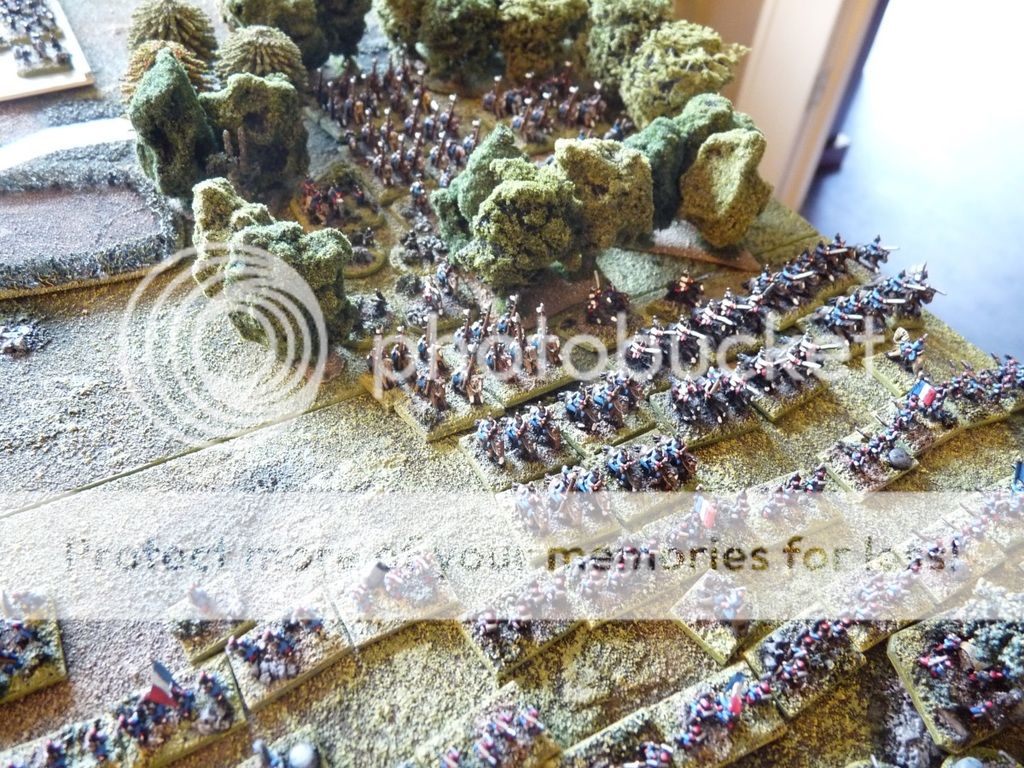
Despite some stubborn resistance, the French left flank is pushed from the farm complex and the overall position is compromised:
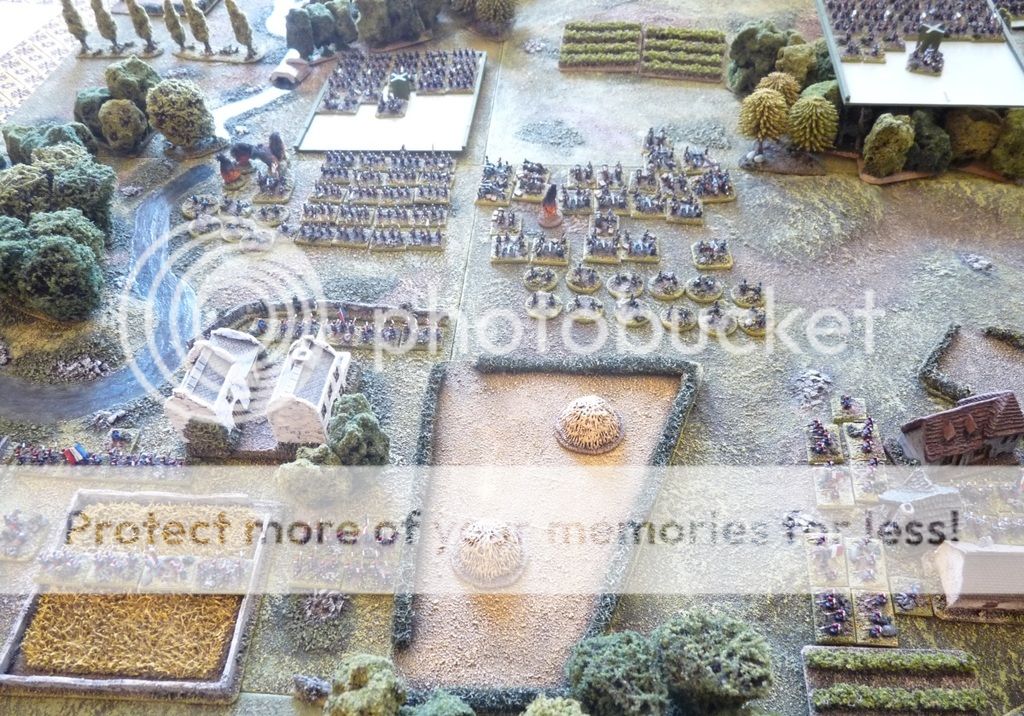
On the other flank Bavarian Cuirassiers pin the arriving French reinforcements with a sudden charge:
Simultaneously the French cavalry had launched an attack of its own over the hill behind the Bavarian flank and chaos ensued for a while. Not standing around to be routed, the French took advantage of the confusion and withdrew to the west.
The Battle of Walburg
Meanwhile to the south MacMahon saw an opportunity to strike
a counter-blow at the over-extended German left flank, but his surprise advance
to Walburg on the Sauer by a now-concentrated 7th Corps met
unexpectedly strong opposition in the form of Prussian V Korps supported by IV
Cavalry Division. In this meeting engagement the Prussians, after careful study
of the ground, executed a very aggressive plan, launching the cavalry forward at
the outset on the left to pin back the French, allowing time and space for a
grand battery to assemble in the centre. Although the cavalry were decimated by
close range fire, the well-placed artillery did likewise to the arriving French
cavalry and reserve artillery in the centre. On the Prussian right the 9th
Division took heavy losses from Chassepot fire while getting into position for
an assault which, late in the day, put enough pressure on the French left to
compound the collapse in the centre and forced a withdrawal from the field. The
French had fought well and retreated in good order towards Hagenau, while the
Prussians were left in no condition to follow up their narrow victory.
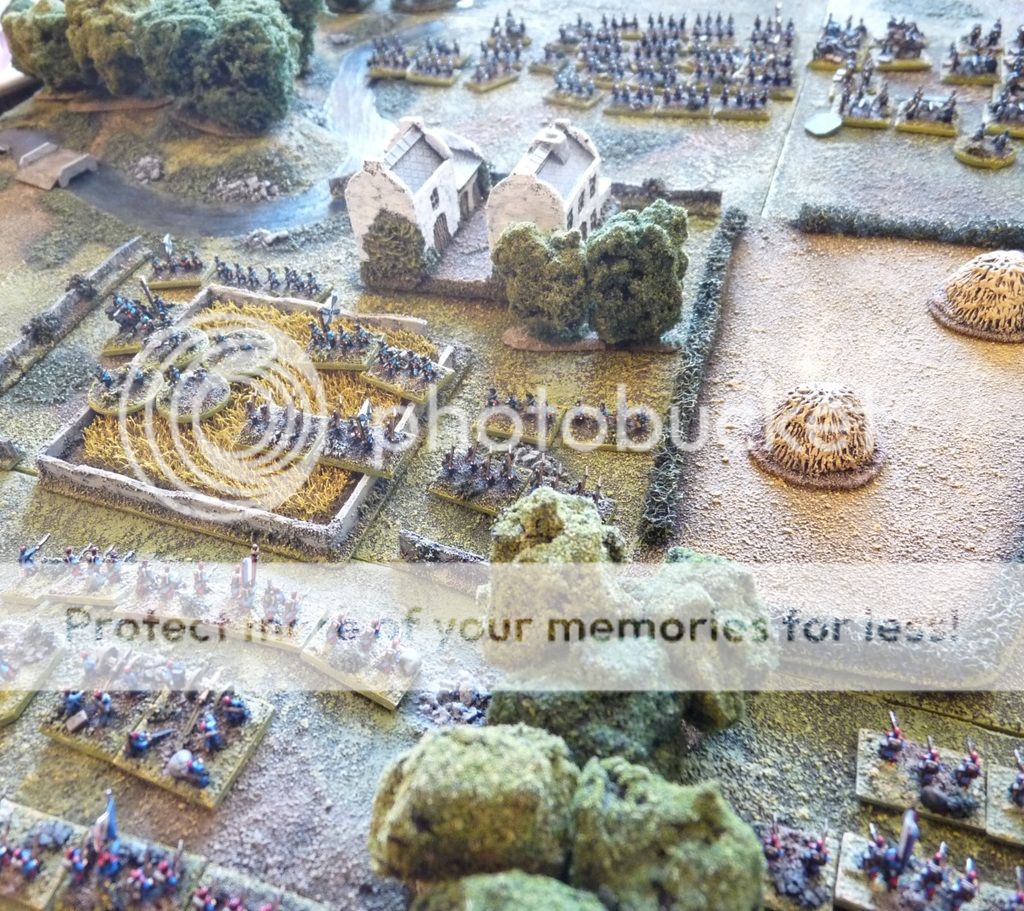
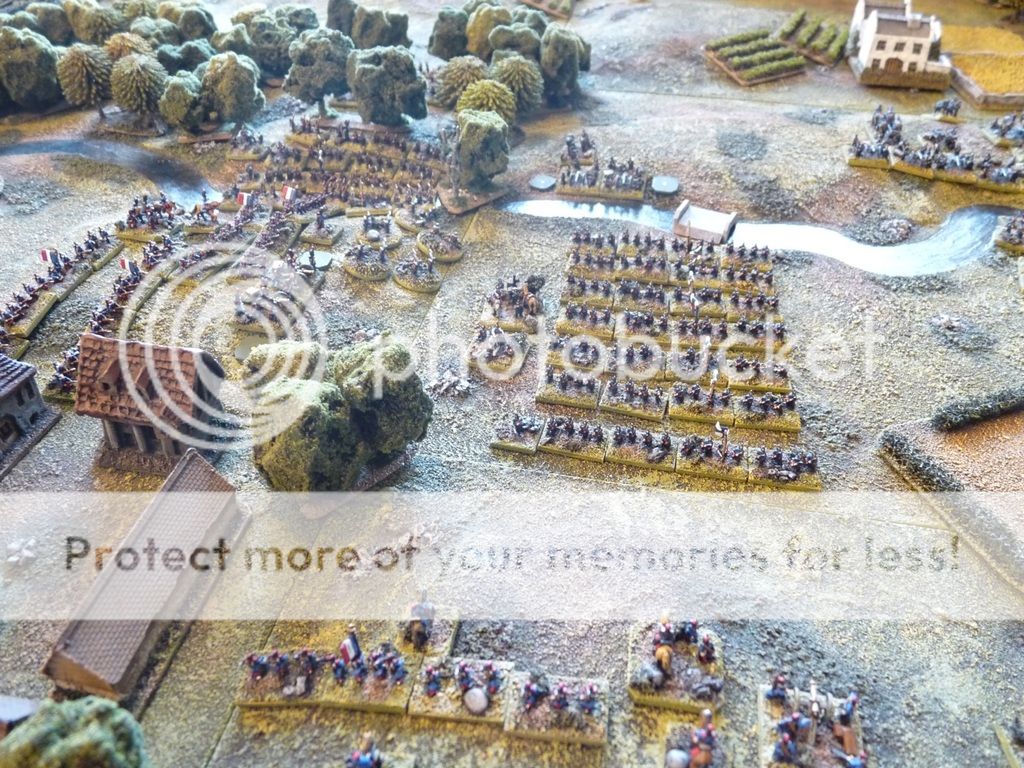
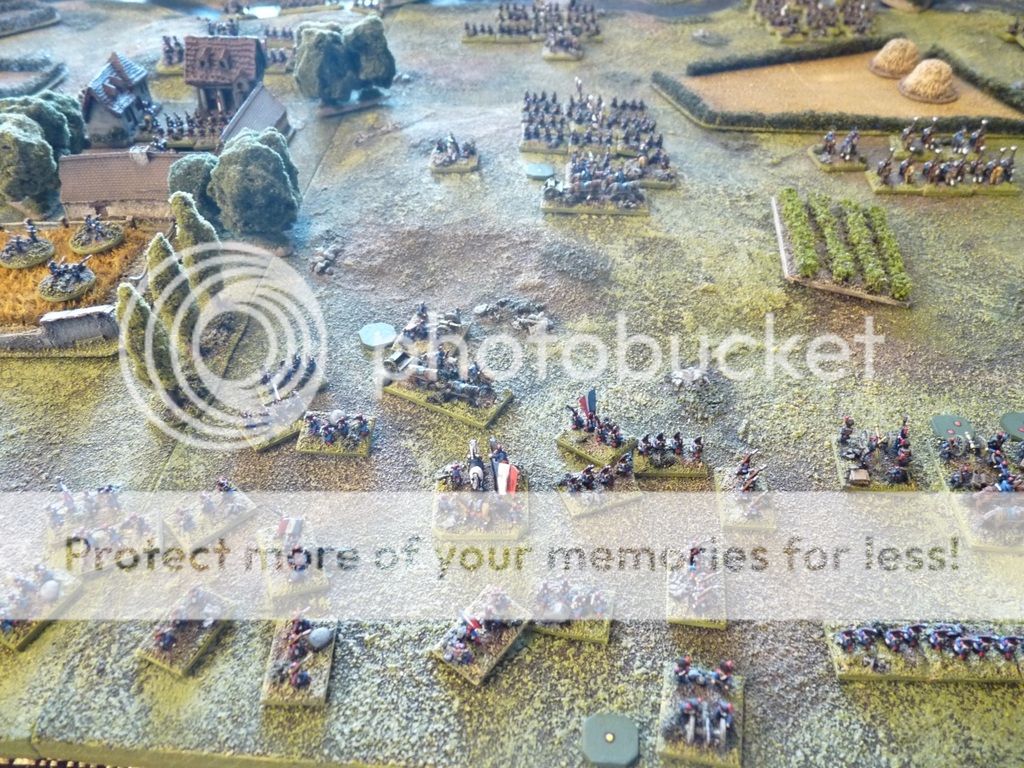
As in previous encounter battles, the Germans chose to concentrate their strength to allow their massed batteries and infantry assaults to negate the advantage the French Chassepot would have over a wider front:
With the grand battery already formed and doing severe damage to the French, the IV Cavalry Division erupts from the woods on the flank to buy time for the infantry to assemble:
On the other flank the French fired into the masses as fast as the could, but still they came on. More Prussians attacked from the woods, turning the French position:
Once the cavalry had done its job (at great cost), the other Prussian division formed its own sledgehammer to crack the French right:
General view, as the Prussian commander re-aligns his massed Krupps:
The decisive moment, as the French centre collapses in the face of massed shellfire and the arrival of the Prussian infantry on the hill (despite the latter having taken severe casualties in the process):
Final positions, with too few French left holding the line. Their flanks had held to this point, but a general retreat was ordered when the centre gave way:
The campaign was reaching its climax then. With French losses
mounting and the advancing Germans splitting the Army of Alsace, MacMahon would
be forced to pull back to re-group for what might be a final stand. Although he’d
lost contact with the retreating 5th Corps, which would now come
under the control of the equally beleaguered main army to the west, he still
had 1st and 7th Corps reasonably concentrated and with a
few days’ rest they should be able to put up a decent fight if suitable ground
could be found for a battle. Staff officers hastened west to identify the
Position Magnifique upon which the defence of Alsace would depend.
Crown Prince Frederick William received the reports of the two
battles with some relief, neither action having been sanctioned, or expected,
at the start of the day. His two Corps commanders had acted aggressively however,
and secured victories which gained important positions and served to split the
enemy army. Despite the cost, the campaign was progressing well and, while
orders went out to halt the advance and for the army to re-group, the Prince
gathered his commanders and staff to plan the final act in the battle for
Alsace…
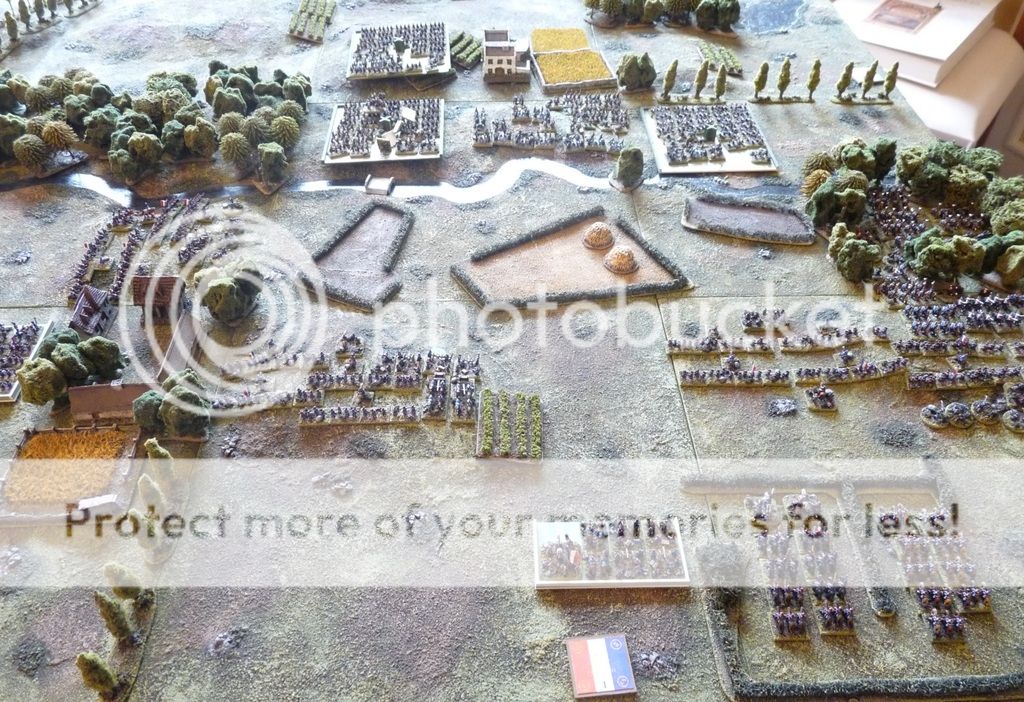
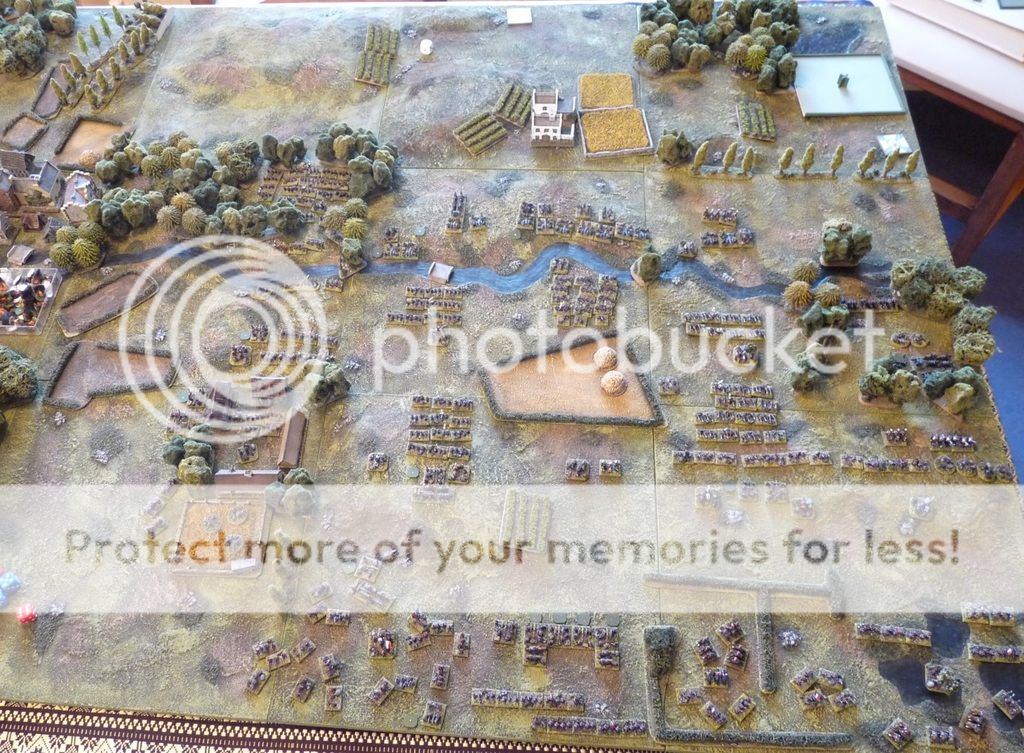
Situation at the end of 6th
August:
August:
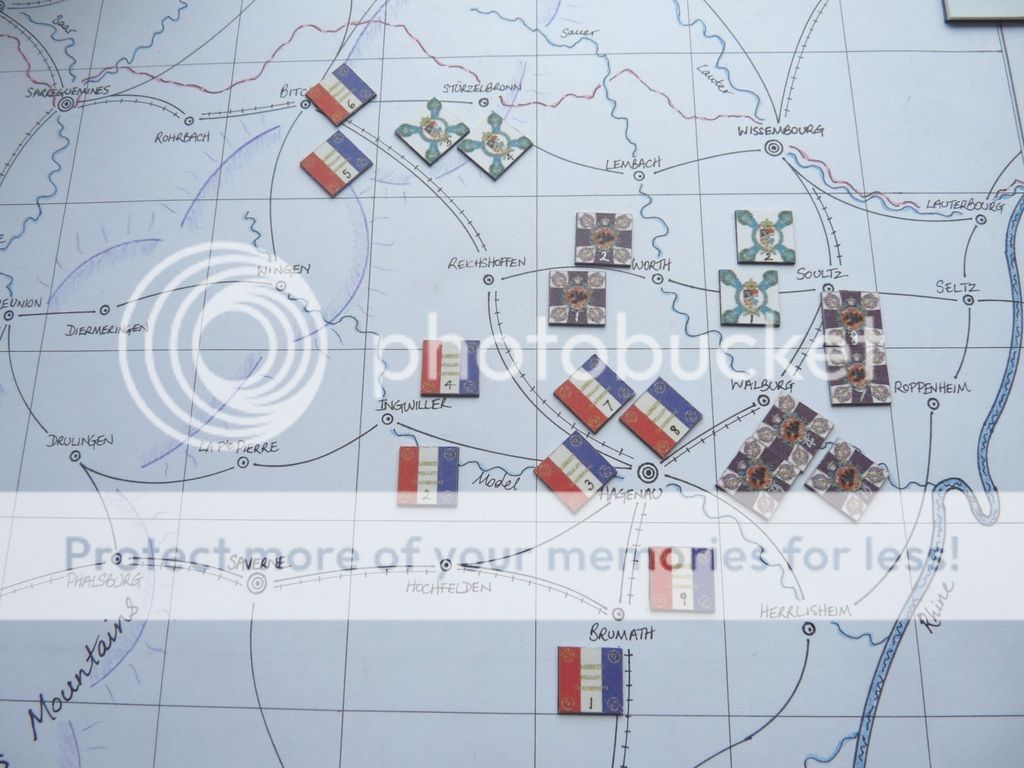
The rotated counters denote the formations that fought on the 6th.
We’re looking forward to a grand finale at the next session. 🙂
Dave,
As always lovely table setting and photographs.
Sounds like the campaign is working well.
John
Lovely stuff Dave. Whole thing looks excellent!