
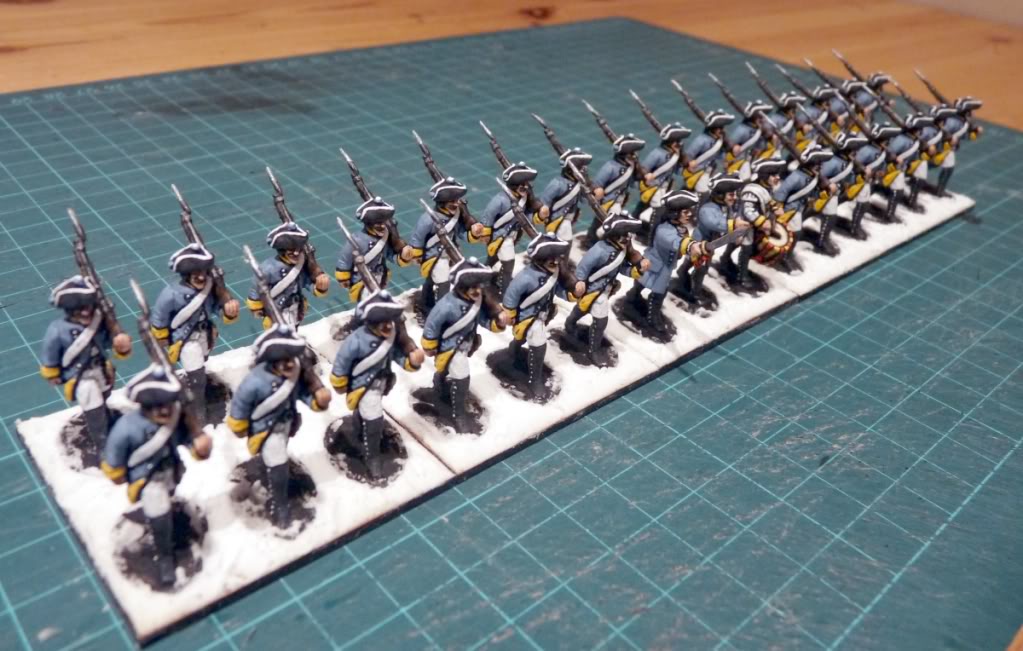
The Vantua Regiment have now been formed up and are going through the phases to match the basing style I use for my 18th century forces. First up they go onto 50x50mm (sorry Iain!) laser cut mdf bases from Warbases. This might seem the easiest part but actually it’s a a challenge getting them lined up perfectly both within a single base and as a unit overall. This involves a lot of squinting and minute adjustments – which has to be done before the glue dries! With Old School style Lace Wars units I think it’s important to achieve a formal regimented look where possible and these Huzzah! figures look their best when neatly aligned. Frederick would approve 🙂
Actually, as a pre-stage 1 activity I sealed the bases first with a slightly watered-down coat of wood glue (I believe PVA shrinks a little as it dries so I avoid it now for basing) so that the bases wouldn’t warp later. You never know if this will be 100% successful until a bit of time has passed, but hopefully they’ll stand up to the rest of the basing and painting process.
Once the figures were in place I (carefully!) applied a layer of ready-mixed filler all around the figure bases to bring the ground level up to a consistent height. While they are drying I’ve taken some quick pics (below). Next up comes the really messy bit – applying a layer of sand. I used to stick this down with nice thick black masonry paint (and still do on the odd ocassion where I’m basing unpainted figures) but as you can imagine, one accidental swipe of the brush and that’s a lot of re-painting to do! Nowadays it’s clear PVA or wood glue as a damage limitation tactic. I hope to get this stage done tomorrow.
In the meantime:
Really nice, Dave. I'm looking forward to seeing them with their colours and the bases finished – I hope you have enough sand.
Iain