
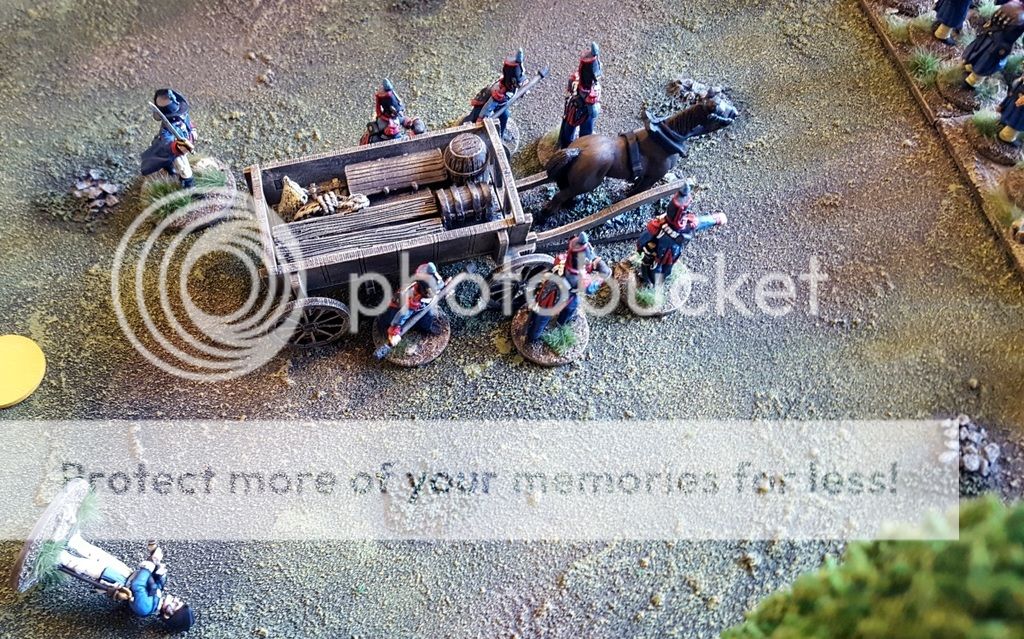
Varesi, the Medetian Lieutenant of Engineers, never had liked the bad-tempered nag that pulled his equipment cart. It was ironic then, when it fell on him and the two of them died together on the outskirts of Auterlin. Such are the fickle outcomes that games of Sharp Practice can produce, and a good laugh they provide too.
Last weekend Jase and I returned to the post-Napoleonic conflict between Medetia and Fleurie and played a game of Sharp Practice 2. I devised the plot for a 2-part scenario, and we played through the first game. The second will hopefully take place early in the new year.
The Medetians have landed an assault party on the Fleurian coast with orders to march inland, cross (and hold) a bridge – which will be the scene of game 2 – and destroy part of the enemy’s siege train which is temporarily holed up at the village of Auterlin.
Selecting 5 groups of infantry (a mix of grenadiers, line and bersaglieri) and an engineer team from his overall force, Jase took command of the Medetians and set off on his mission. As the Fleurian commander I had 4 infantry groups and a light gun with which to defend the important heavy guns, ammunition and powder.
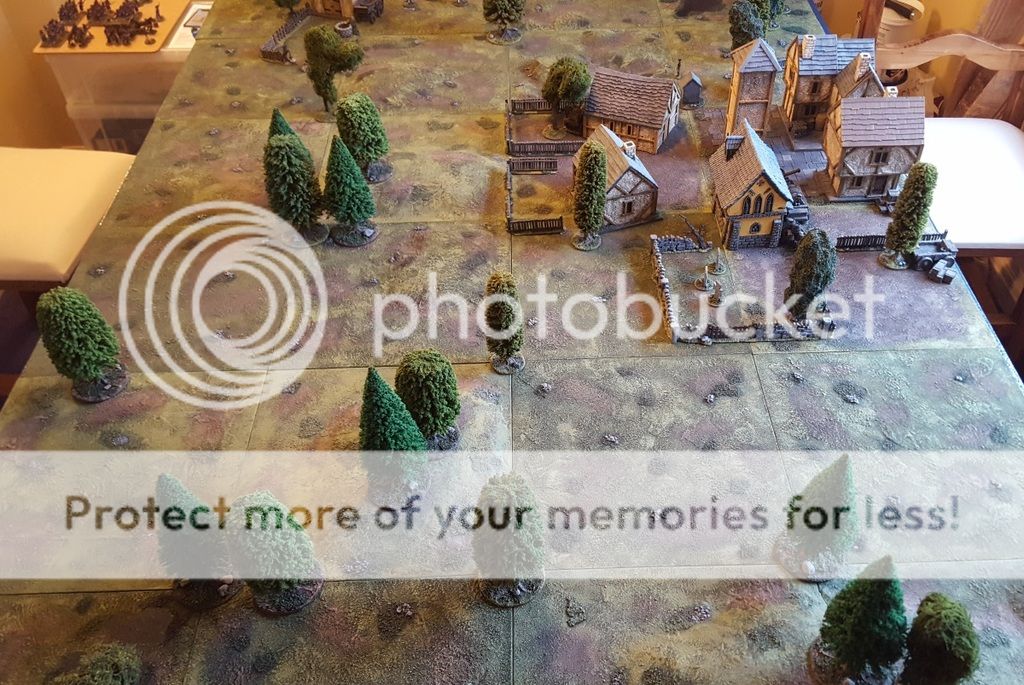
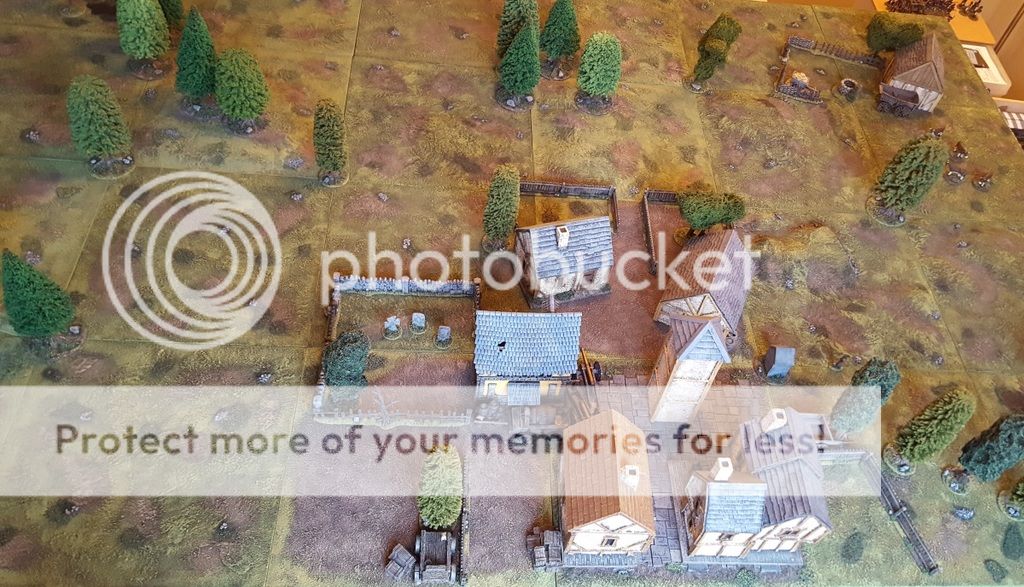
The scene of the impending action, as dawn approaches:
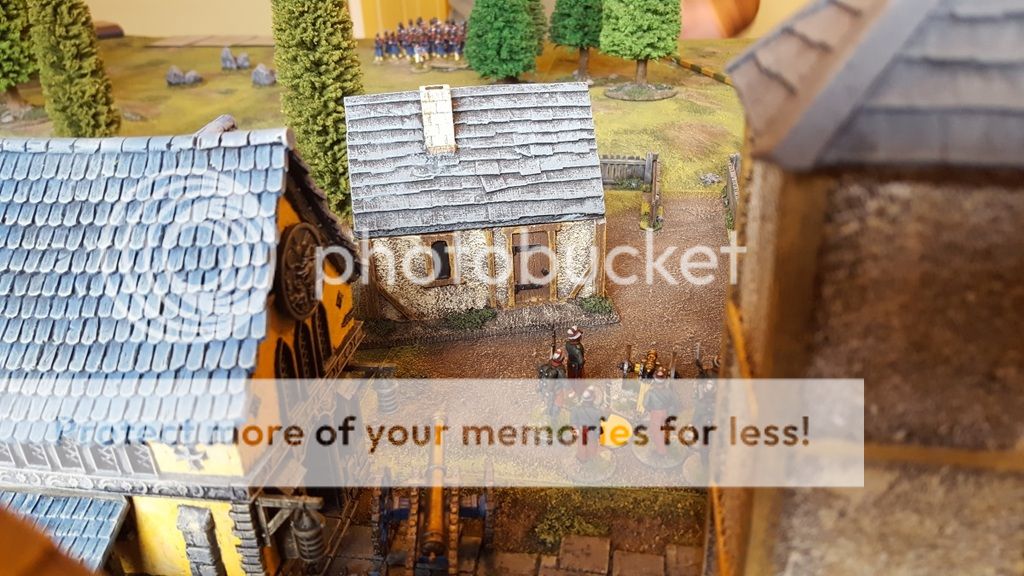
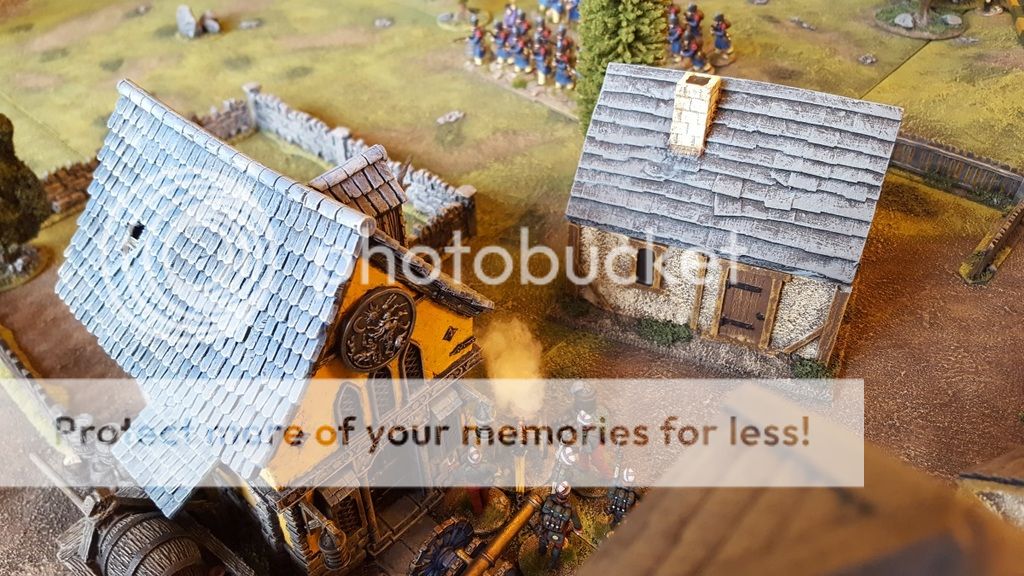
The siege guns outside the church, which was being used to store the powder and shot:

On the first 2 turns the Tiffin card came up before any significant forces had deployed onto the table. I managed to get the Fleurian light gun crew woken up and assembled in the village square, which was to be very helpful in the early stages of the game.
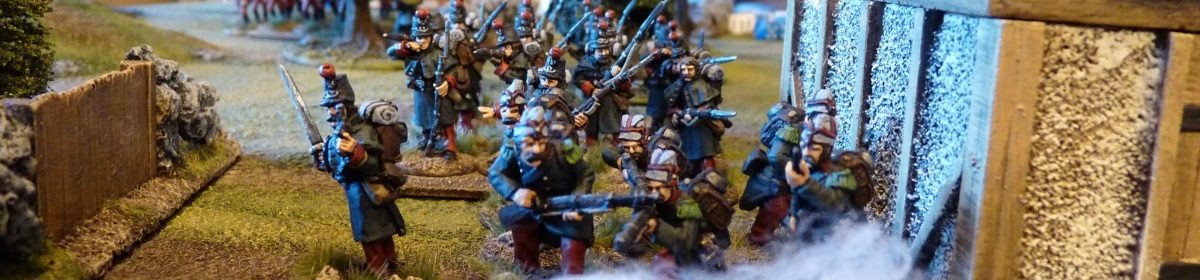
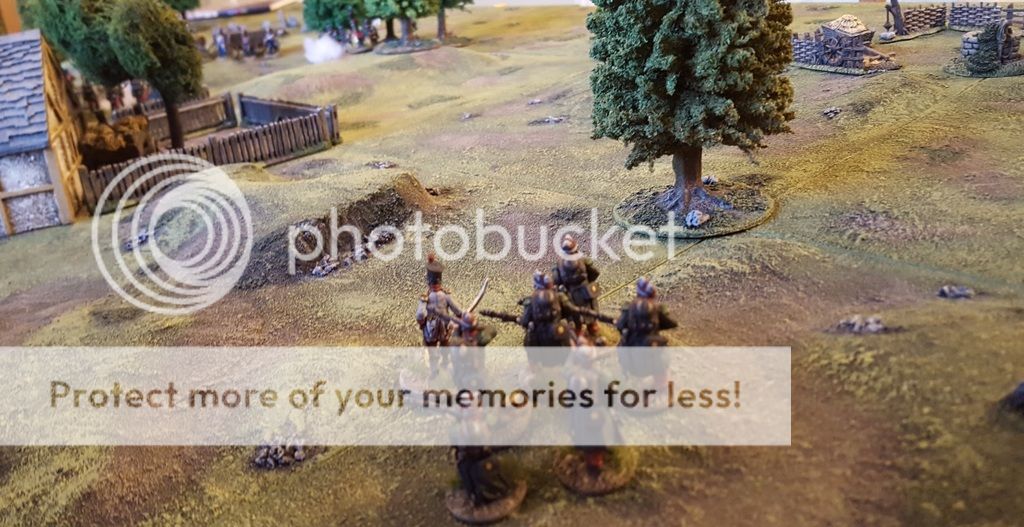
Before long, though, the Medetians had arrived, formed up in a couple of formations, with skirmishers moving among the trees and Lieutenant Varesi bringing up the rear with his engineers and cart (and its horse).

A bonus move (4 command flag cards being played at once) allowed the commander, Major Corvina, to get everyone dashing towards the village at the double. Goaded into action, the horse shouldered Varesi out of the way and left the Lieutenant sprawled face down in the dirt and being left behind…
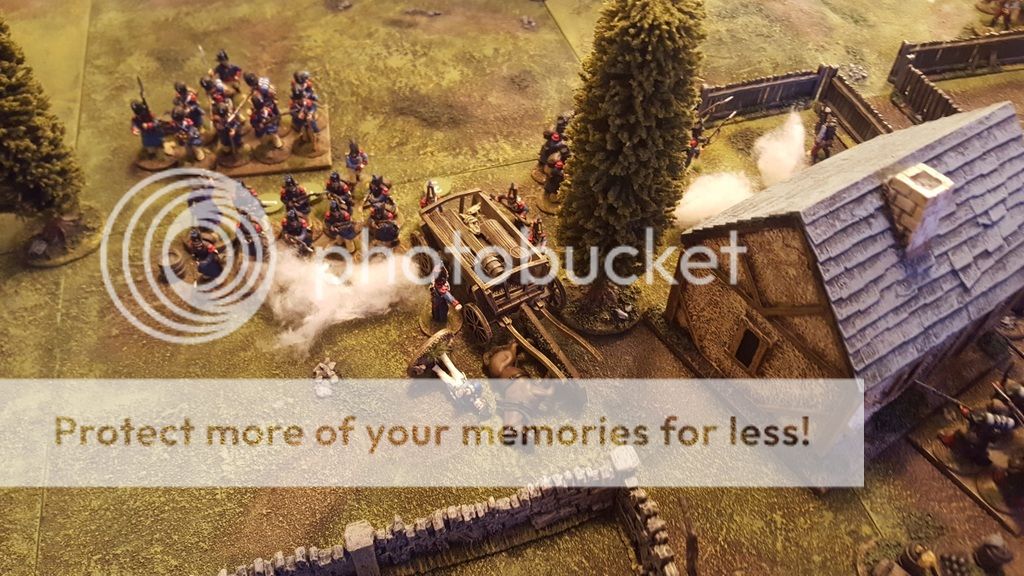
With few Fleurians as yet on the table and the Medetians coming on fast, the light gun opened up with canister and did some damage to the lead formation. This slowed things down and gave the rest of the Fleurian force time to make an appearance.
Fortunately for me, my main force then arrived and took up positions to prevent the enemy from reaching the church. The first Medetian controlled volley, however, hammered the Grenadiers and sent them reeling back from the lane, to try to rally behind the cottage.

The shooting seemed more deadly than in previous games we’ve played, with lots of 6s coming up and plenty of casualty removal. This was pretty evenly divided between both sides, so things remained in the balance for some time as various groups took up positions and continued to fire away at each other.
A Fleurian patrol came on from the table edge and started to make its presence felt, distracting the enemy’s Bersaglieri for a few turns.
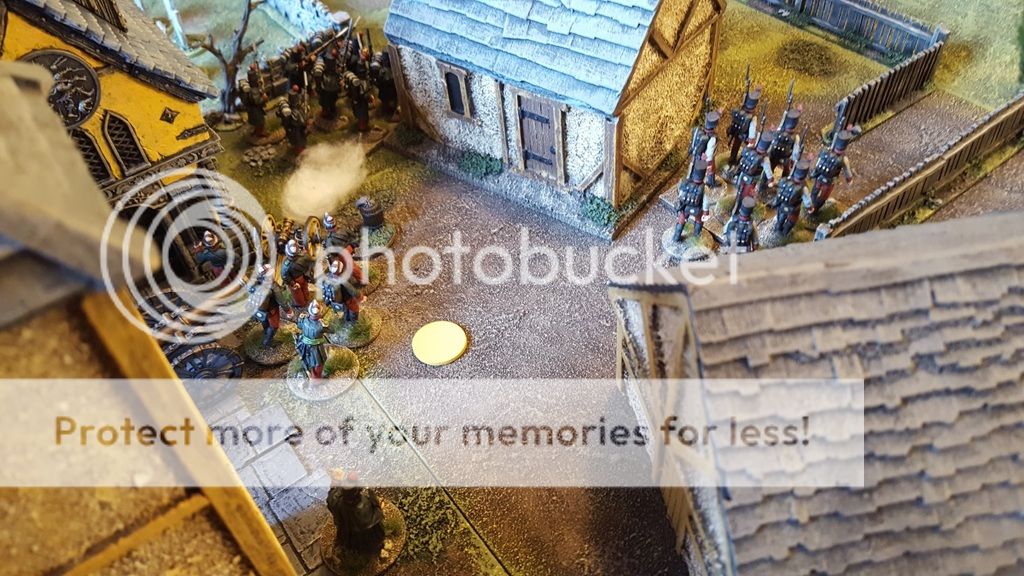
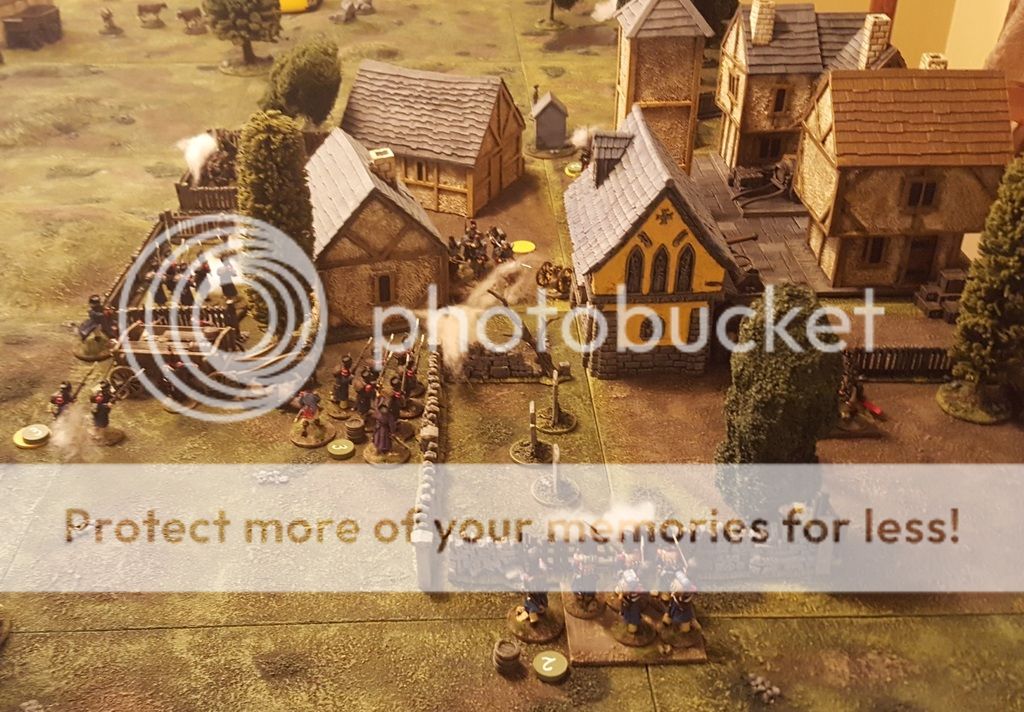
Things got more interesting when a group of armed locals, led by a monk, decided to intervene when the Medetians finally entered the village. Their timing was good, as they plugged a gap left by a shot-up and routing group of infantry.

Varesi’s big (and last) moment came when the engineers responded to an order to advance and dashed forward at an unexpected pace, leaving them squarely in the sights of both Fleurian infantry and a fully loaded gun! Engineers went down like nine-pins and the Lieutenant was wounded. Almost inevitably the next card out of the re-shuffled pack led to another volley. The horse took the brunt, falling dead and crushing the hapless officer. Thus, their uneasy relationship was brought to a grim end.
As time wore on and Force Morale levels started to drop, the Medetians moved in to decide the issue at close quarters.
With bayonets fixed, Major Corvina bravely follows his men in a charge intended to put the villagers firmly back in their place..

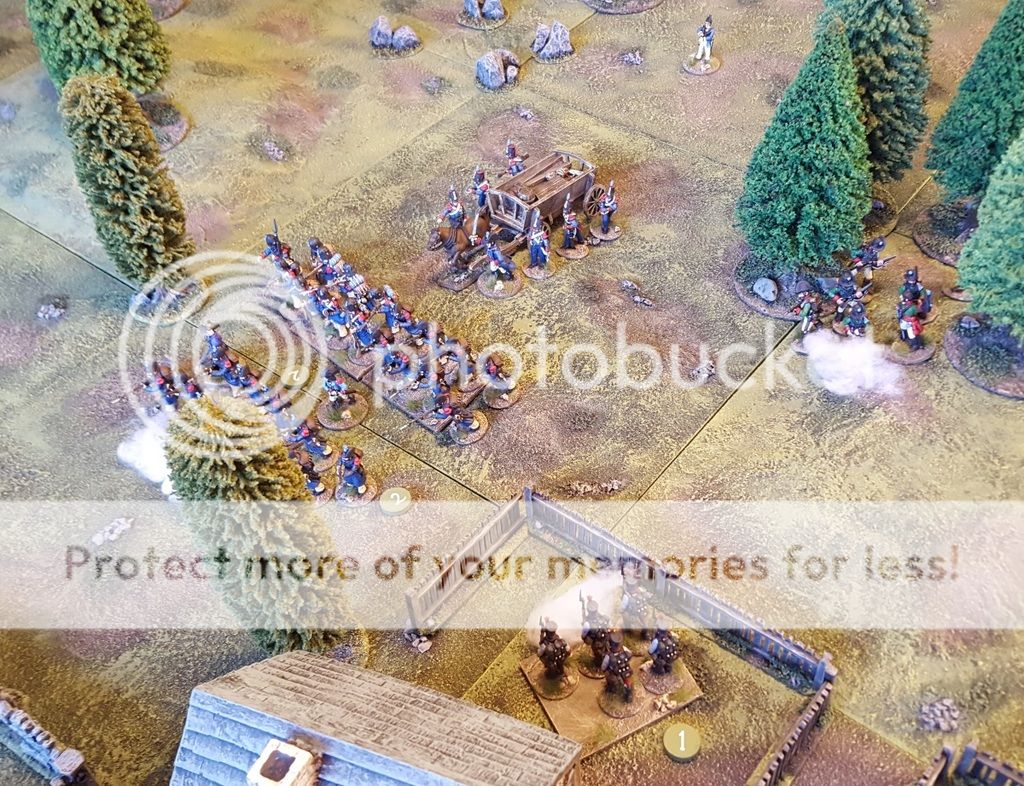
Heroically they slaughtered the lot with no loss to themselves. Interestingly, the Fleurian Voltigeurs (top right of the picture below) subsequently charged the Medetians, and not one of the figures in this picture survived the game, including the Major who was killed with the rest of his men. Fisticuffs sounds a bit like ‘handbags’ but it’s VERY bloody in SP2!
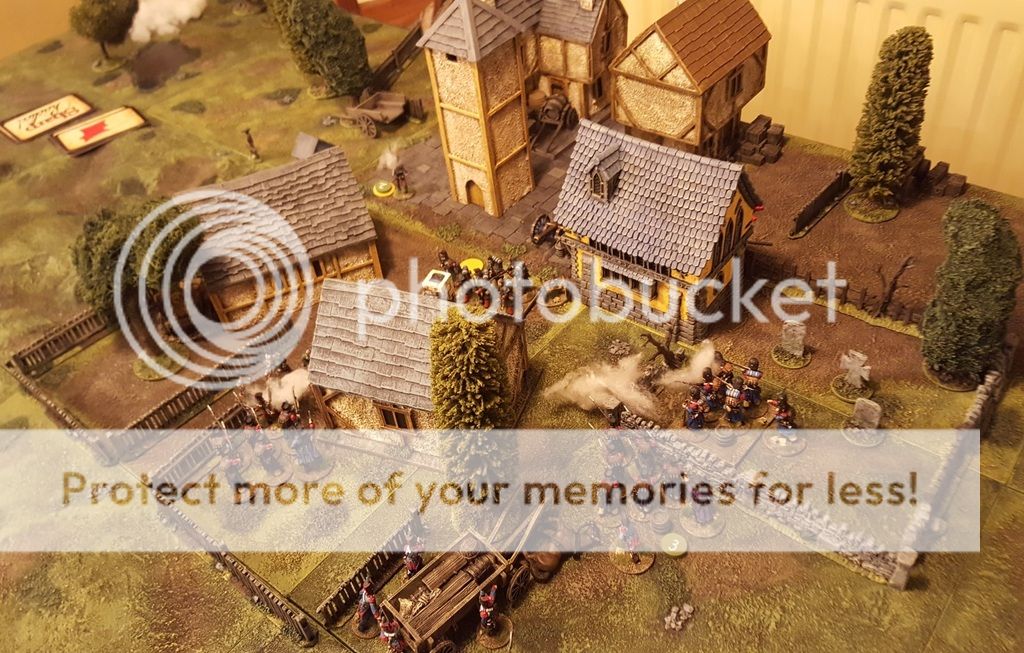
Below – pretty much the end of the game, with the last Fleurians about to relinquish the village and the siege train to the victorious attackers. Both sides’ Force Morale took a tumble with the losses from fisticuffs, but the Fleurians hit zero first and that was that. We agreed that it was probably a good thing that the remaining engineers didn’t have to actually attempt to blow the church in-game, as with the way their luck/competence had been so far, it would have inevitably ended in catastrophe!
So, a posthumously successful mission for the Major, and now they’d have to get back to their ship via the bridge that their colleagues were hopefully still holding. This will be the focus of game 2, when Fleurian patrols try to cut off the invaders from the coast.
The game was great fun, played in the best of company.
Outstanding looking game Mr H! Looked good fun. Good to se you getting some games in.