Gaming Weekend Day 2 – A Granprixian Skirmish

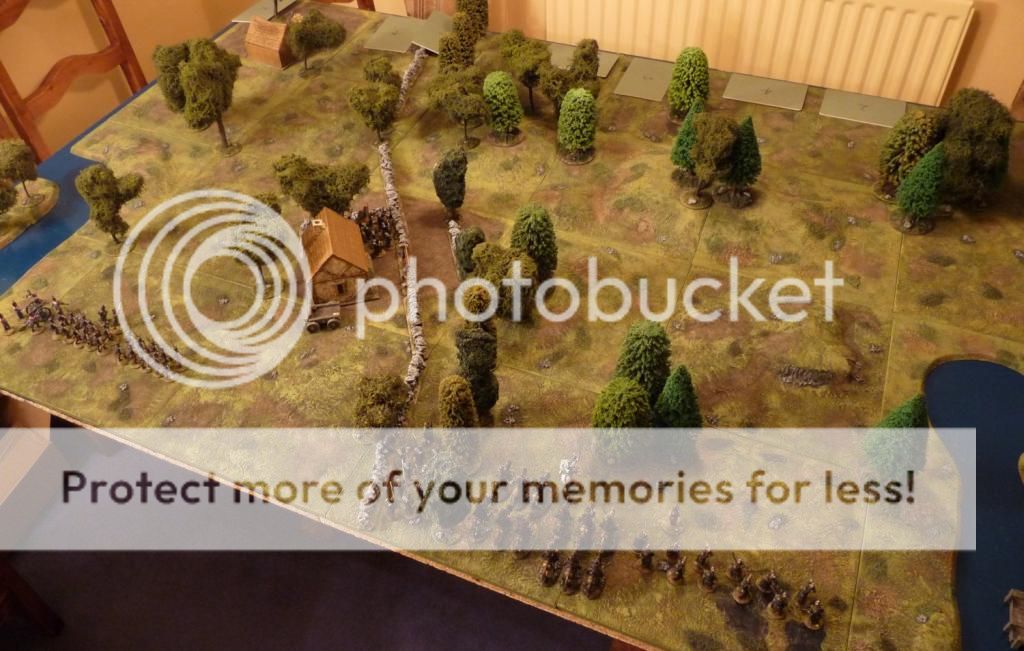
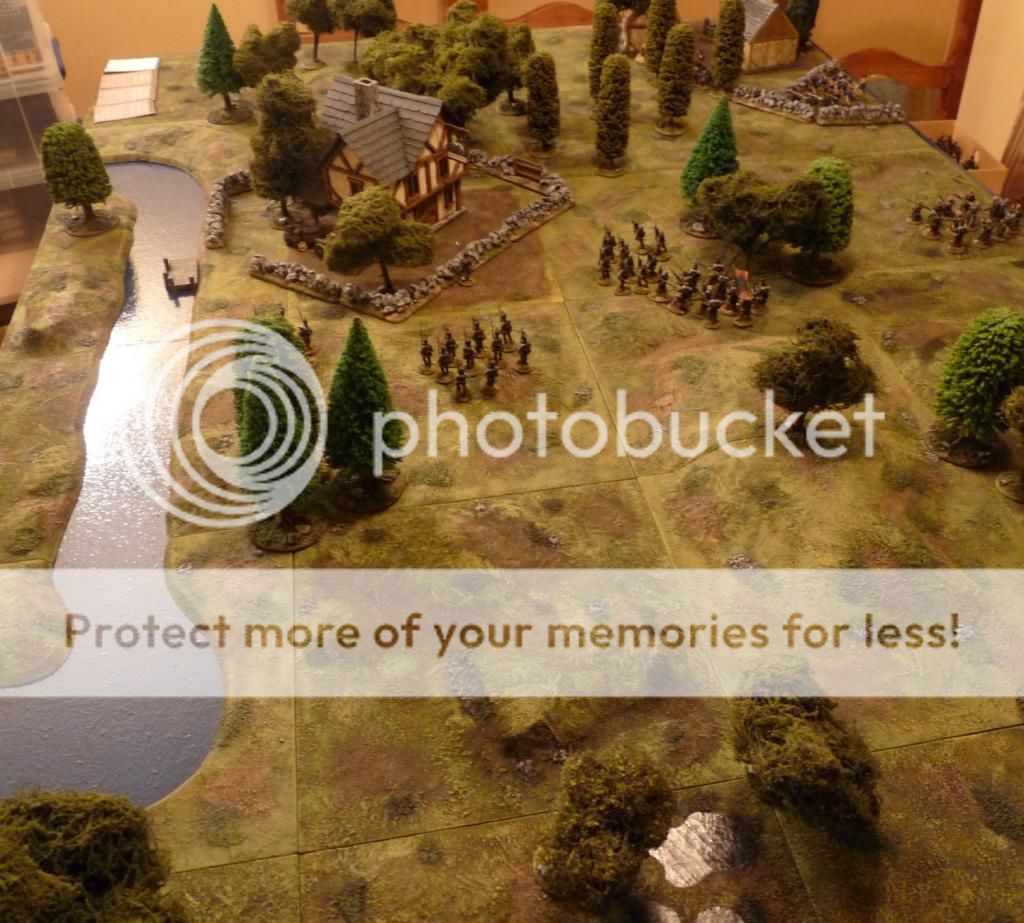
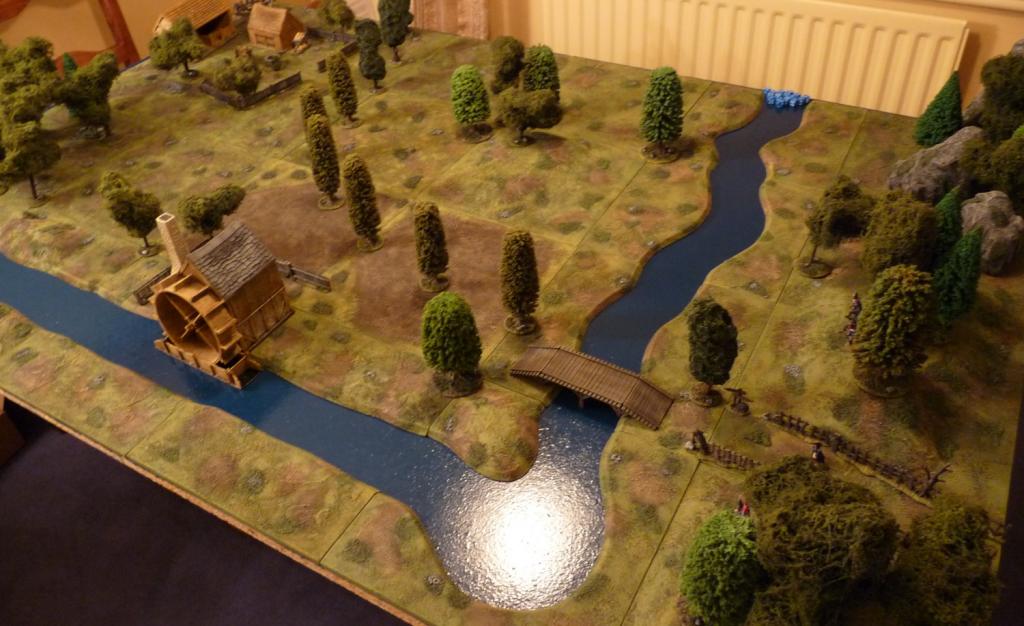
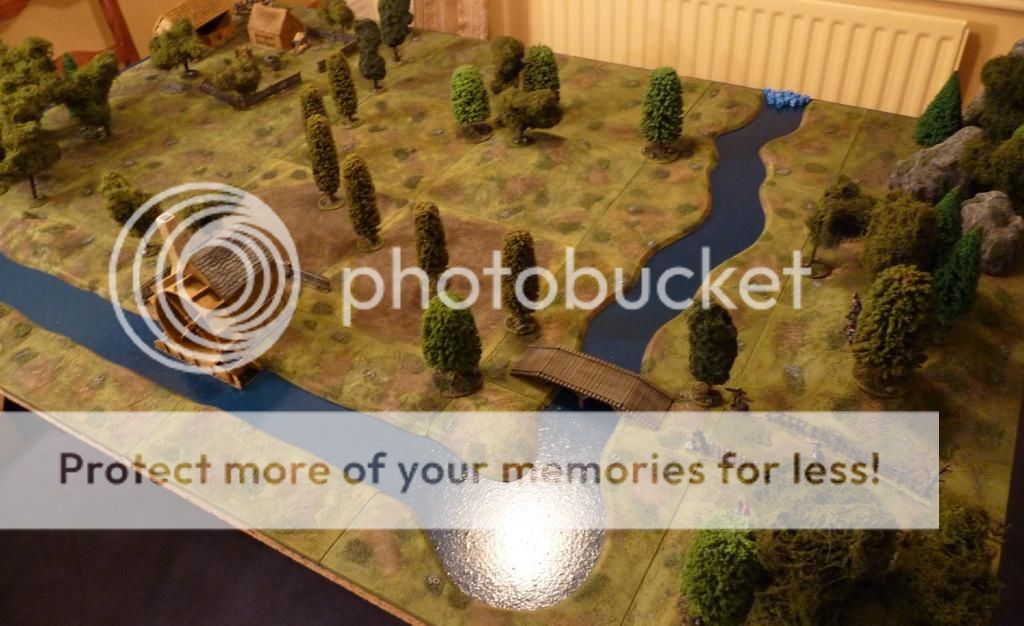
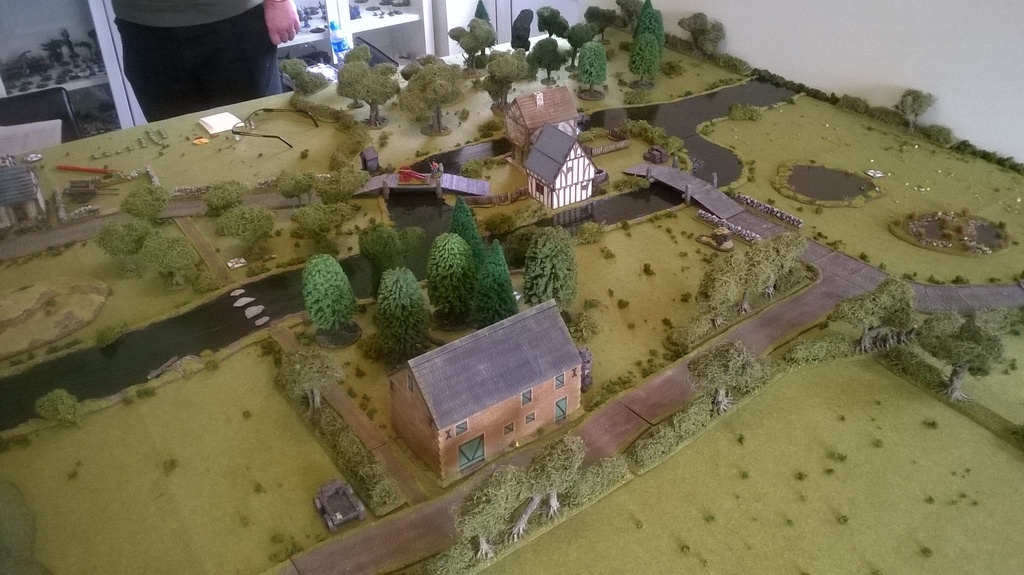
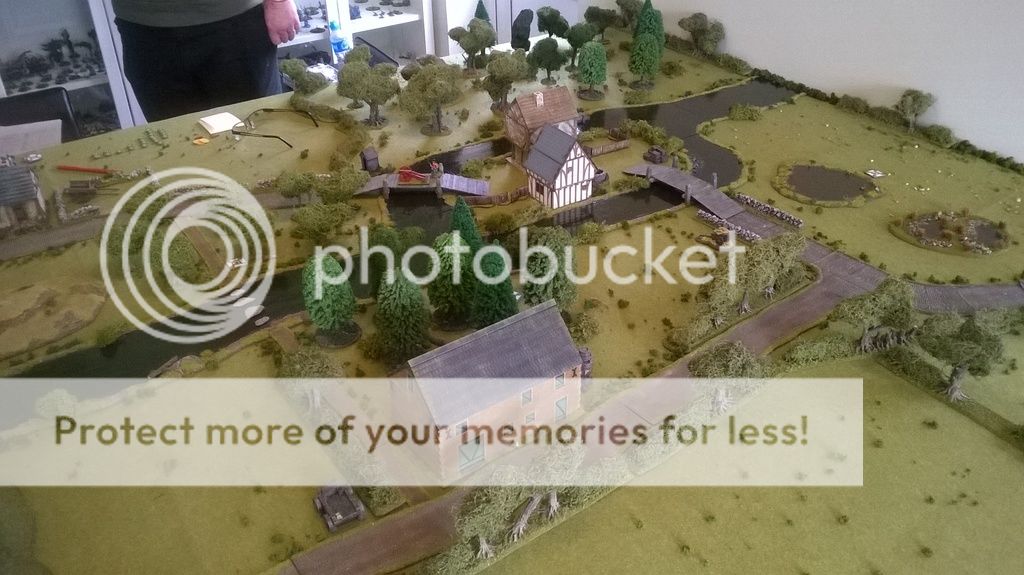
Once we had breakfasted and returned to the land of the living, we set off in convoy (herding Iain between 2 cars to ensure he found the place) for Simon’s house near Lincoln. We were greeted by very nicely pre-prepared terrain, including excellent new home-made rivers, on Simon’s extended 8’x6′ table.

A very interesting (and entertaining, as it turned out) scenario had been prepared for us. We were to play out some post-Ayton 2014 action, with Gateway (Iain) and Altfritzenberg (Andy) forces making for their transport ships along the Granprixian coast following their defeat at the big battle outside the capital Pescadrix. My Medetians were trying to cut them off, while a small number of Simon’s Prunklanders were already in place as a (sleepy) garrison on the island in the river that the fugitives needed to cross.

We all got to bring our own figures to use, and it was good to see the various imagi-nations contingents together again. The 4 of us had fought opposite each other in 2 battles at Ayton with the big version of these forces so it was an opportunity for a re-match, and there was plenty to enjoy!

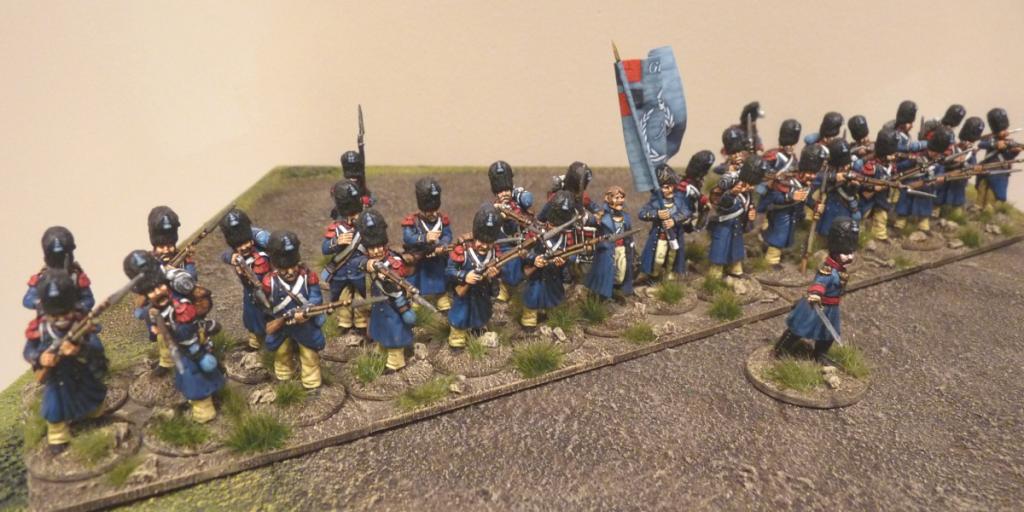
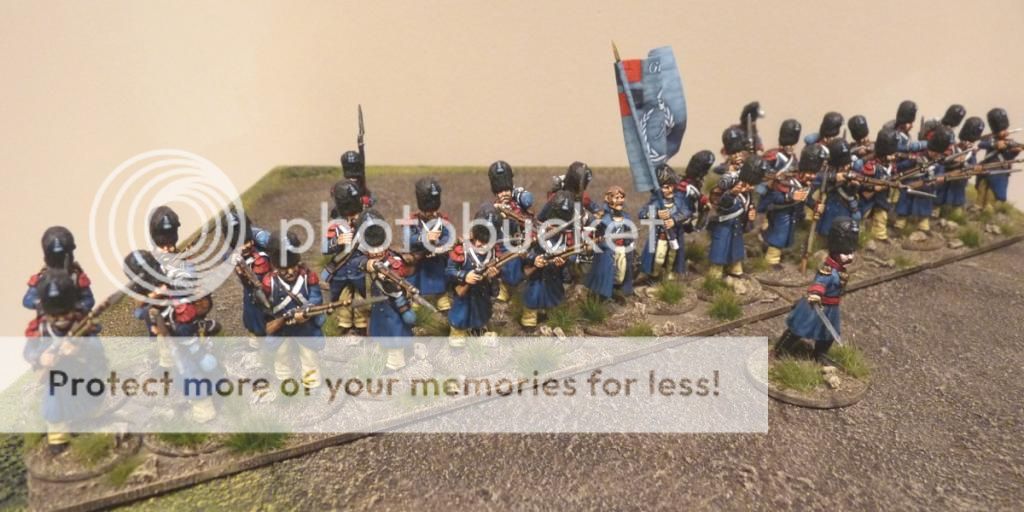
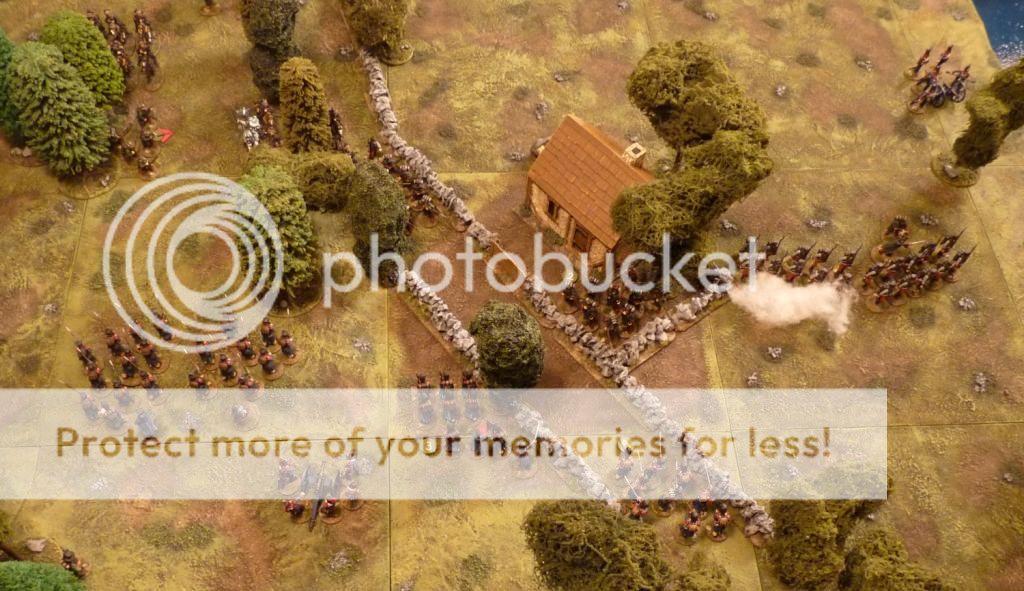
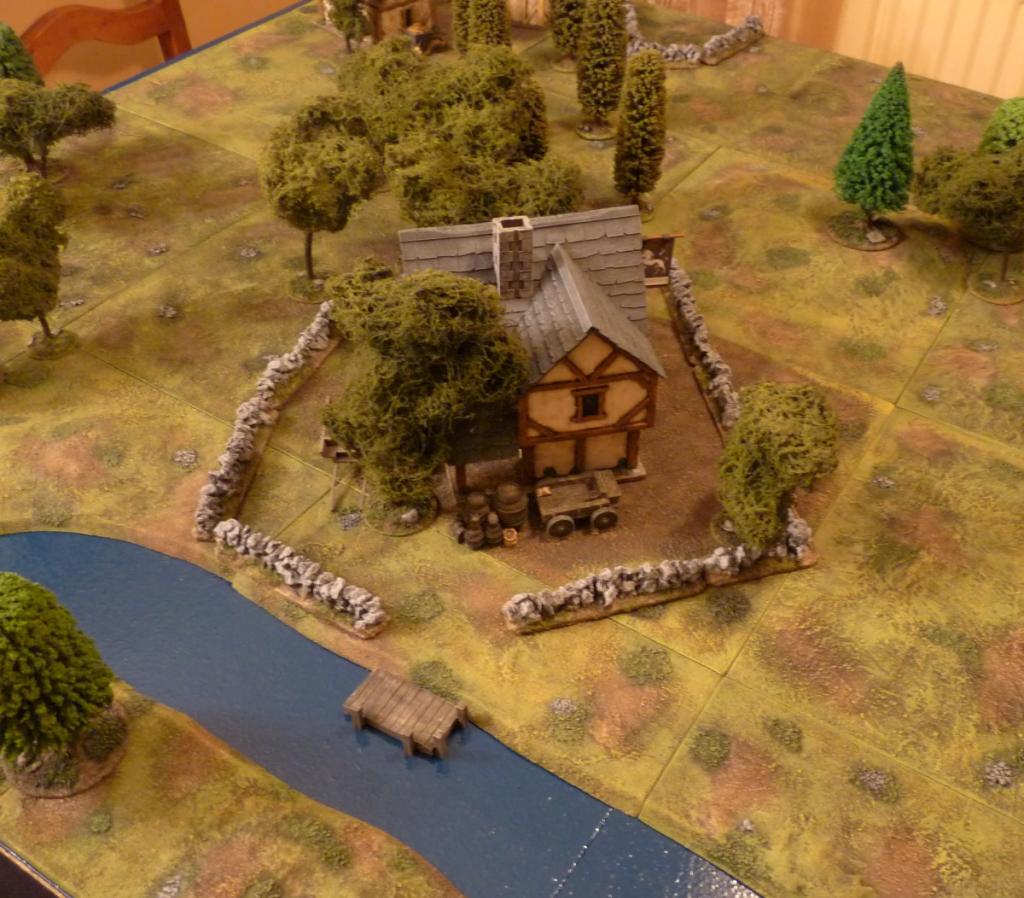
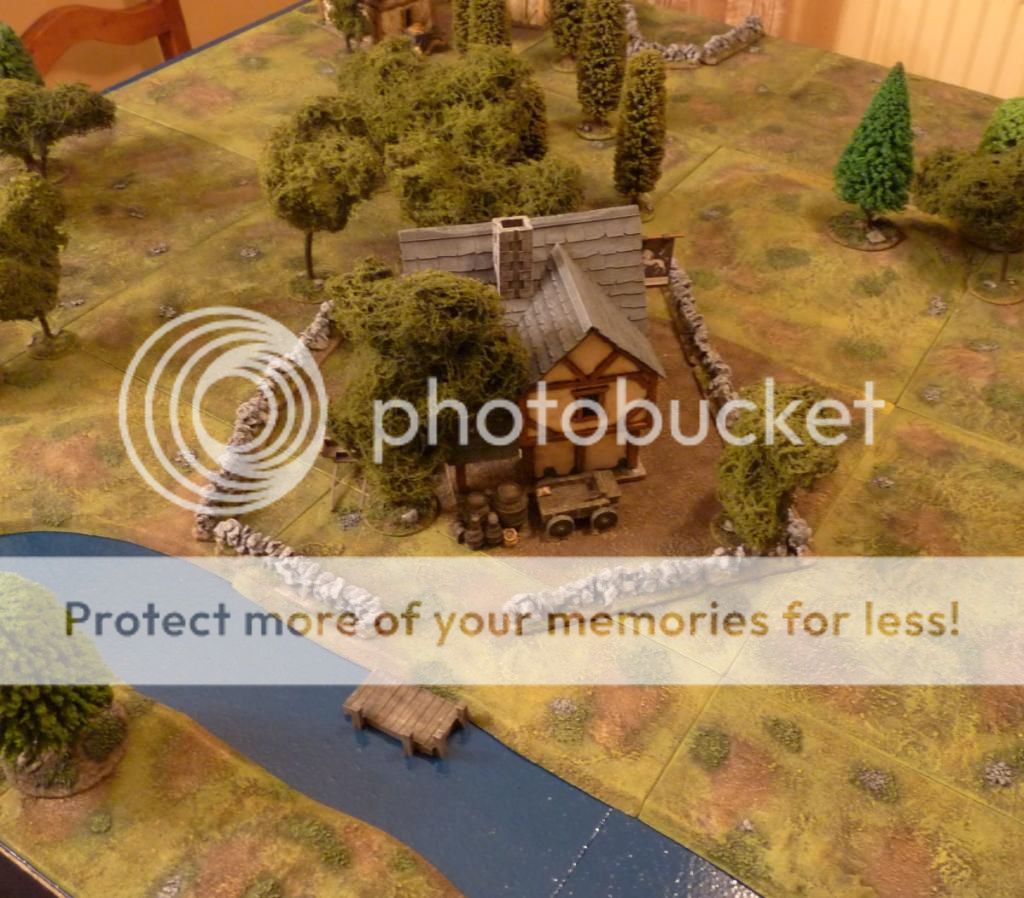
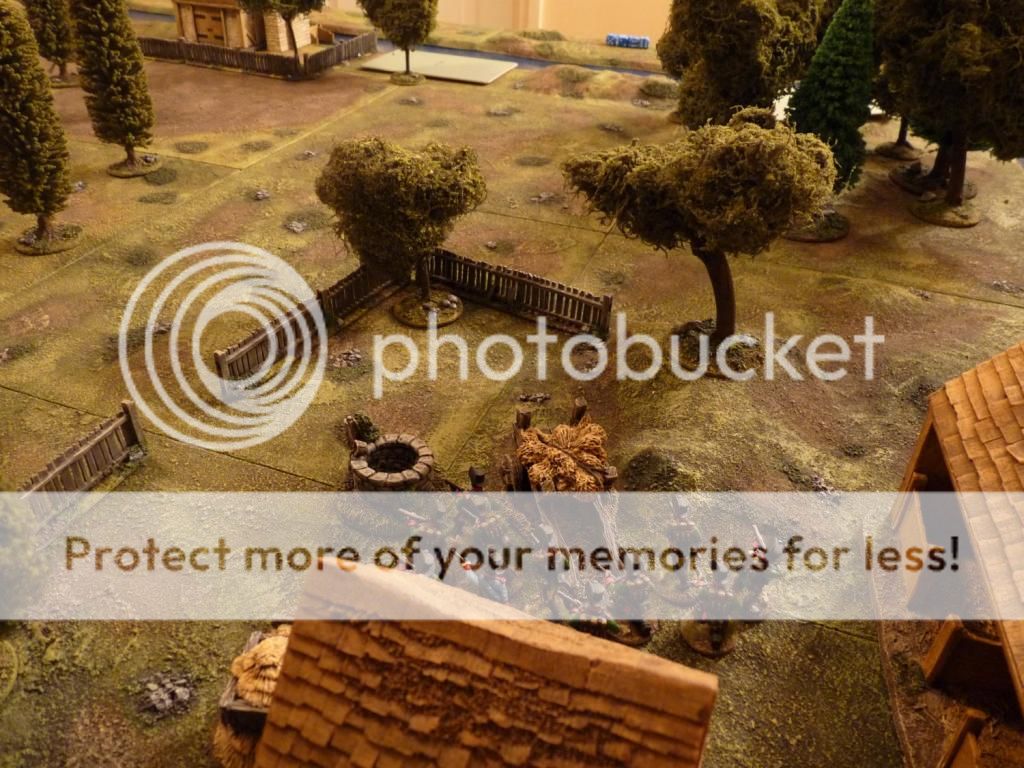
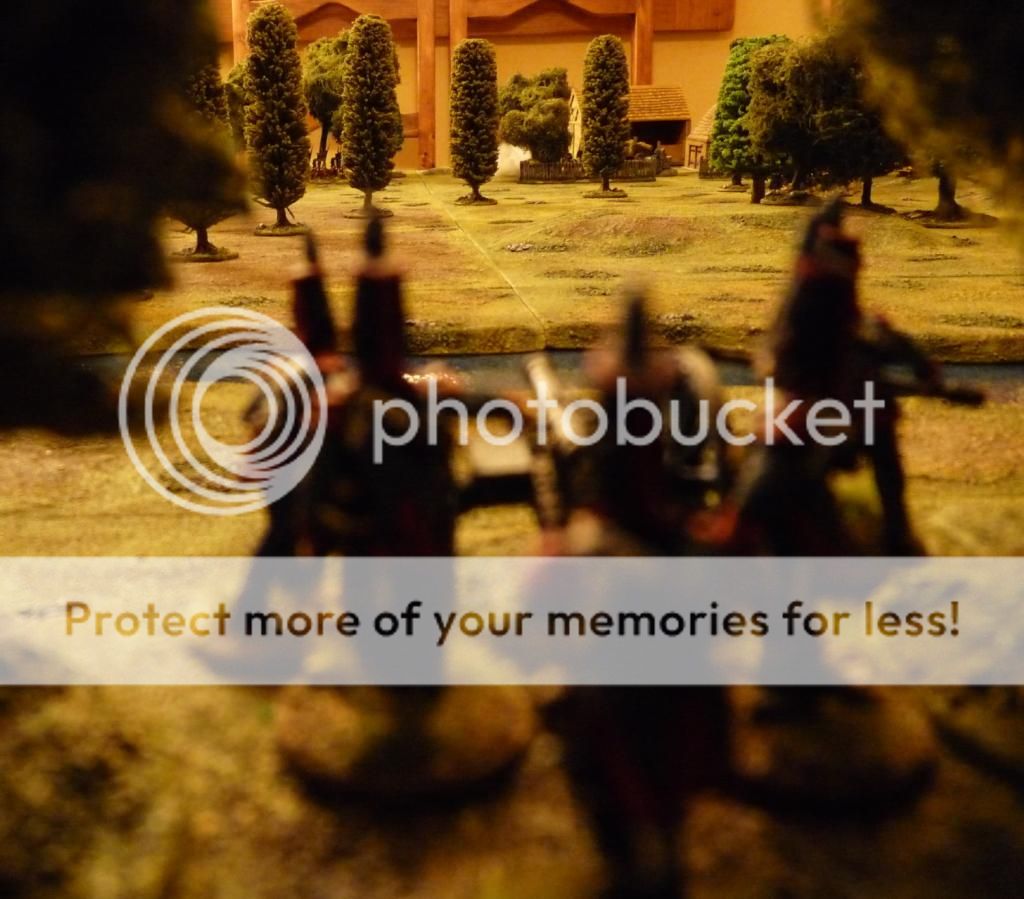
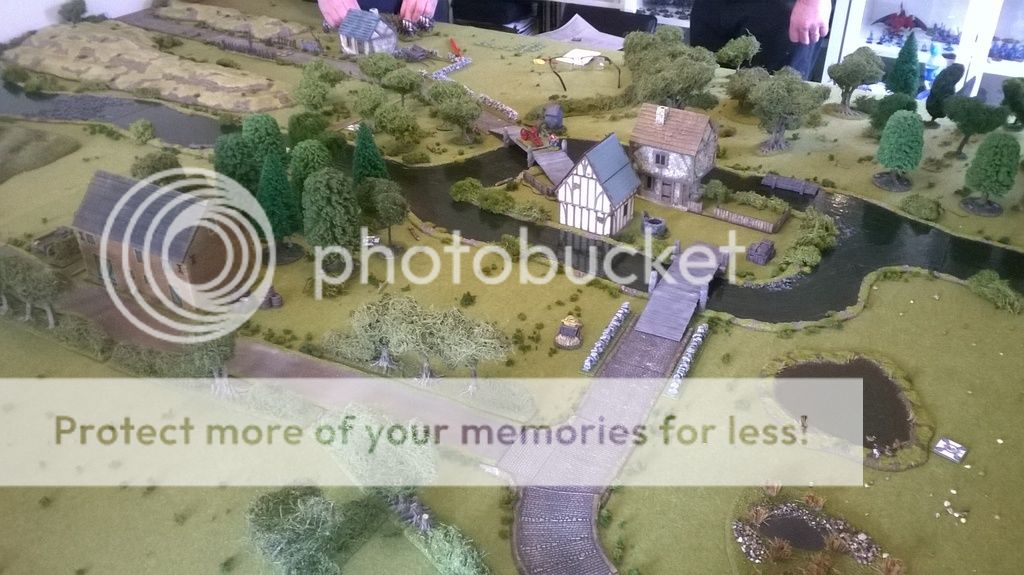
The table before the mayhem ensued:


There were lots of surprises in the scenario, and as usual the Sharp Practice rules threw up plenty of entertainment. Although new to the rules, Andy and Iain got on with them very well. We played a lot of turns, had a lot of laughs and banter, and got a result before it was time to go home.

I won’t try to narrate the battle and all of its twists and turns, but I’ve captioned the pictures I managed to take. Hopefully they do the game justice, because it was great to play in as well as being a visual treat..

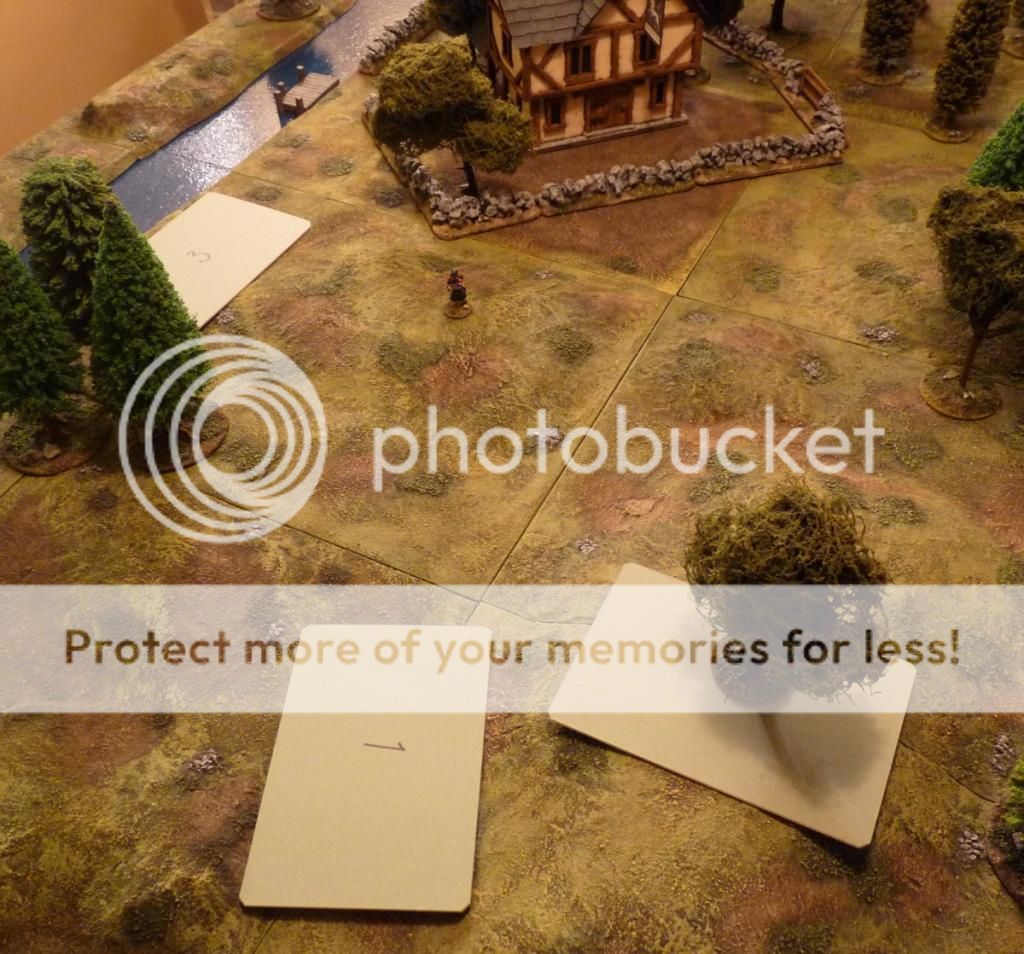
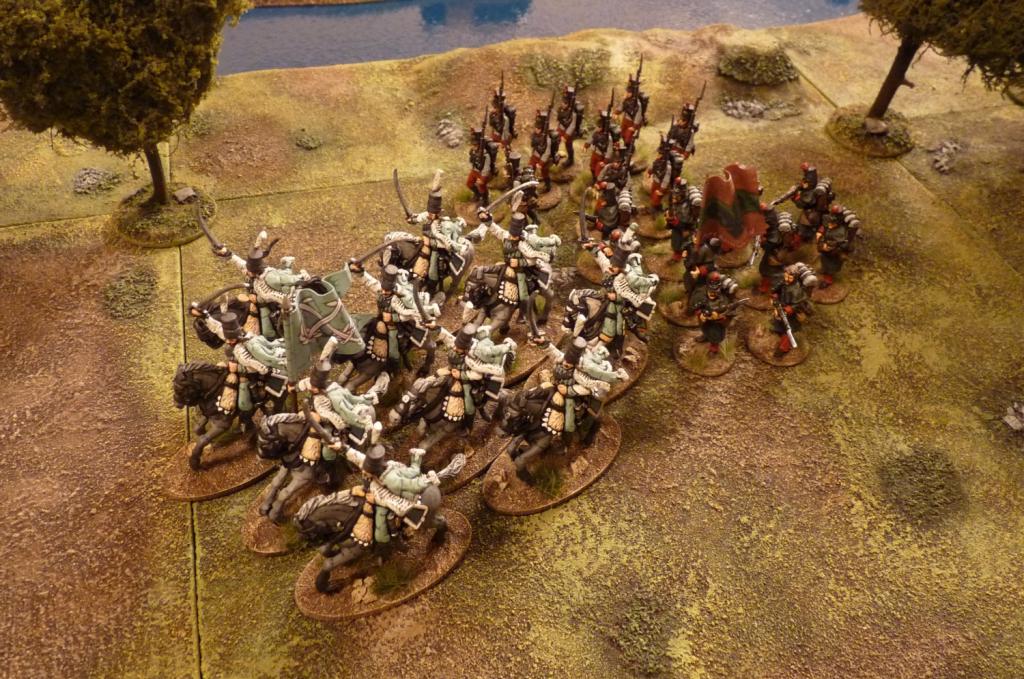
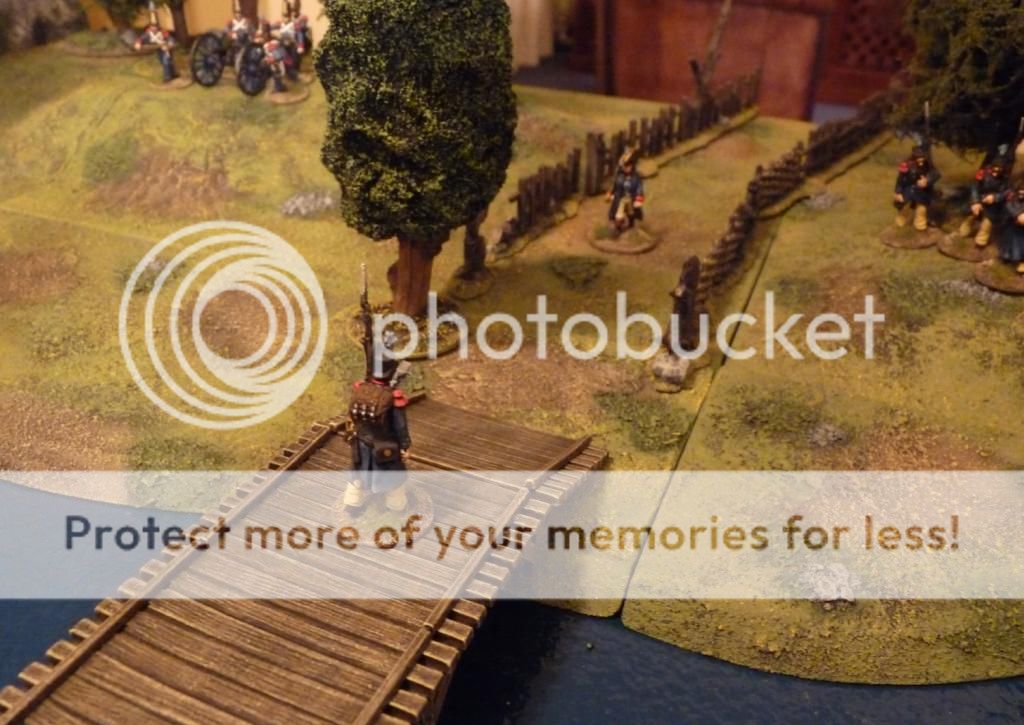
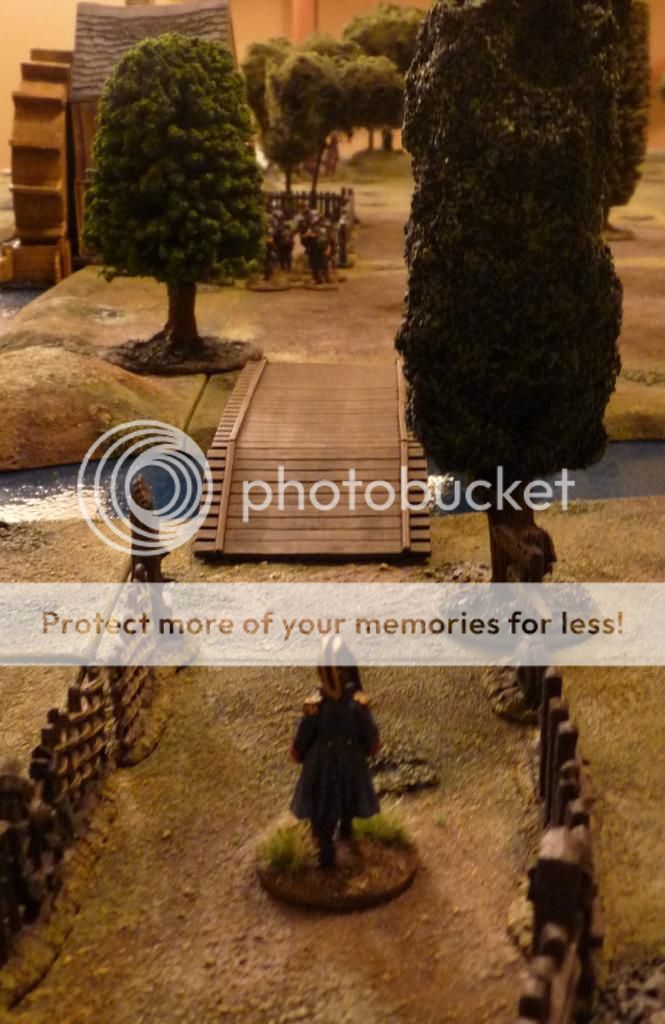
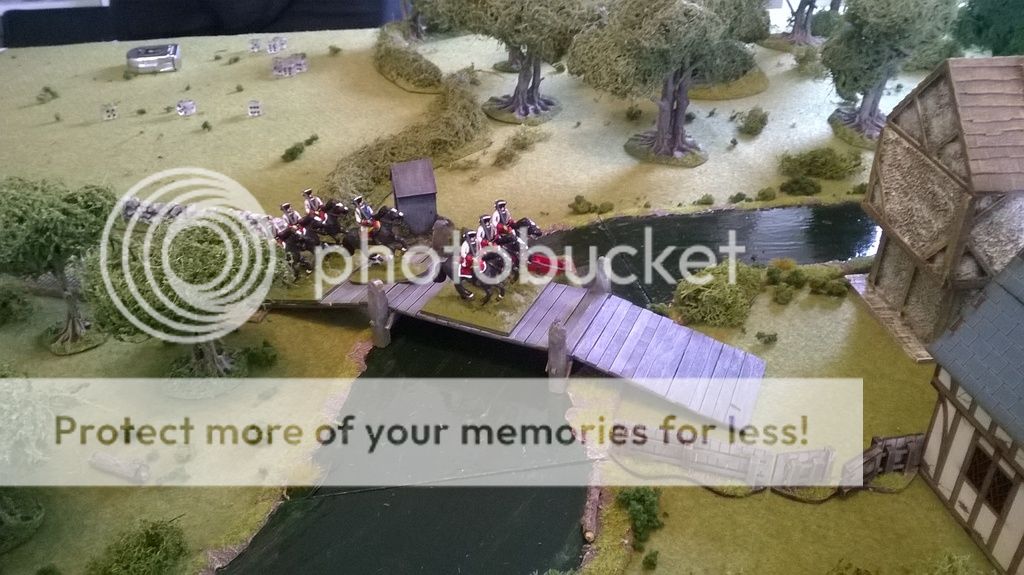
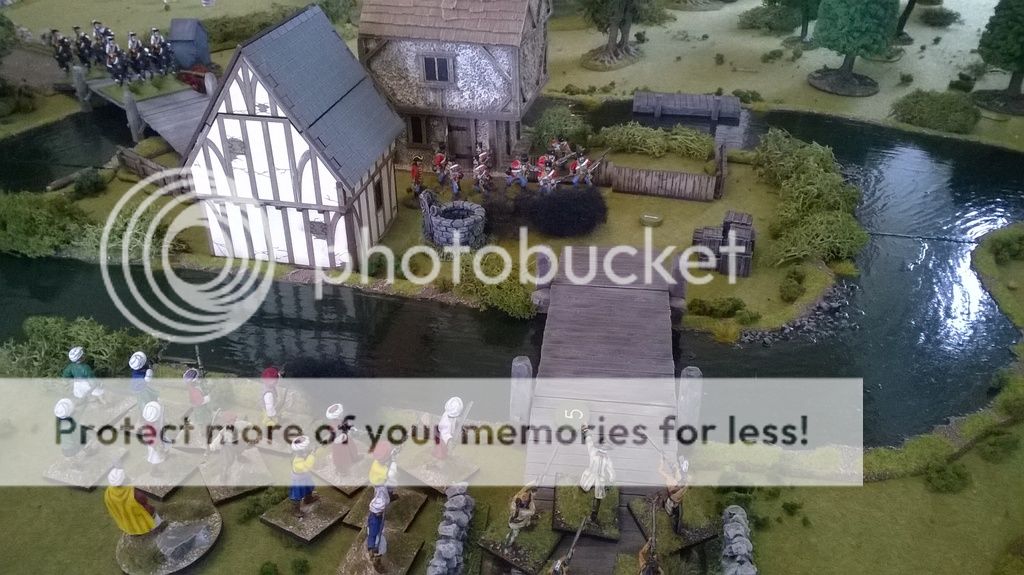
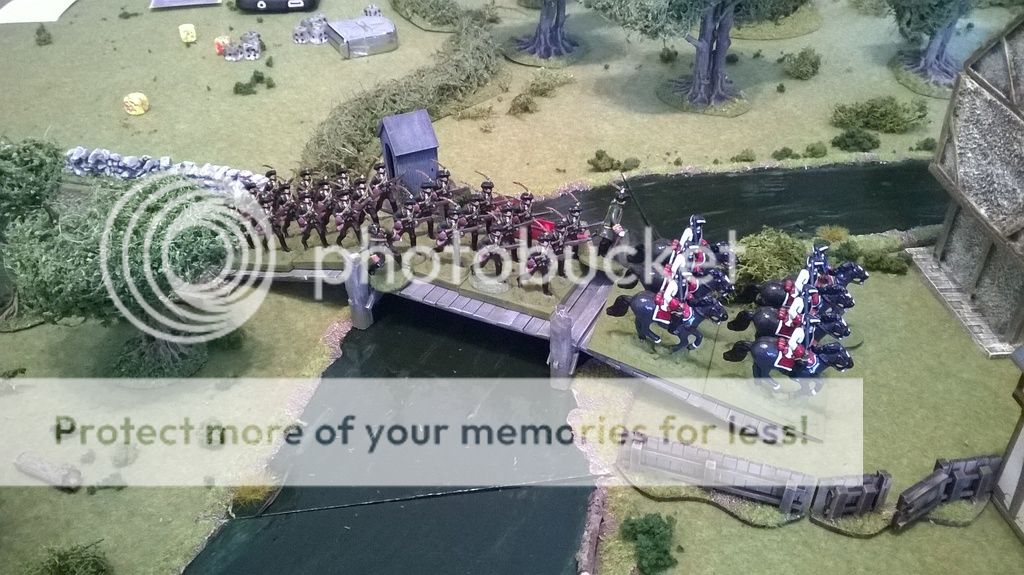
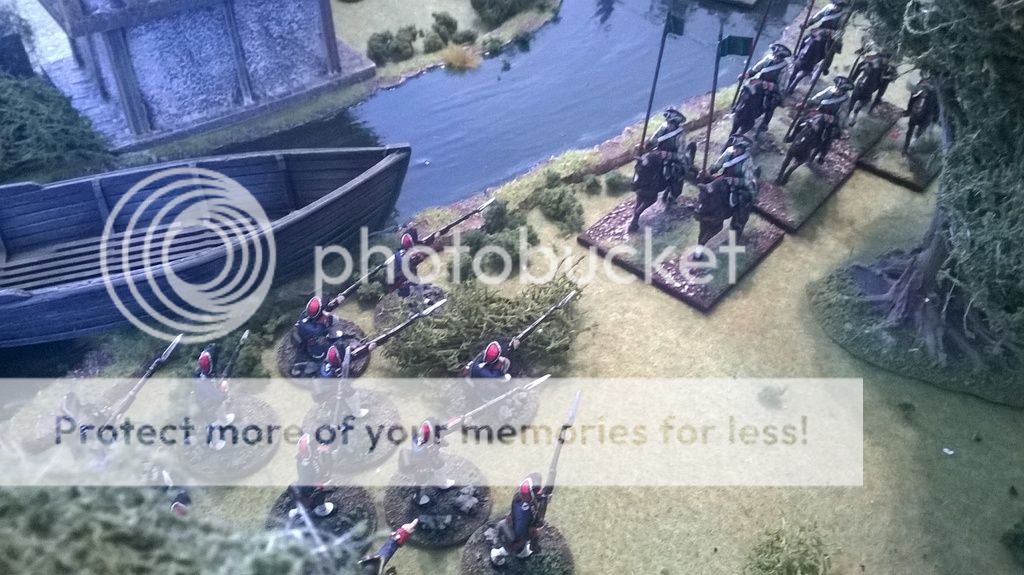
Deploying off a blind, Iain’s Gateway dragoons made it to the bridge quickly. They just missed catching the sentry but had time to dismount and push the unattended cannon into the river. This was to be their high point in the game, and after this most of their actions should have been accompanied by circus clown music!

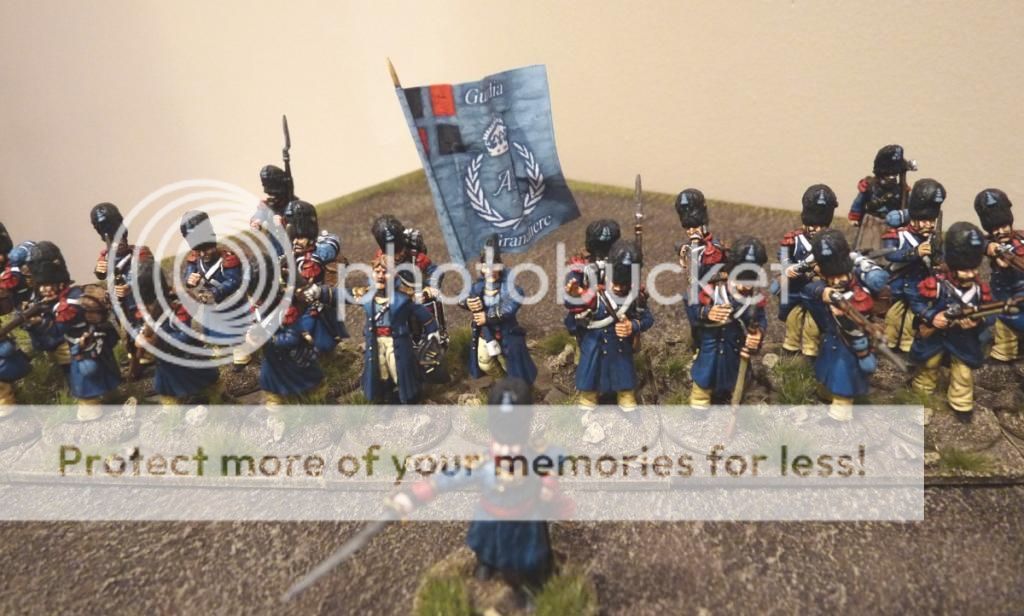
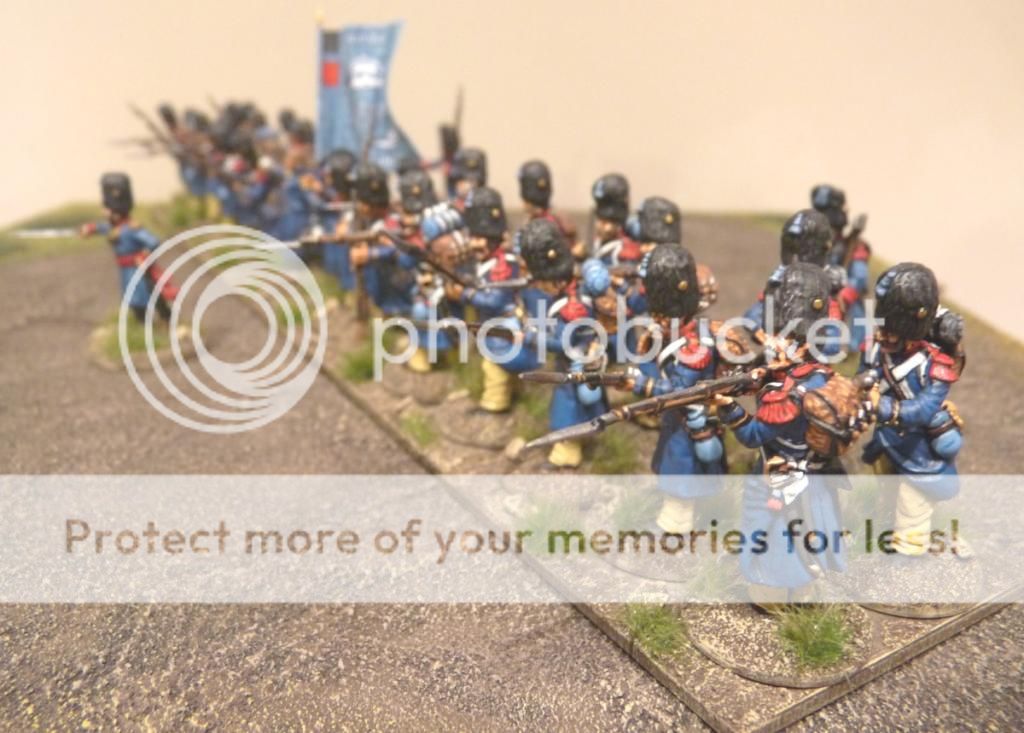
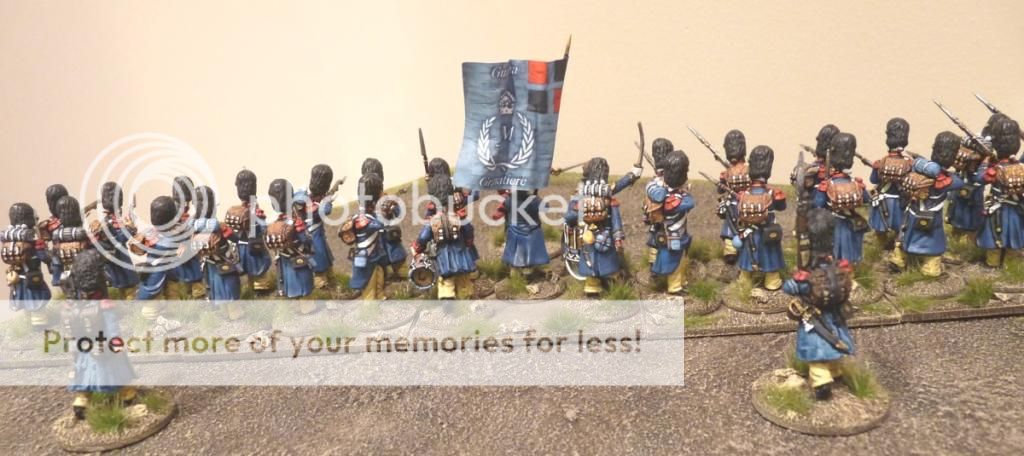
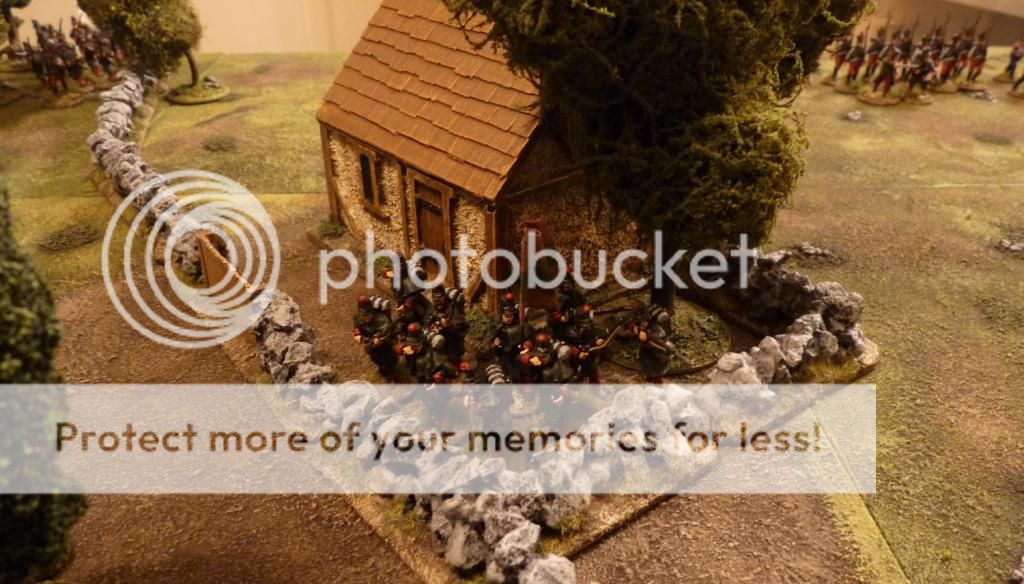
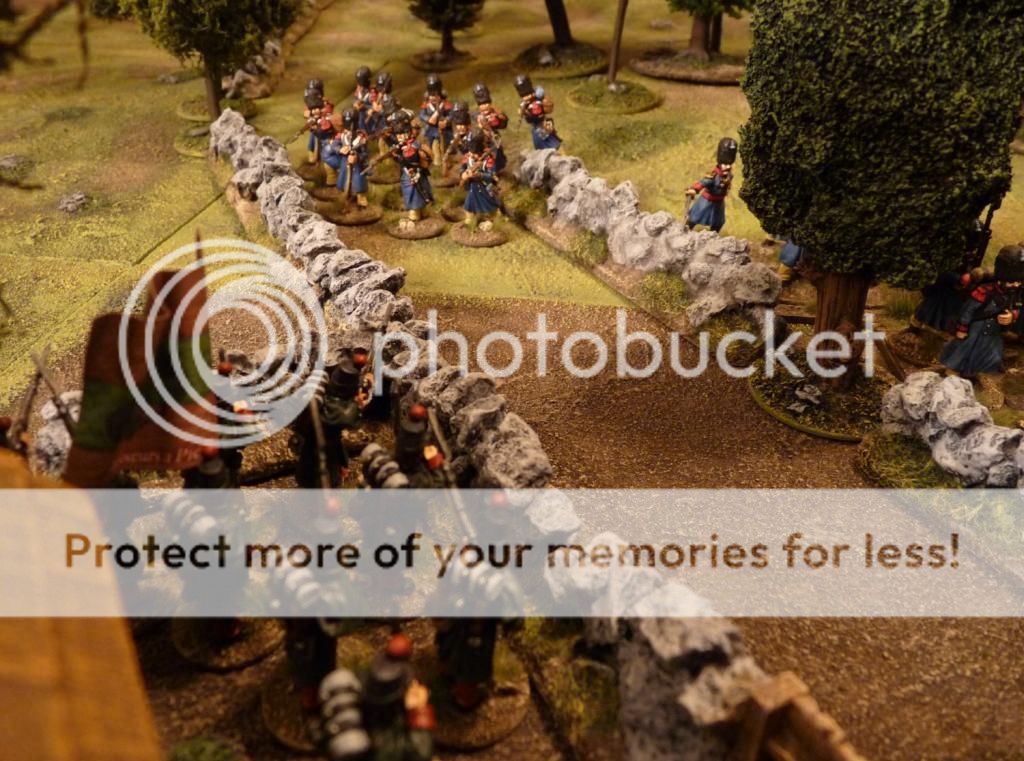
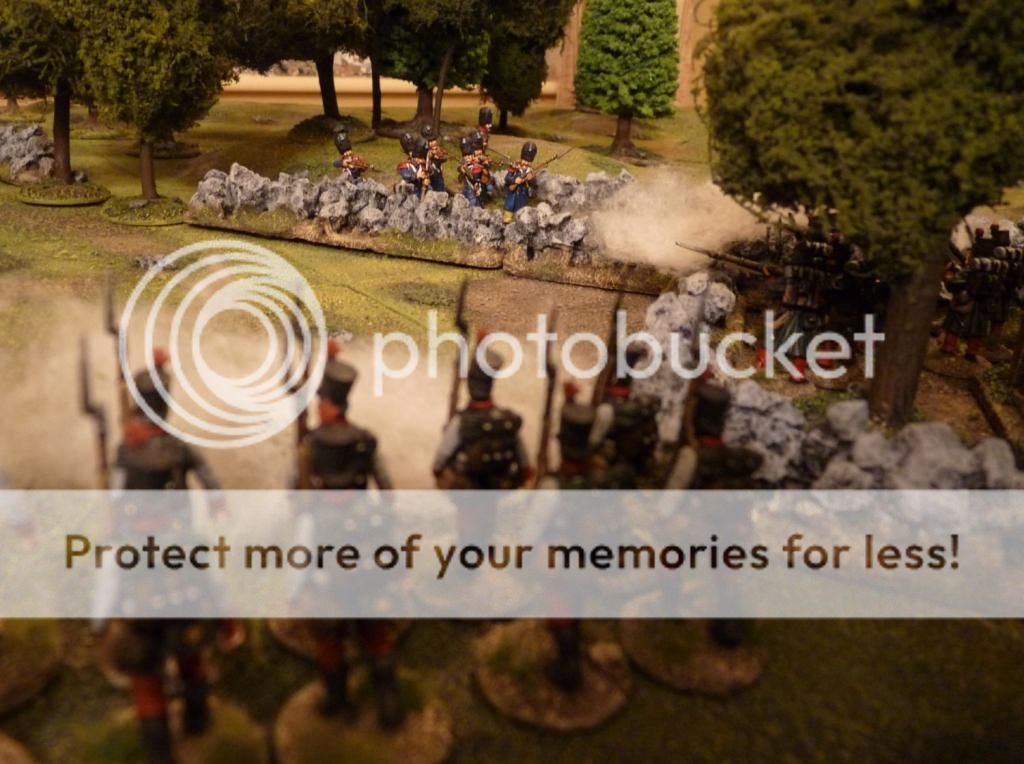
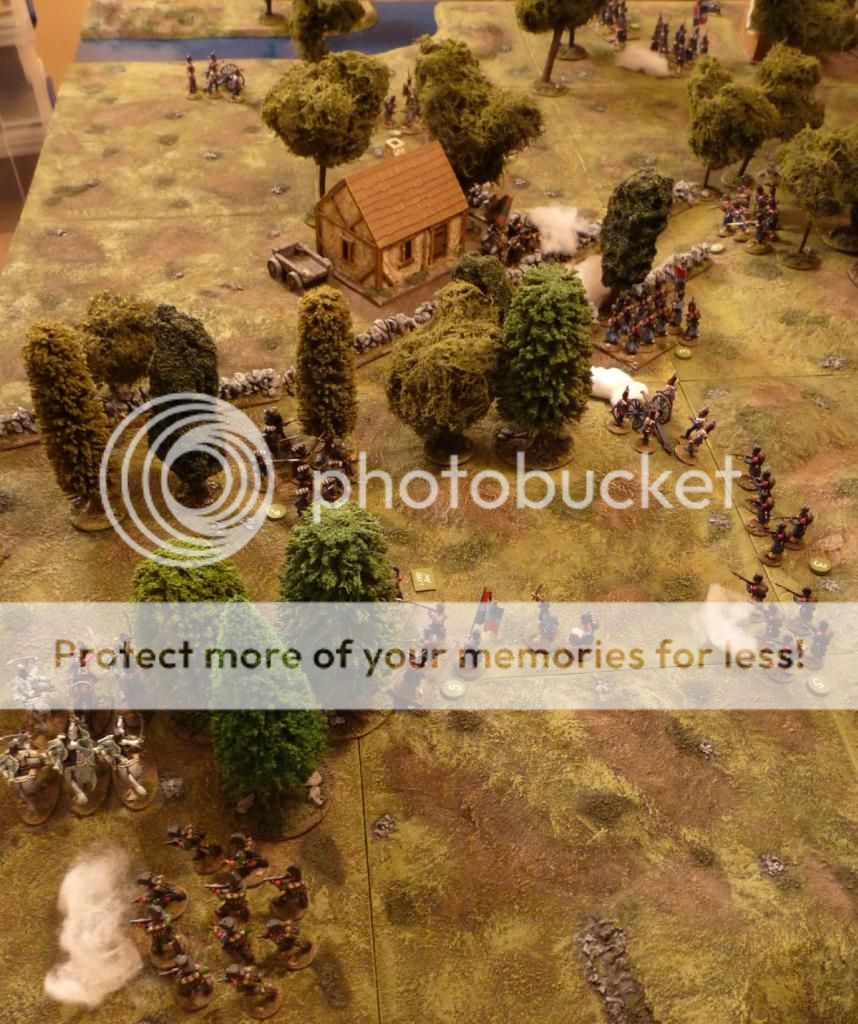
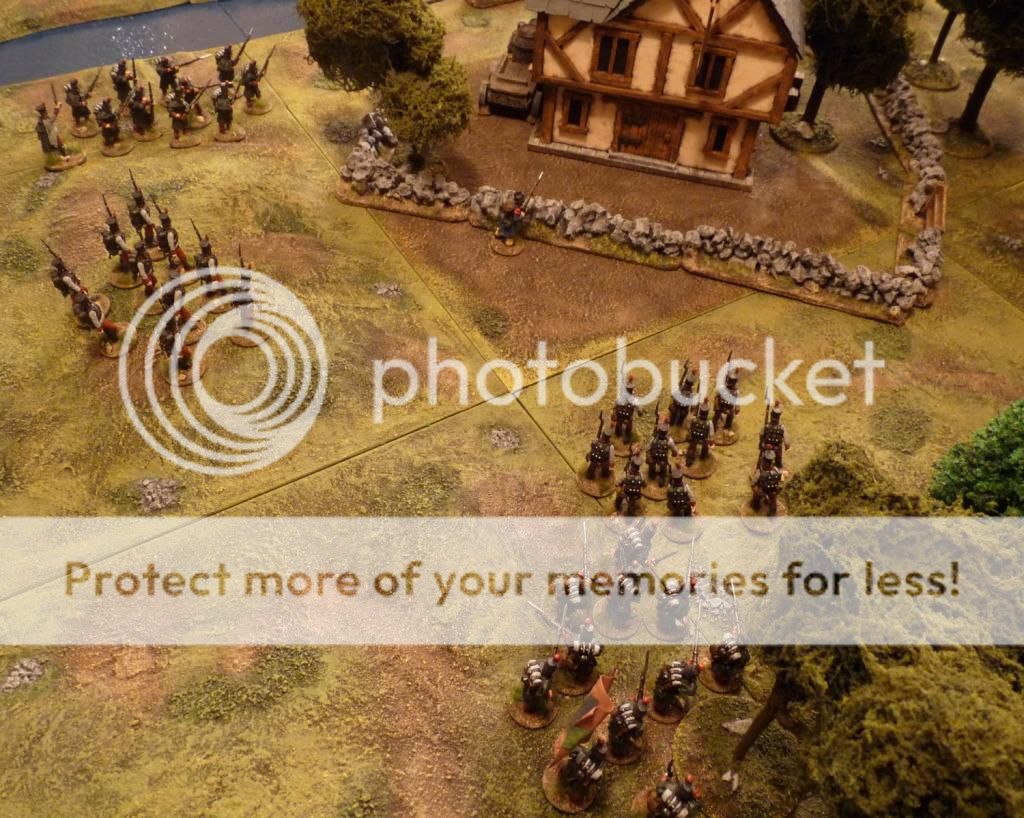
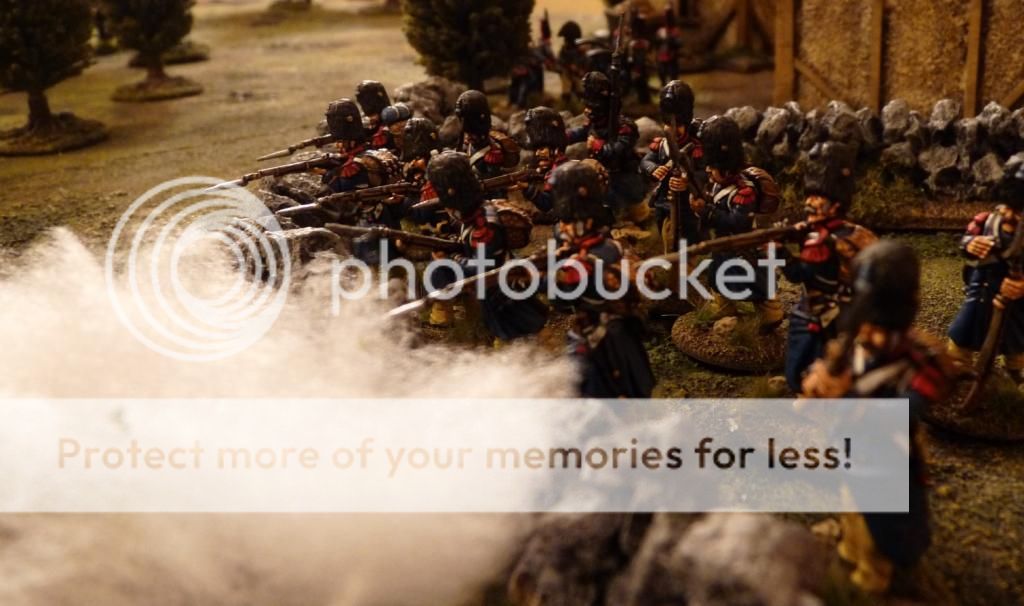
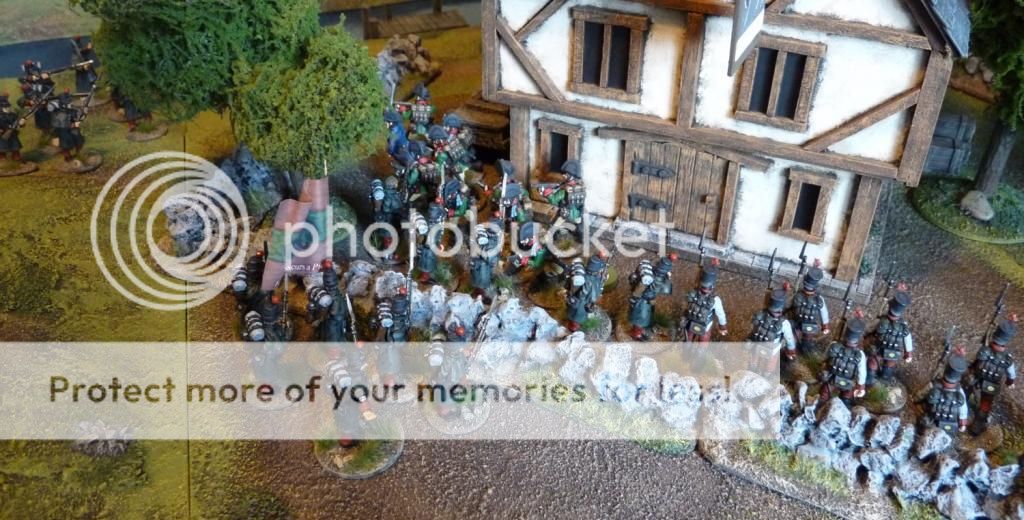
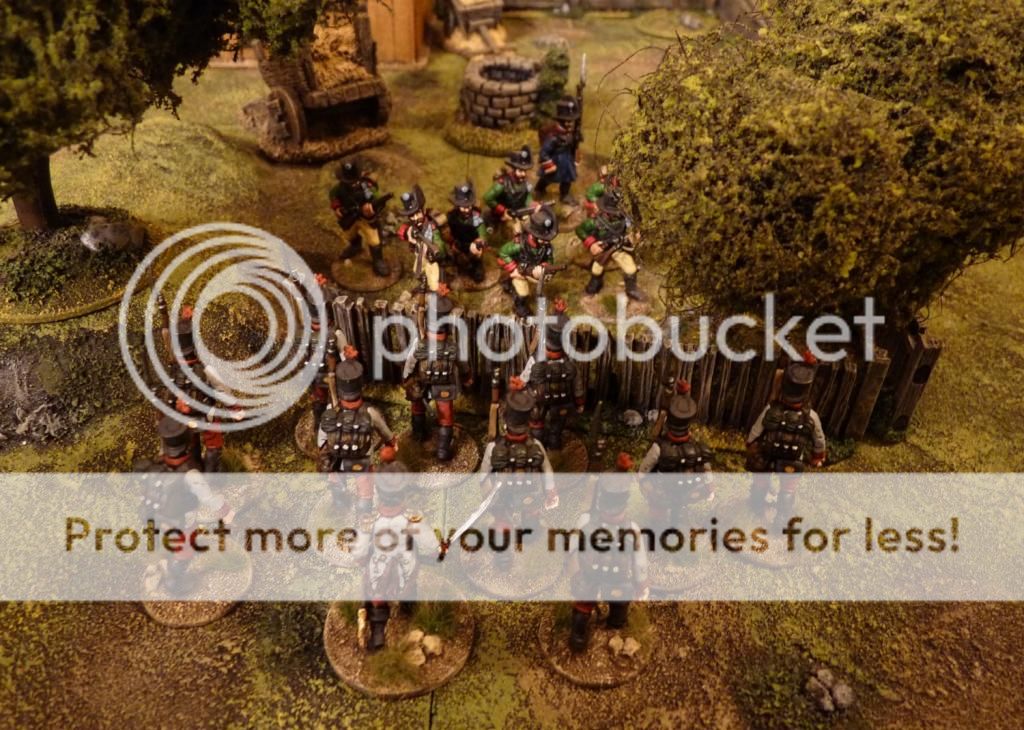
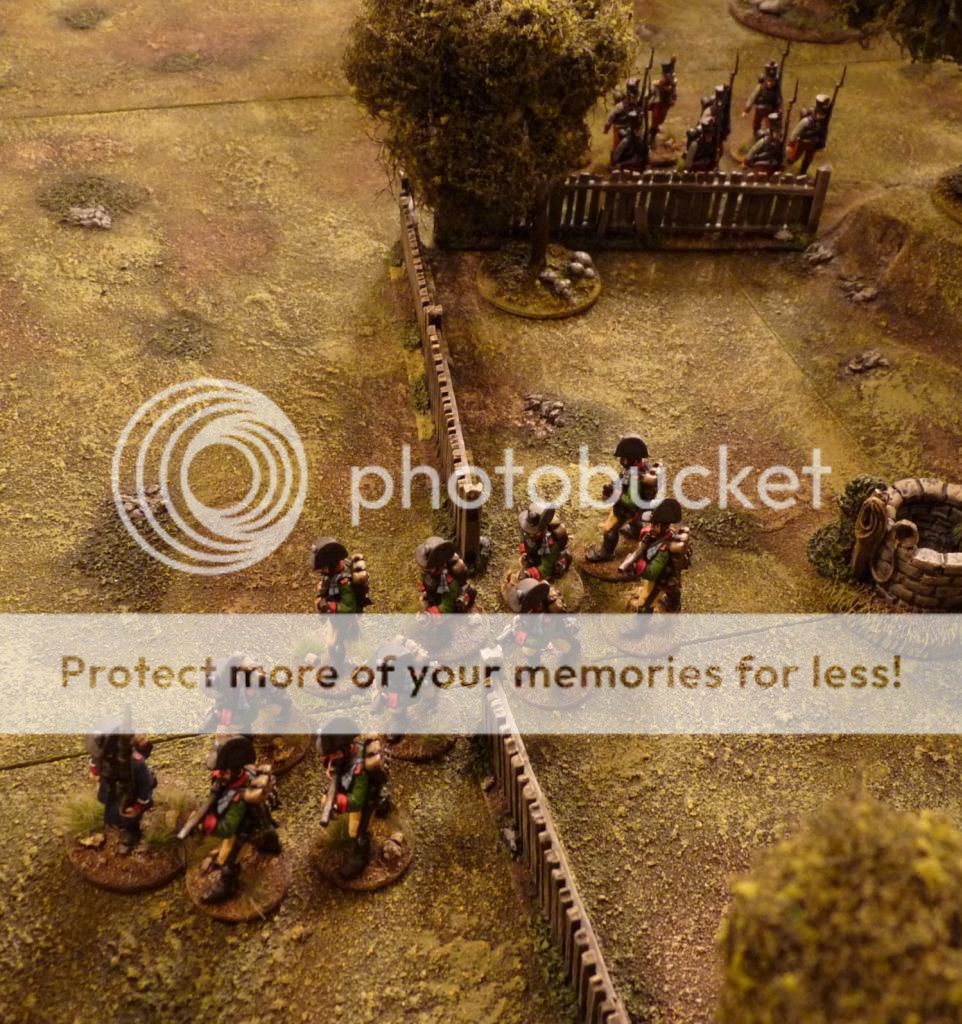
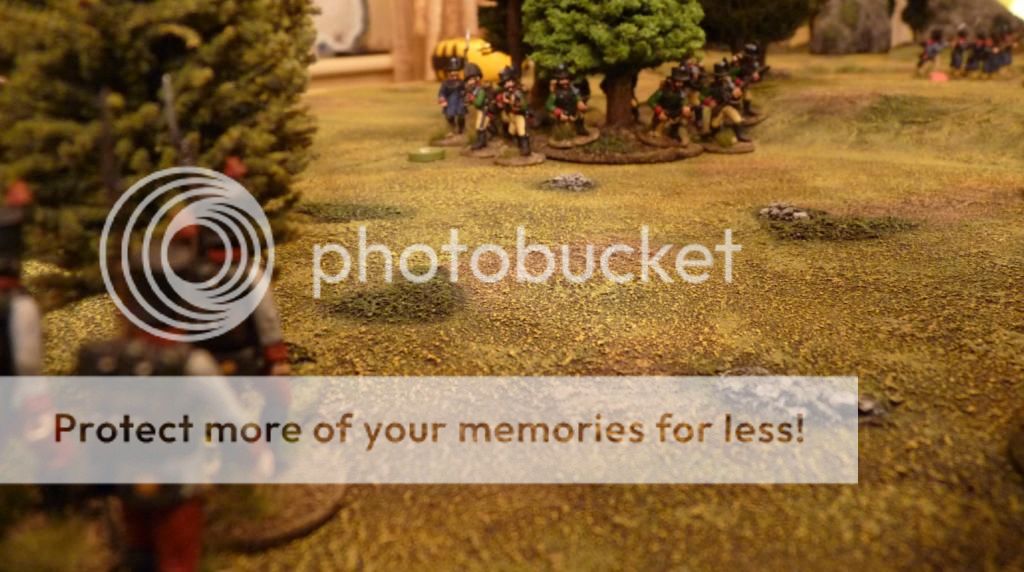
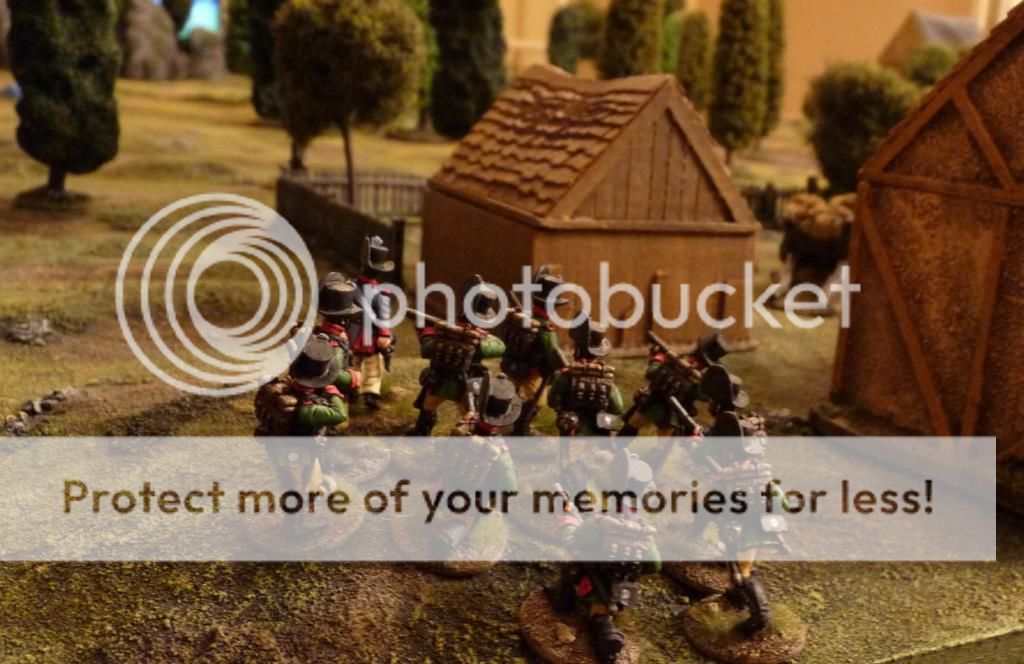
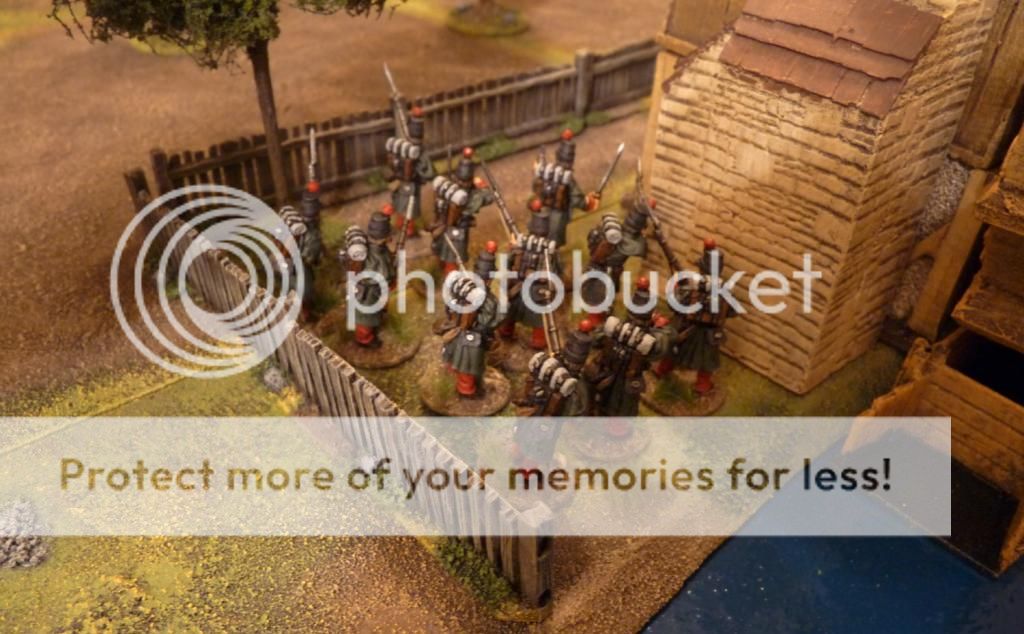
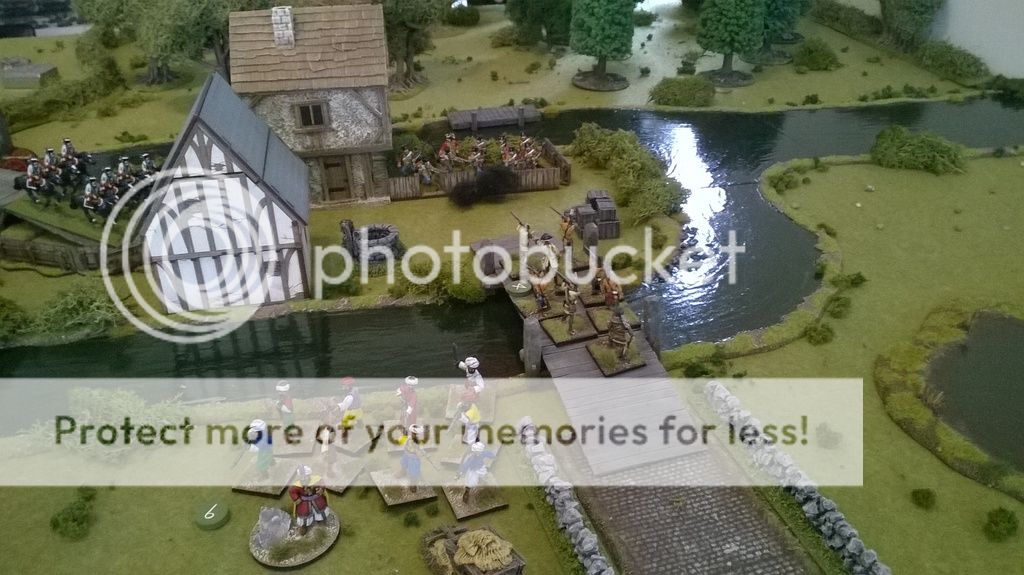
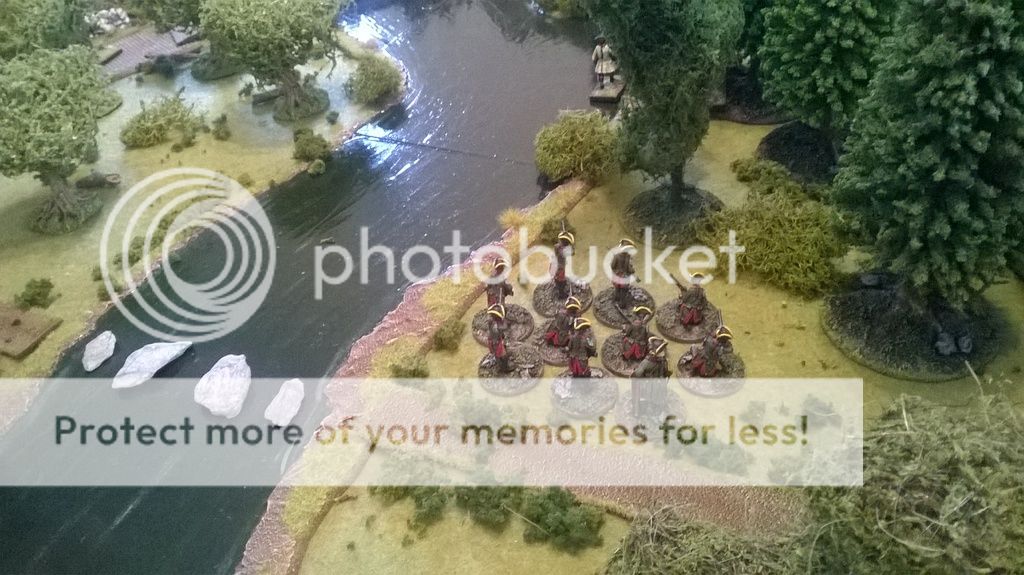
Alerted by the sentry just in time, the Prunkland Grenzers dashed out of the main house on the island, to take up a defensive position in the adjacent garden:

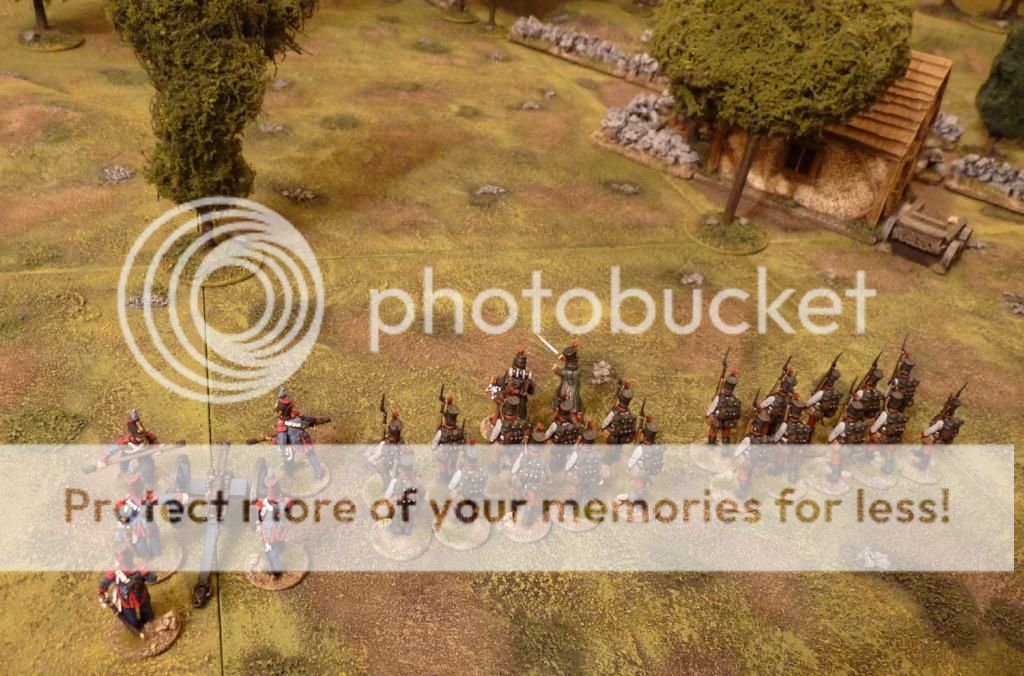
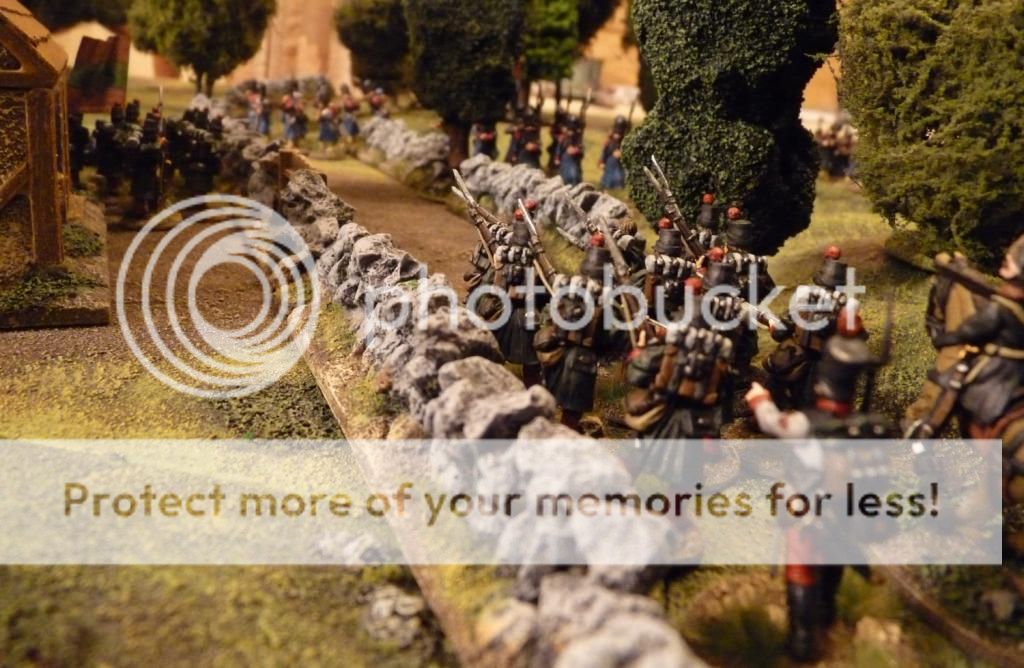
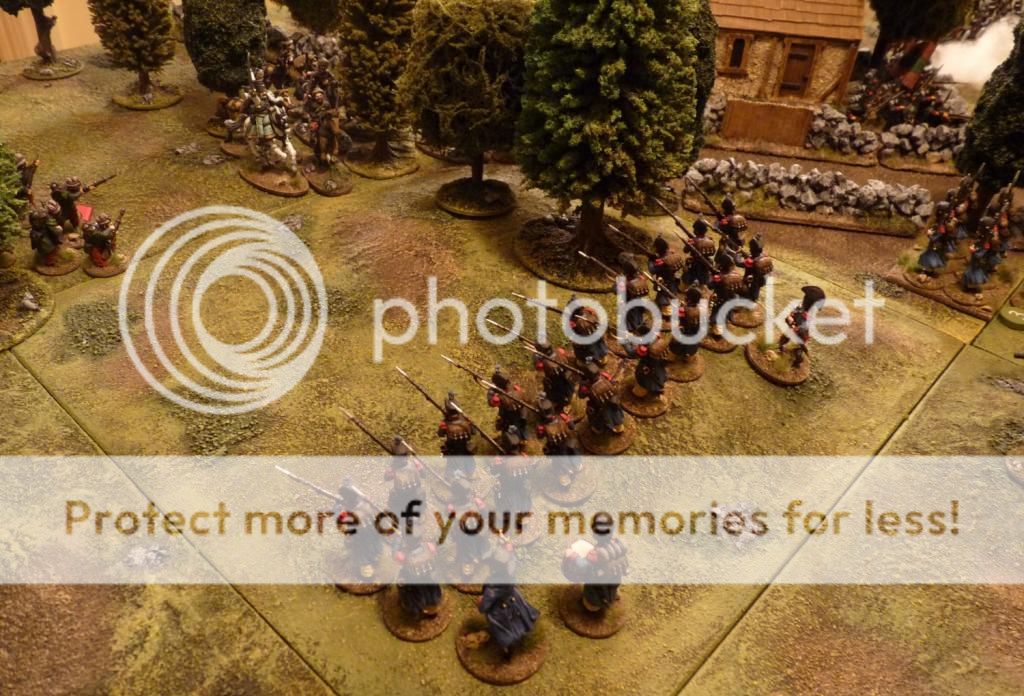
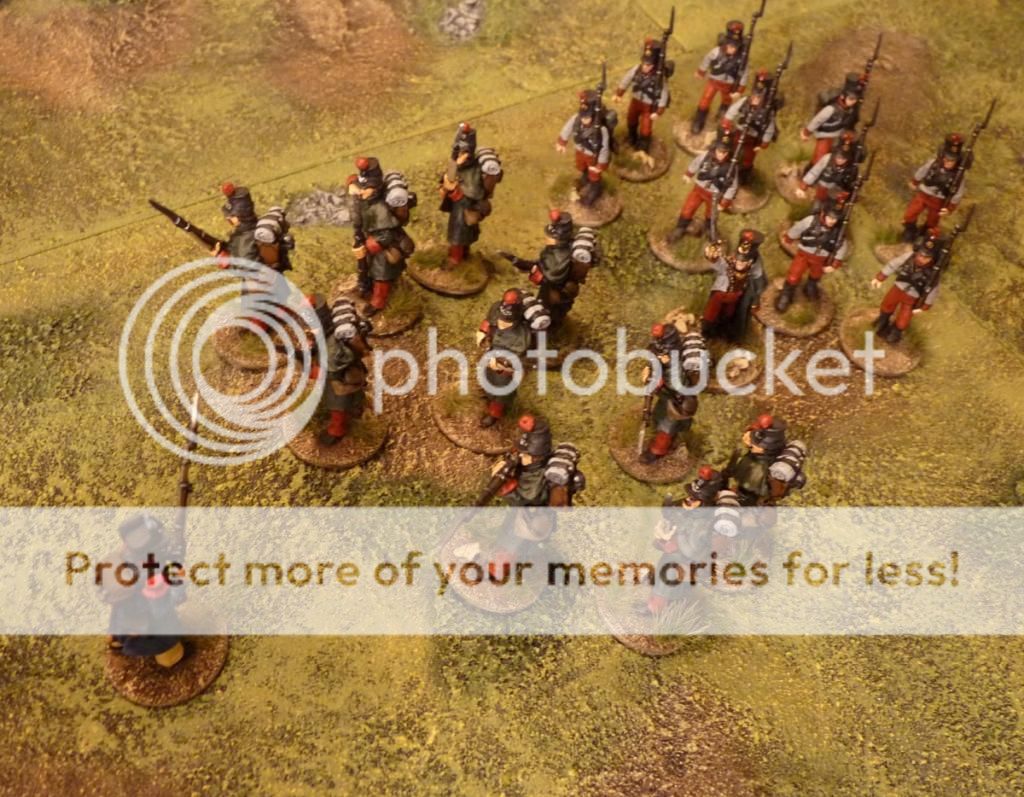
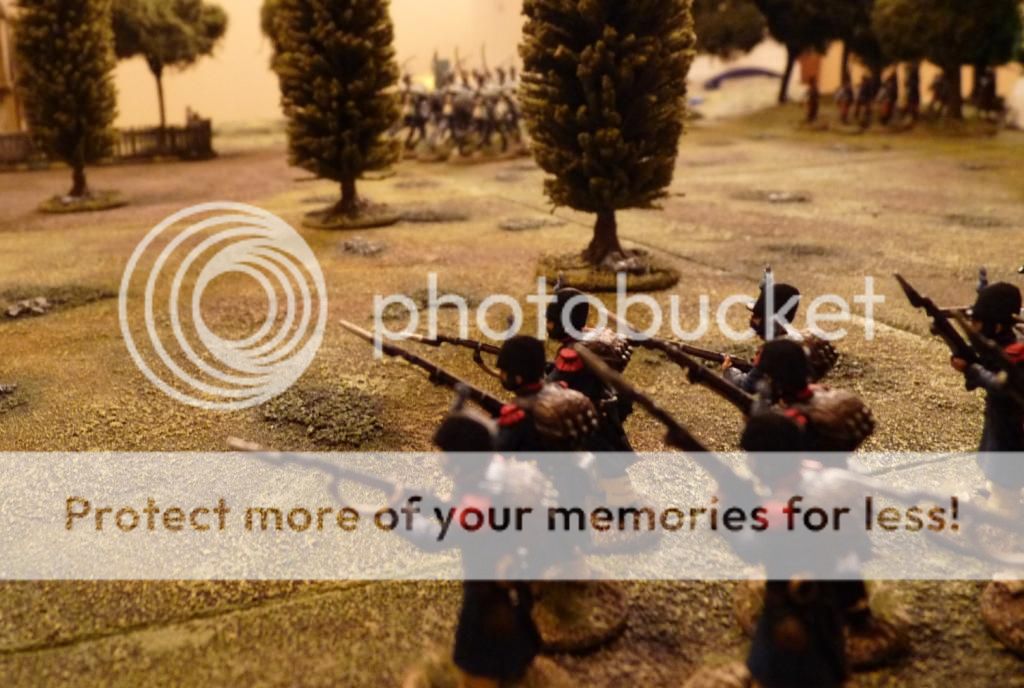
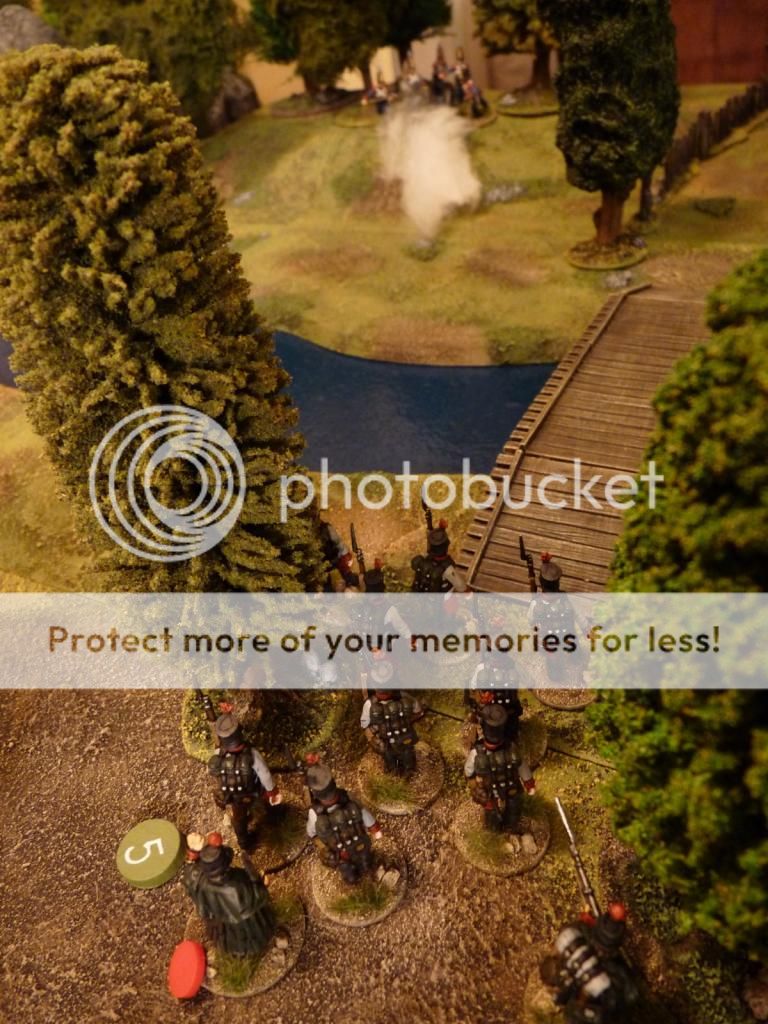
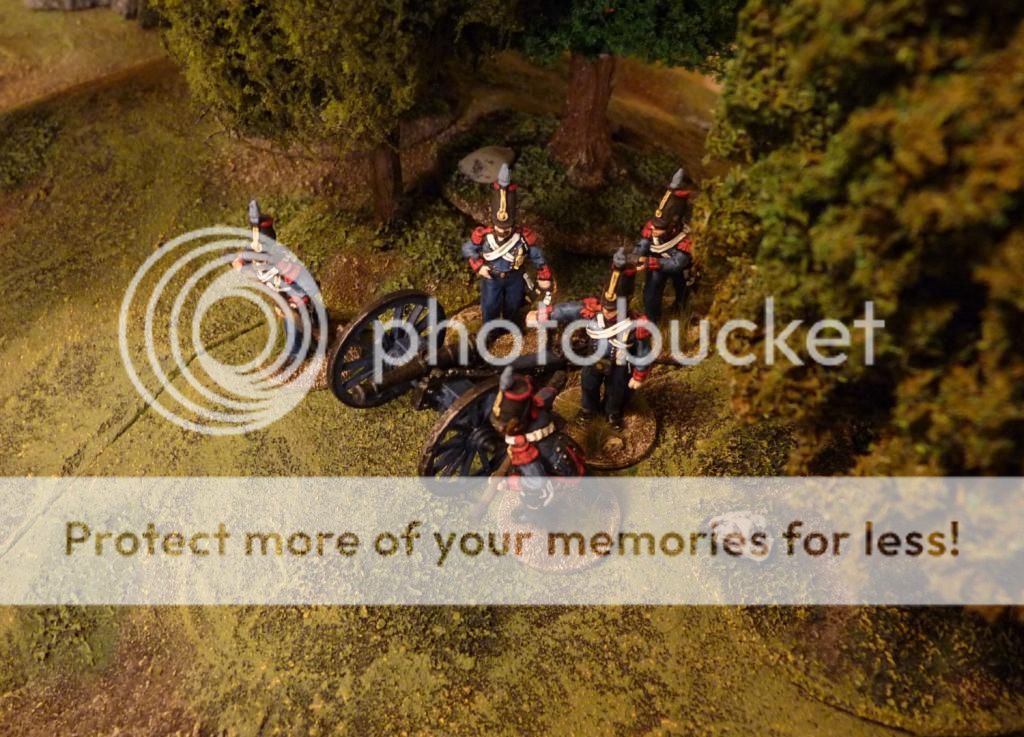
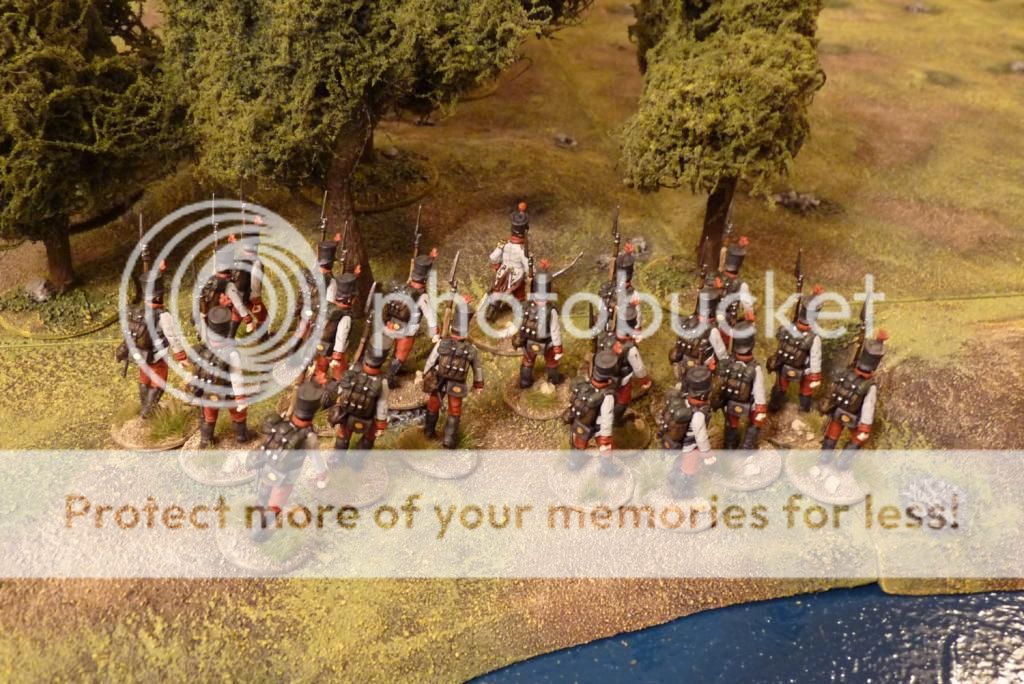
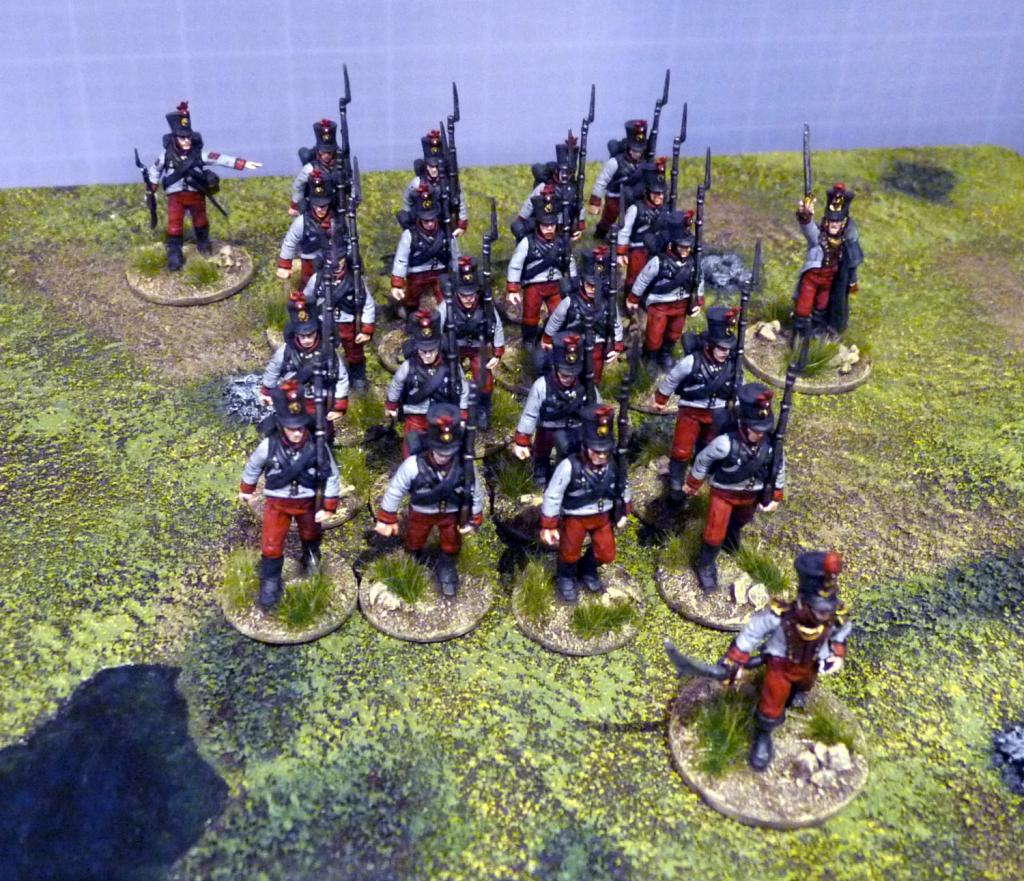
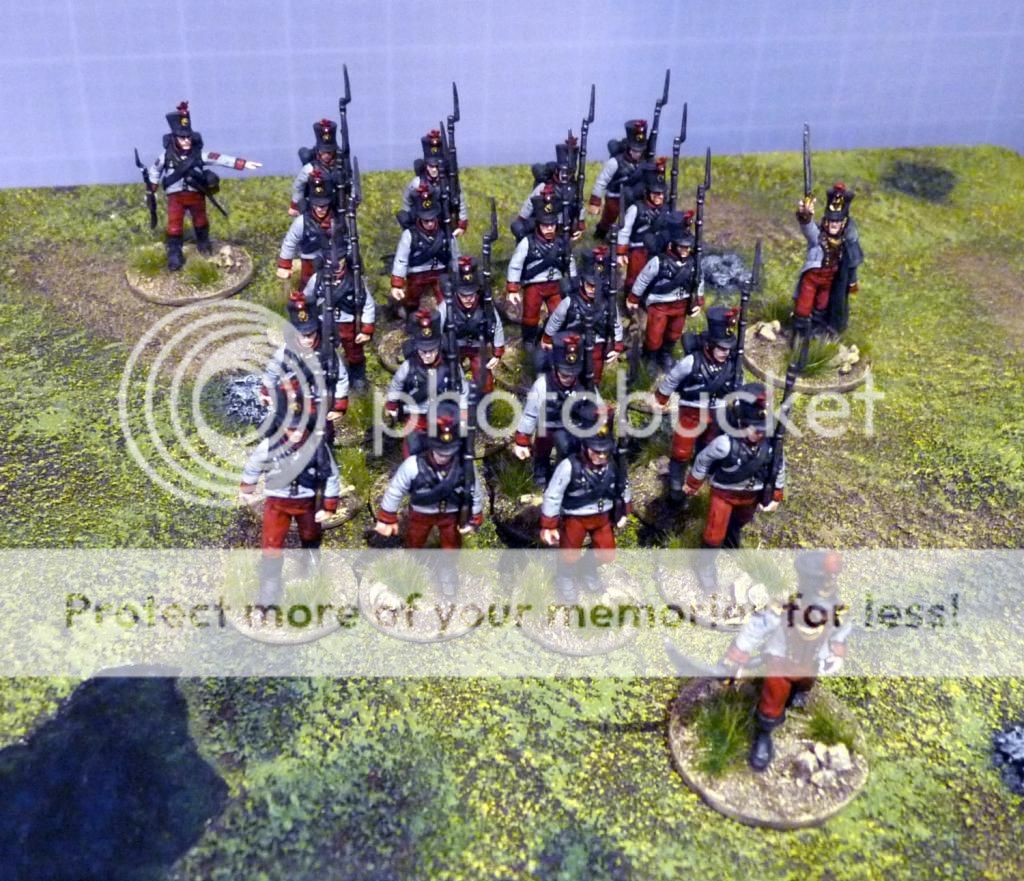
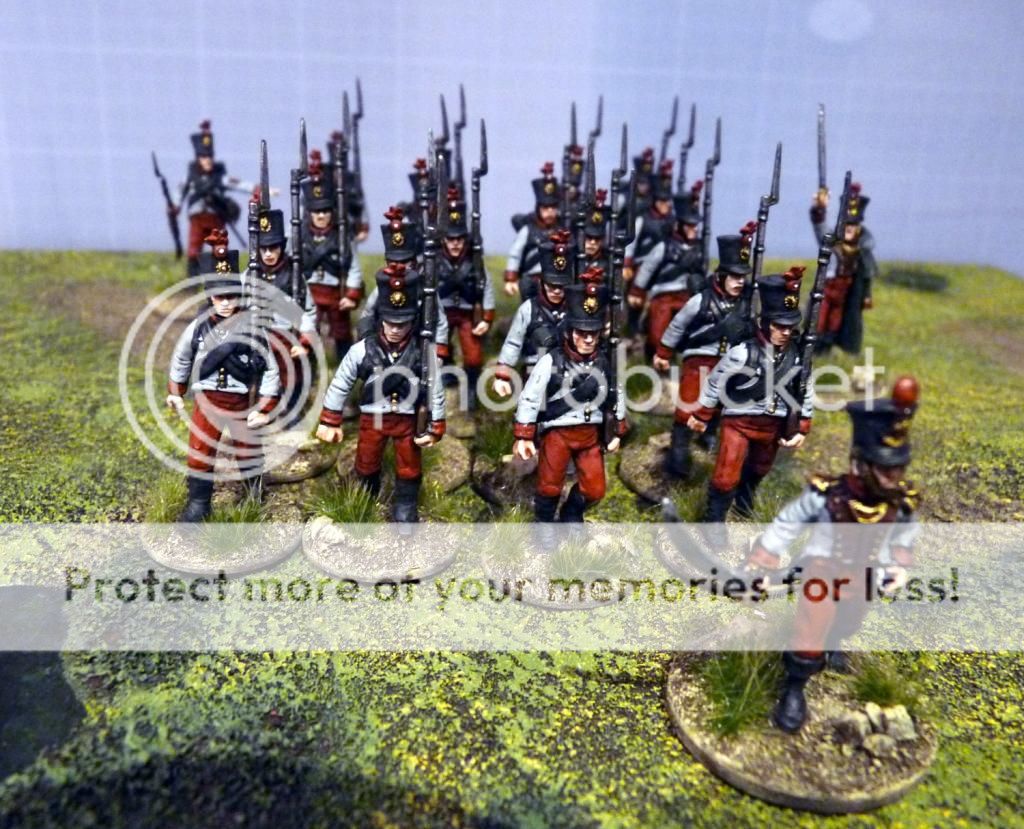
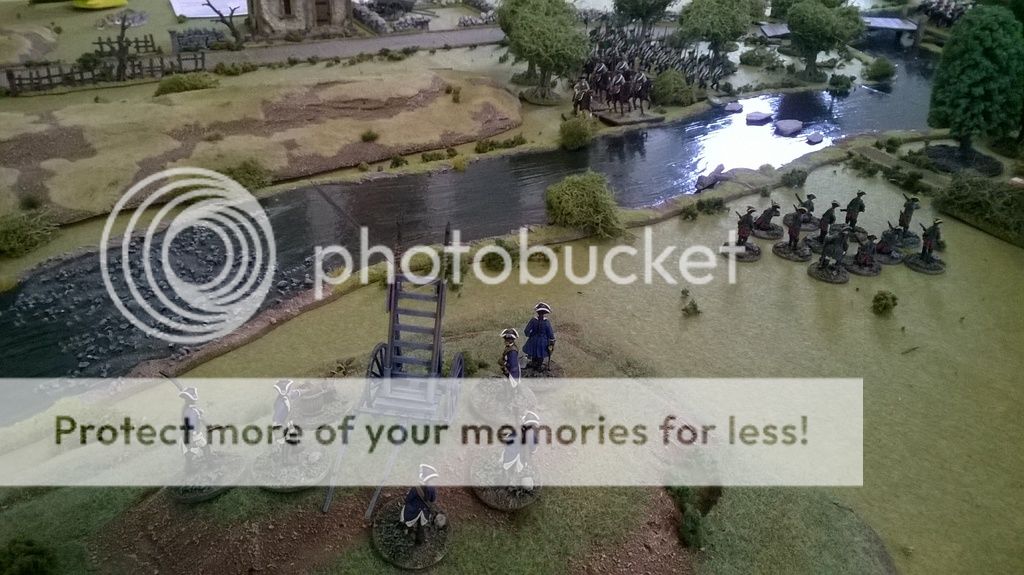
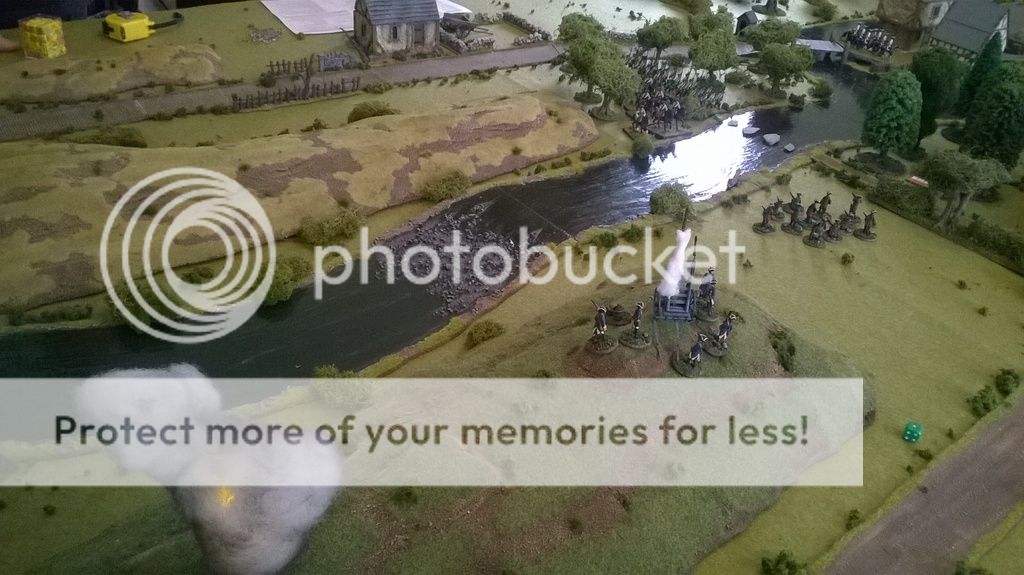
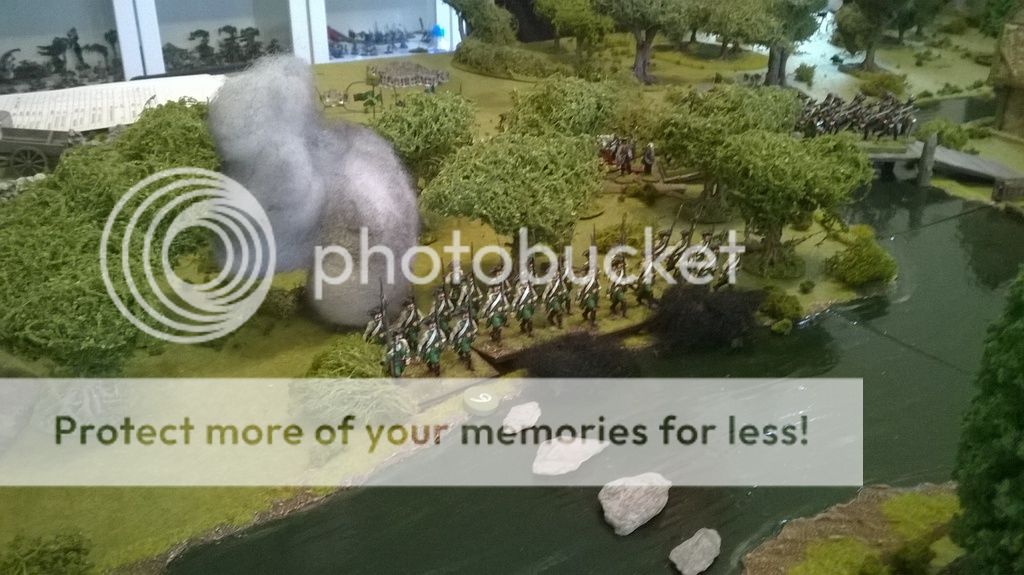
Troops were arriving on both sides of the river, racing in parallel towards the bridges. The Medetian Jager led the way, buying time for the rocket battery to set up on a handy hilltop with a very good view of everything:

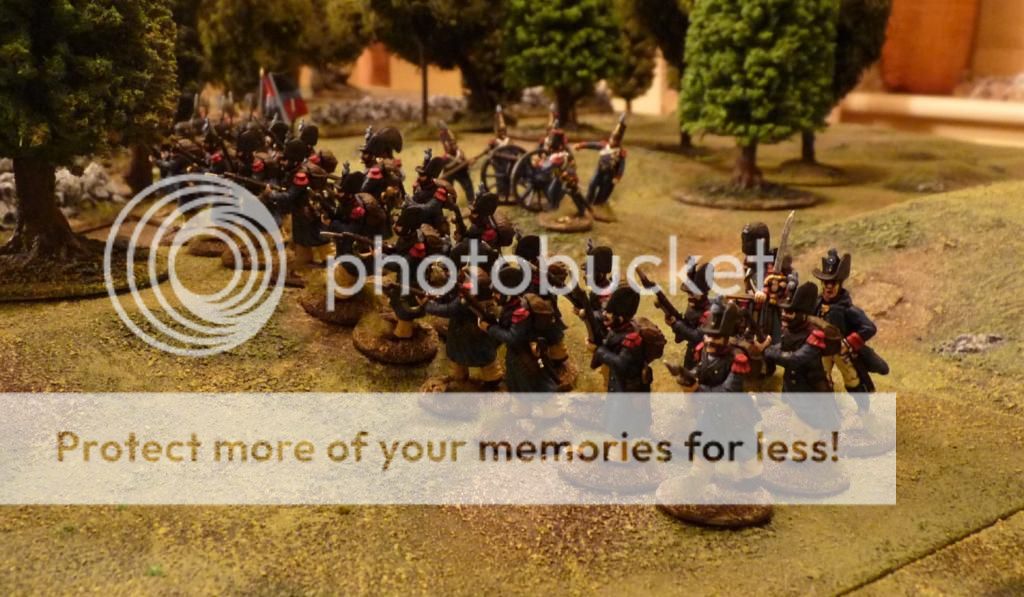
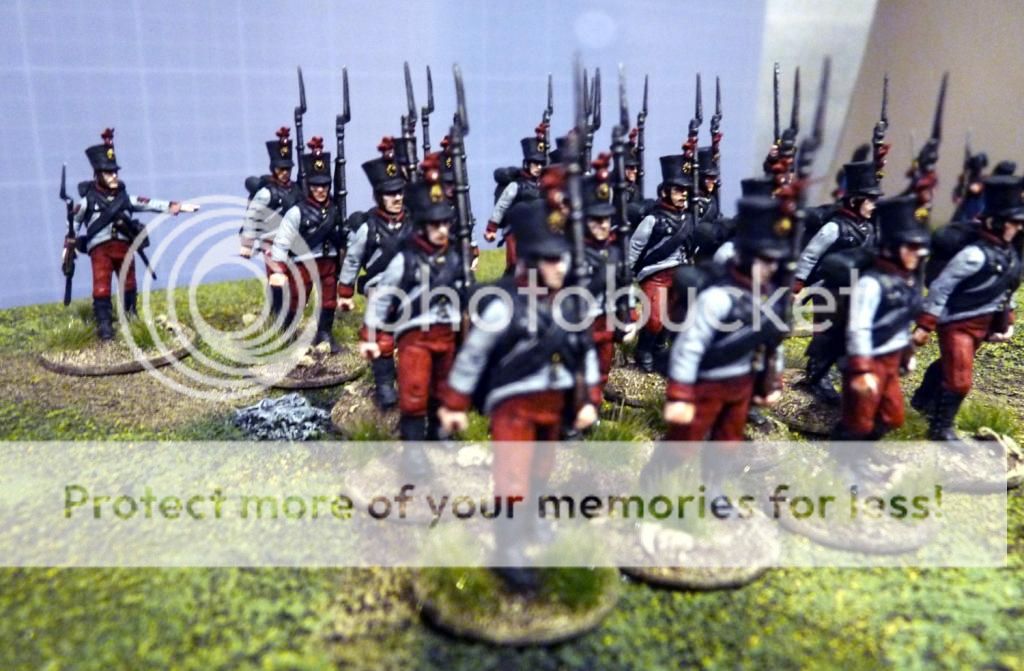
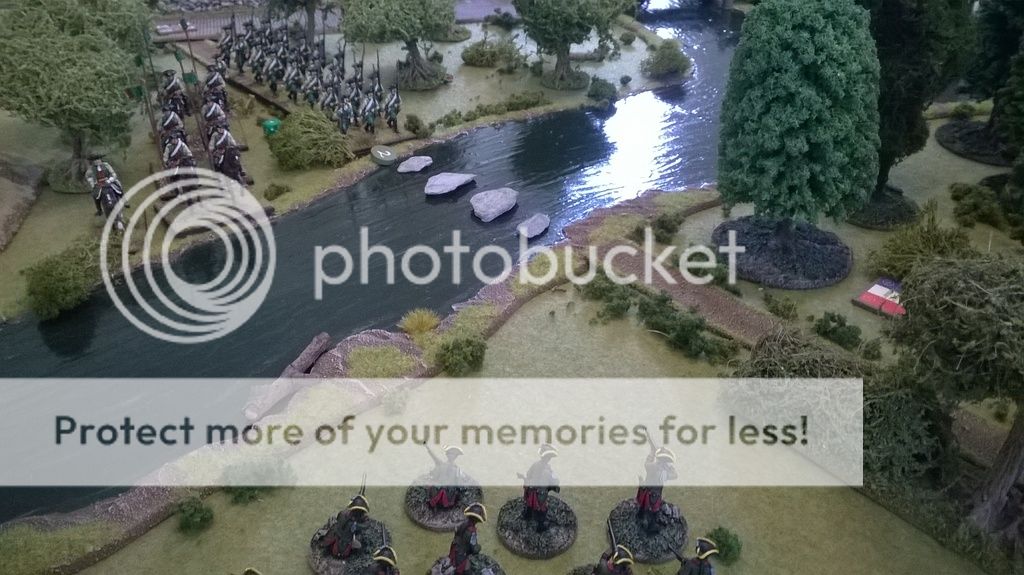
Andy’s Altfritzenbergers decided to get across the river early, which involved coming at the Medetians head-on. Some very accurate (ie. lucky) fire made this a real challenge, however:

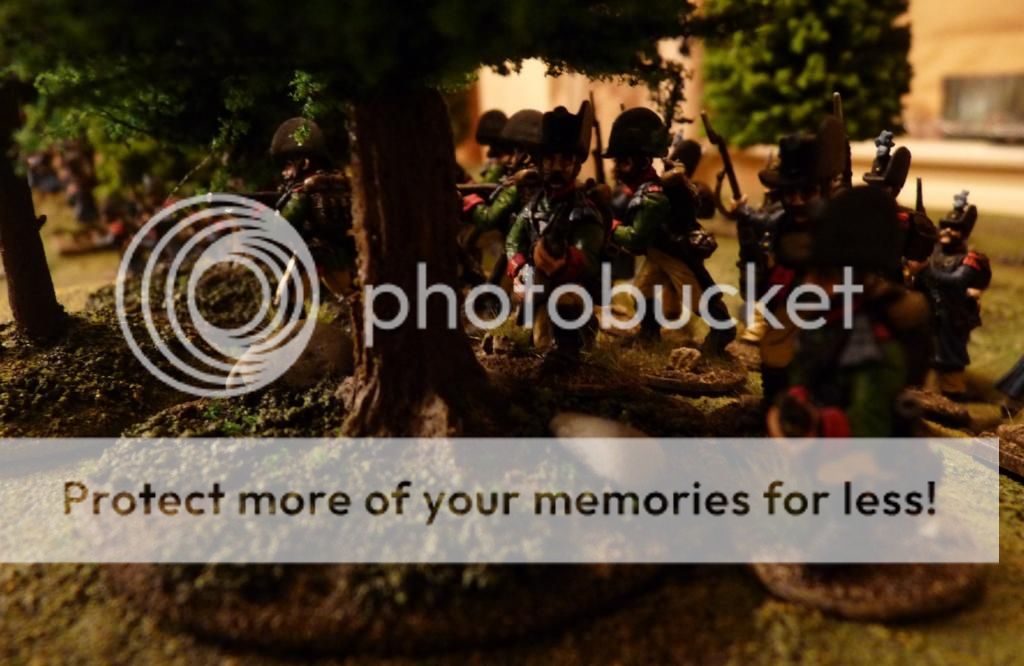
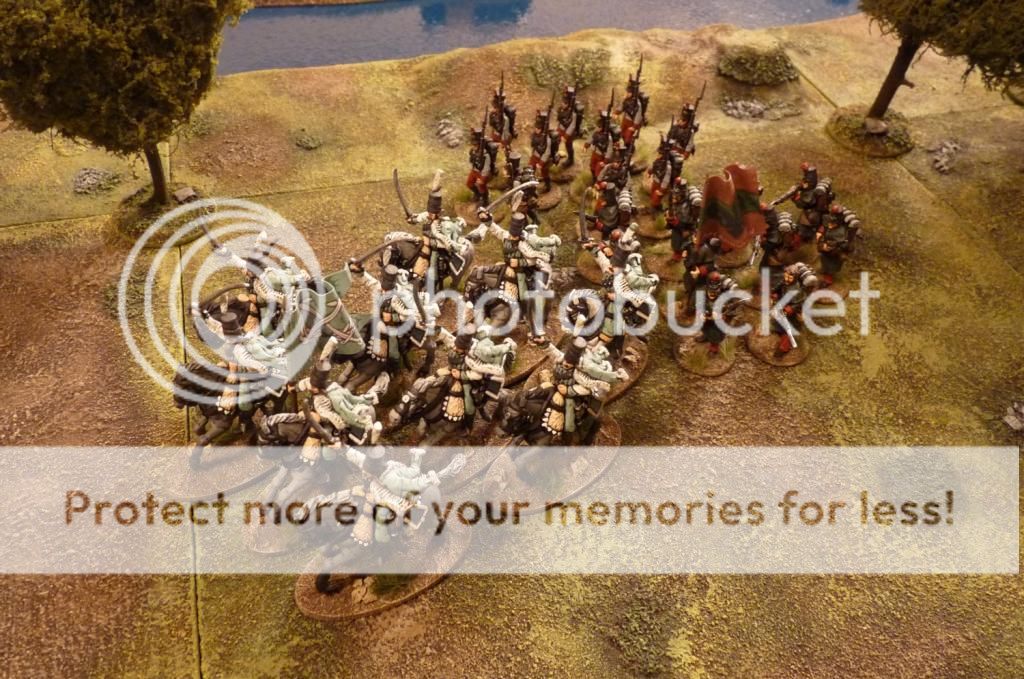
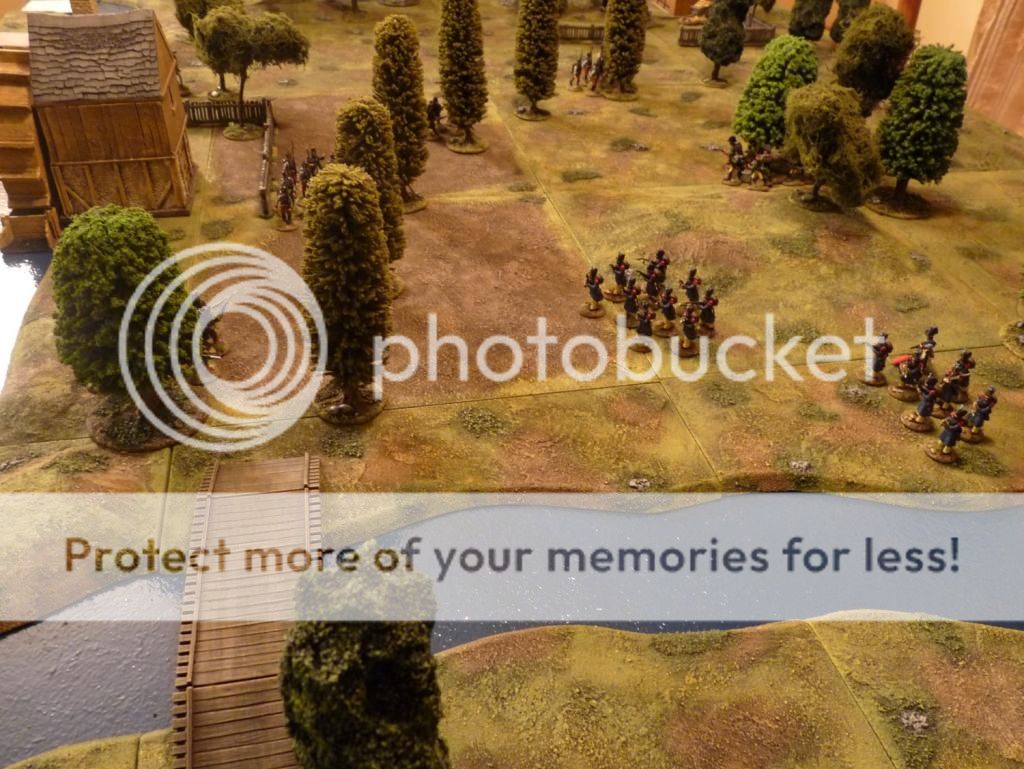
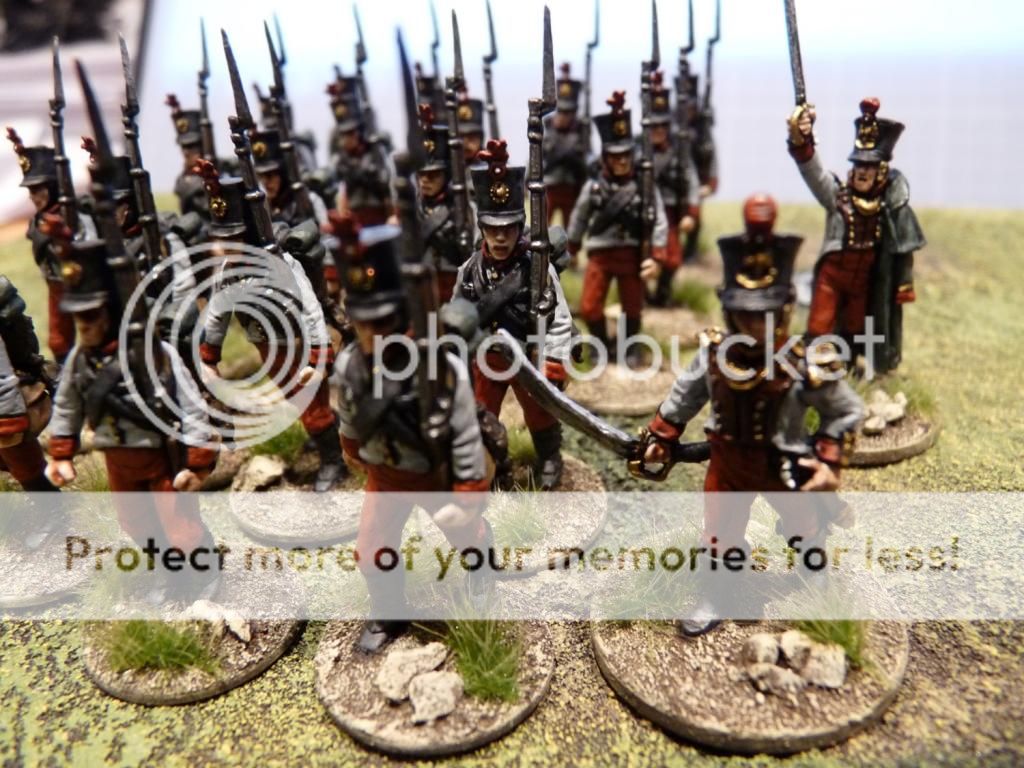
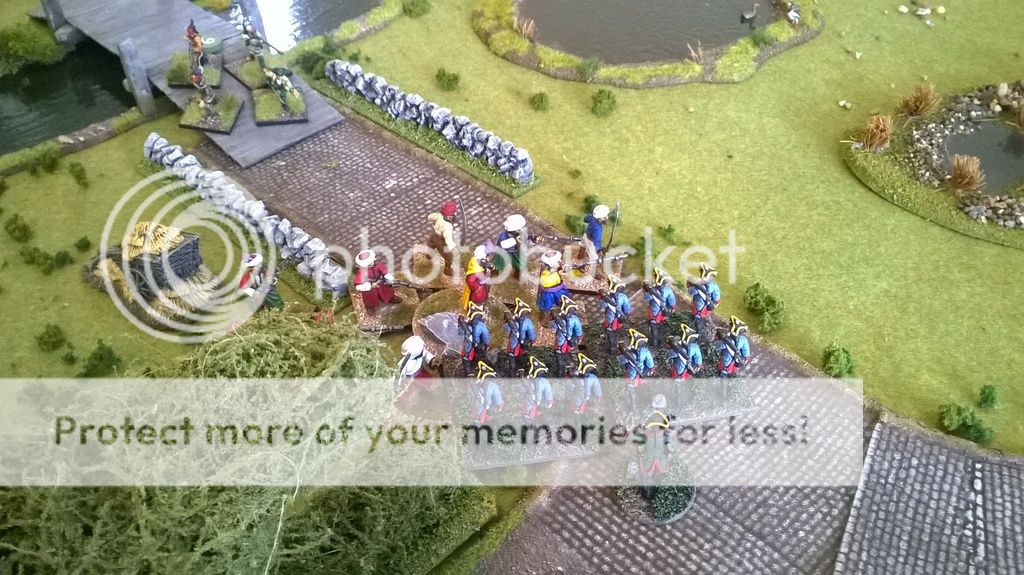
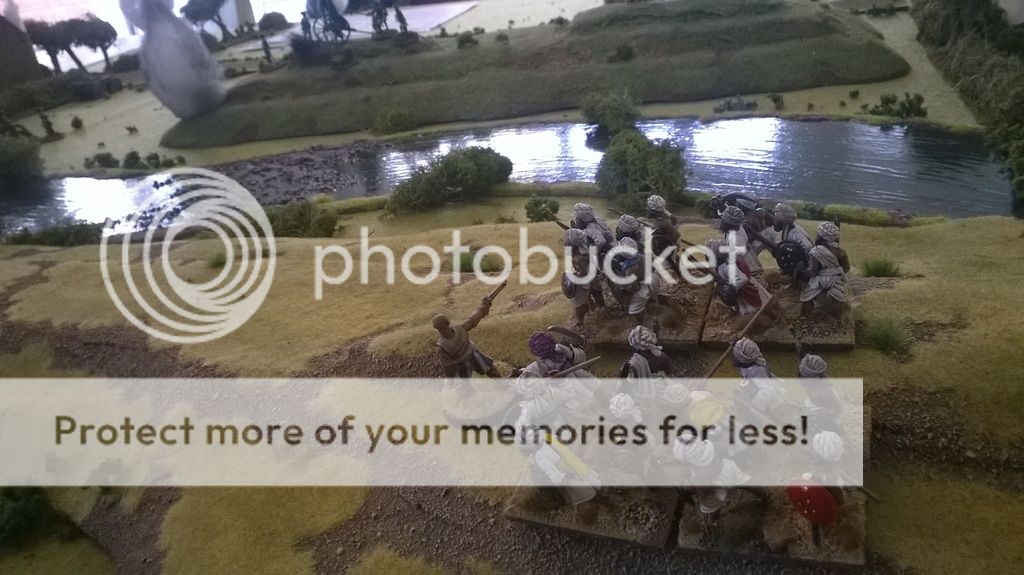
Up ahead, the bulk of my Medetians had made fast progress and were able to take the dastardly natives and corsairs (who had infiltrated deep onto the table from the start) by surprise:

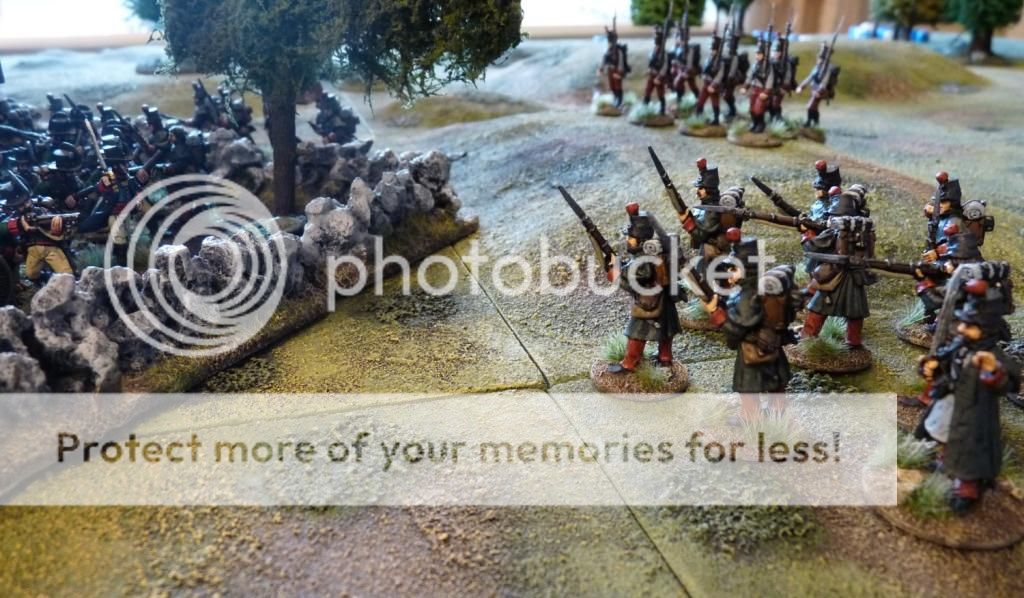
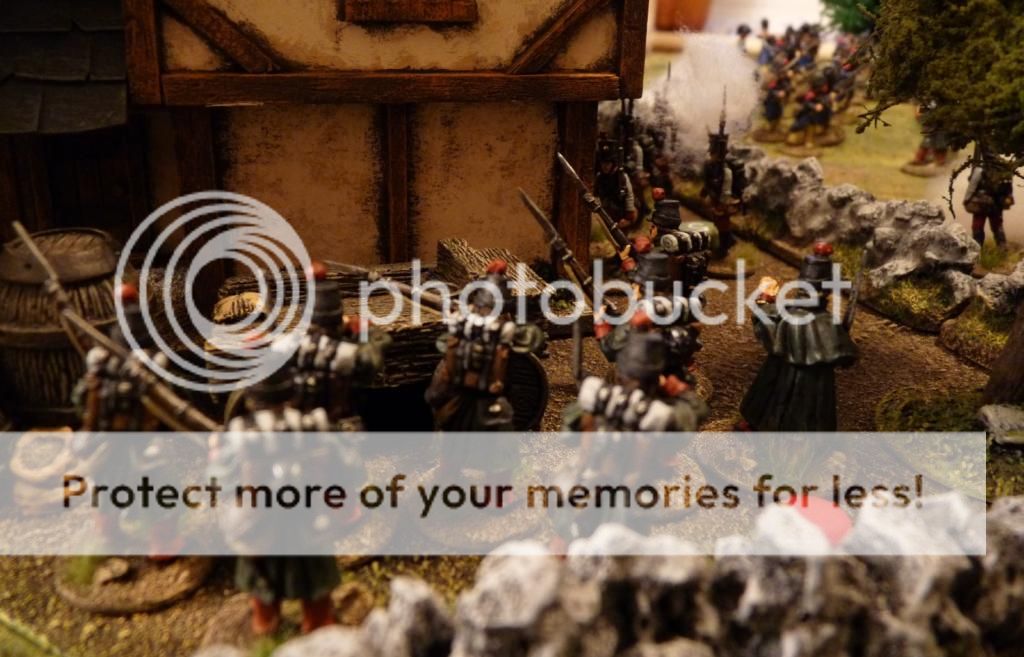
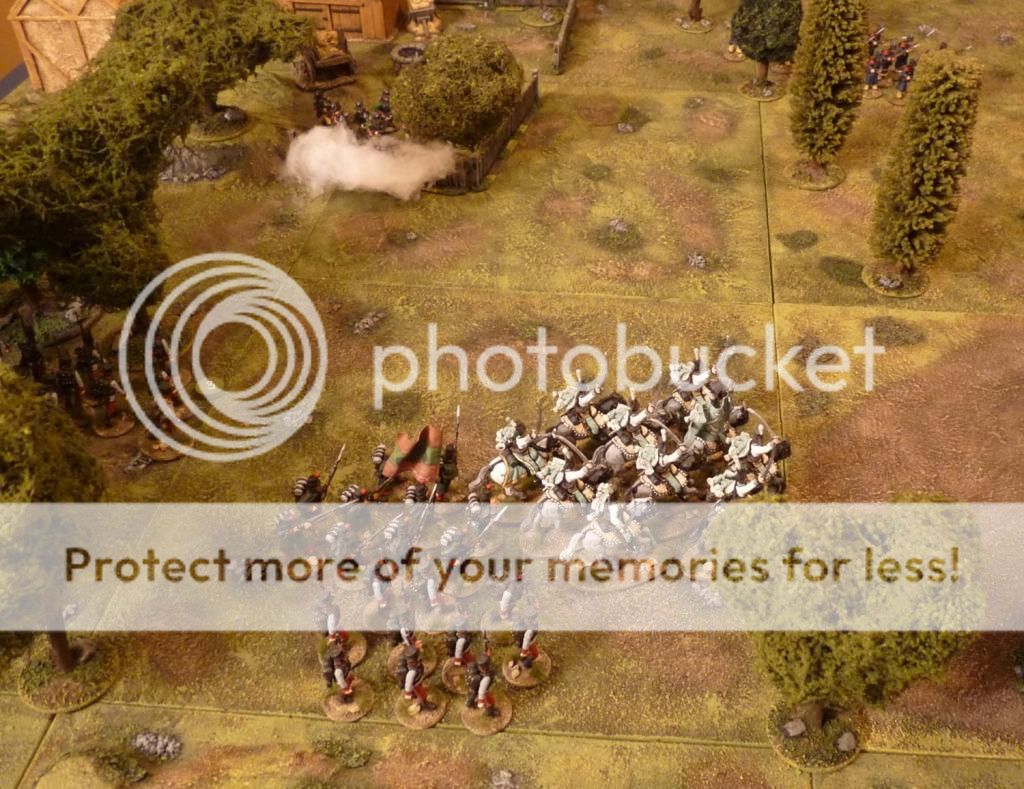
Andy’s natives charged over the bridge but were seen off by the tough Grenzers. Their officer was badly wounded in the melee but his popularity meant that he was rescued and helped to safety:

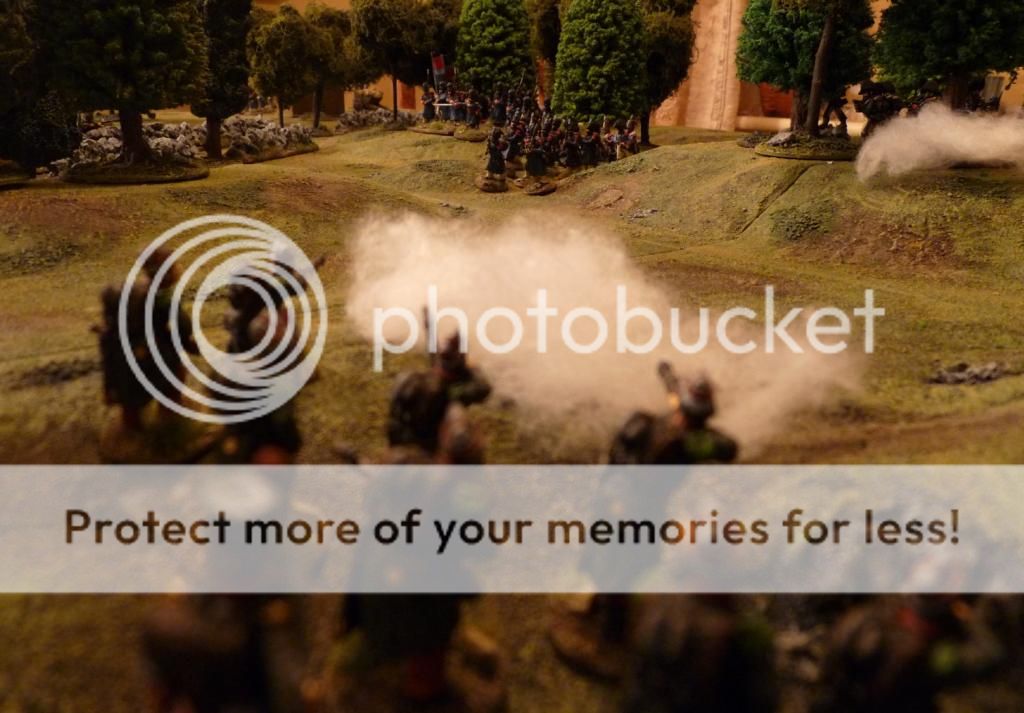
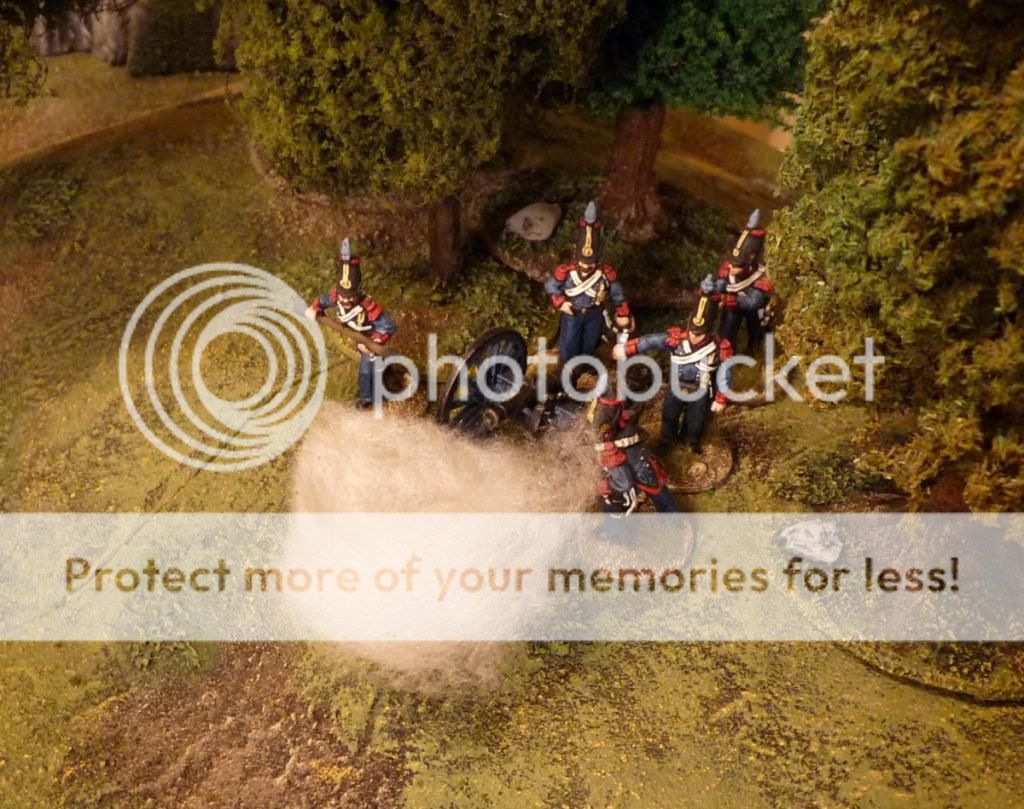
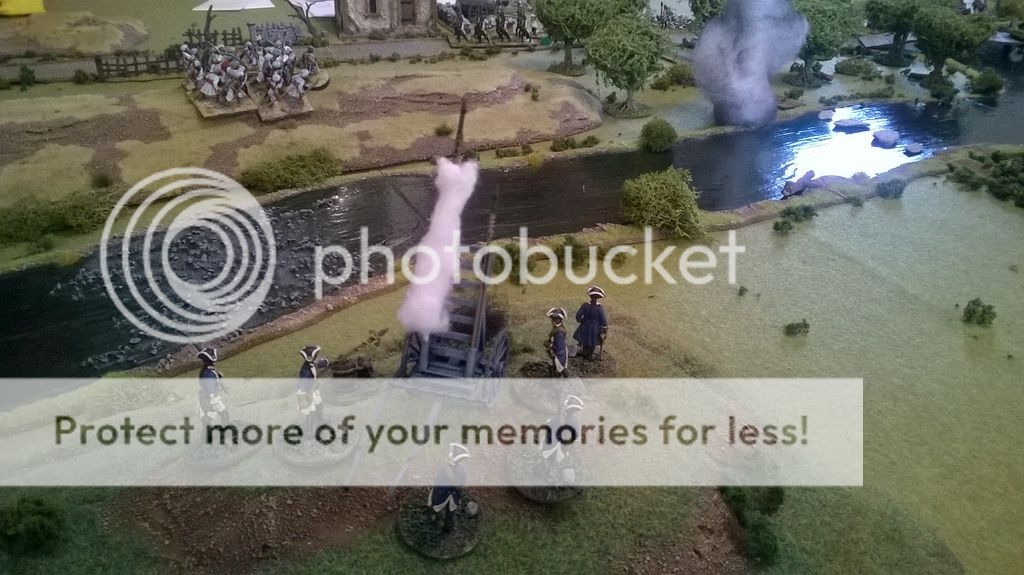
As always, the first rocket wasn’t a great shot, landing behind the battery(!). The safest place to be is generally the target zone, as everybody knows:

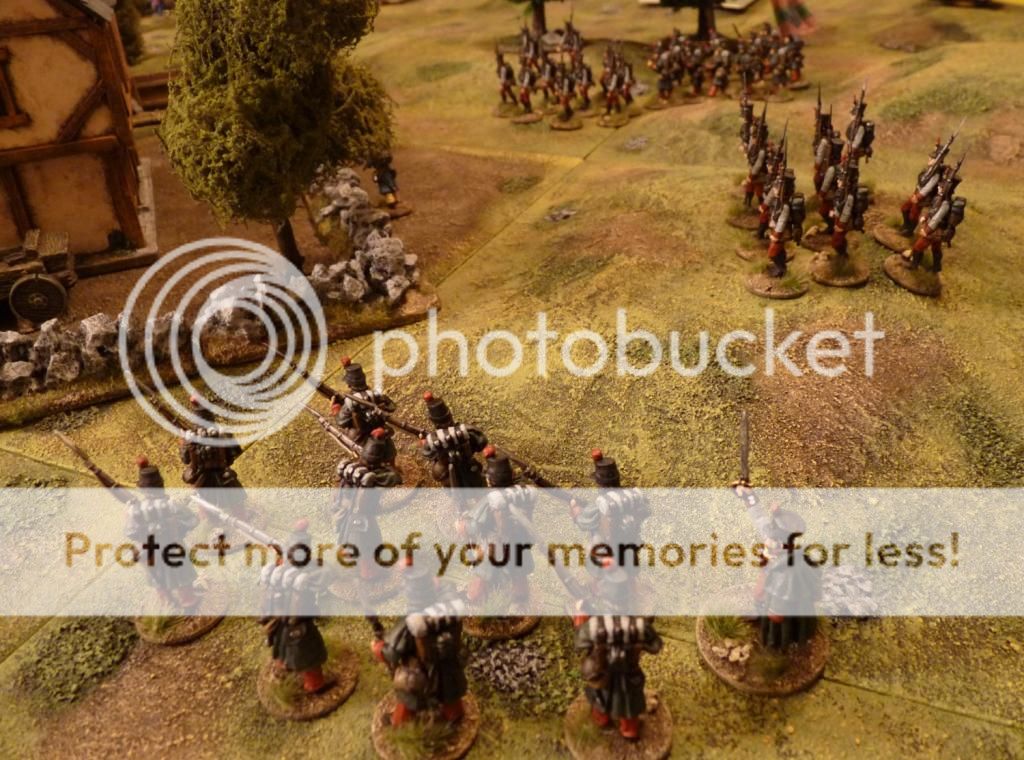
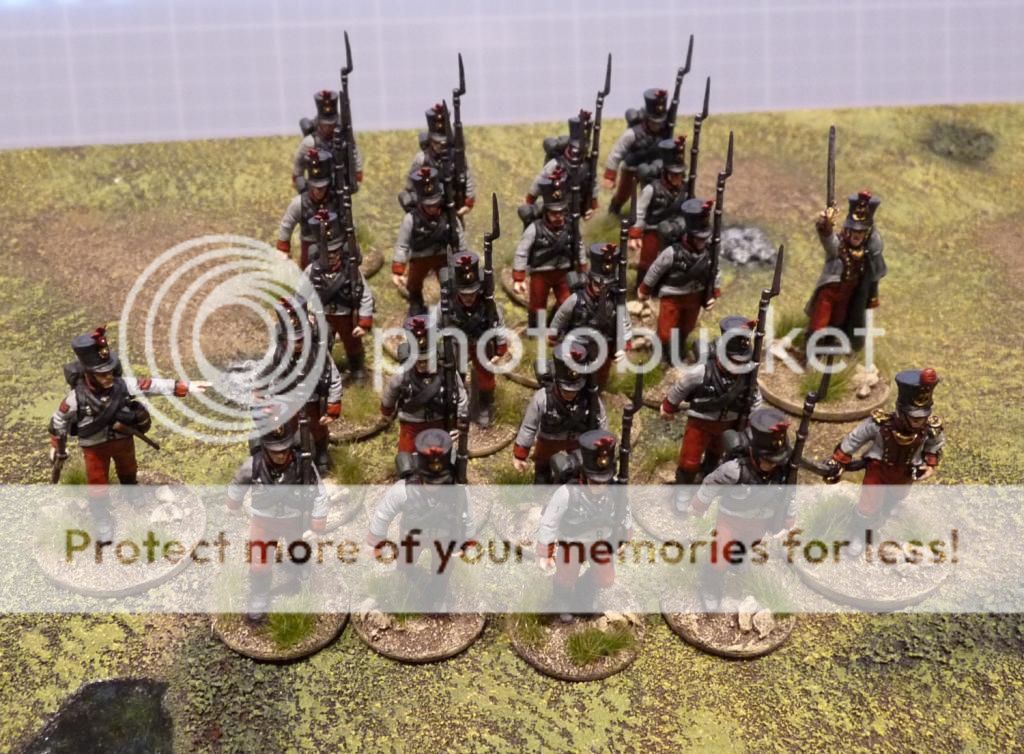
After a volley or two it’s always best to follow up with the bayonet, and these Medetians did just that, dealing decisively with the corsairs and seeing them routed off the table:

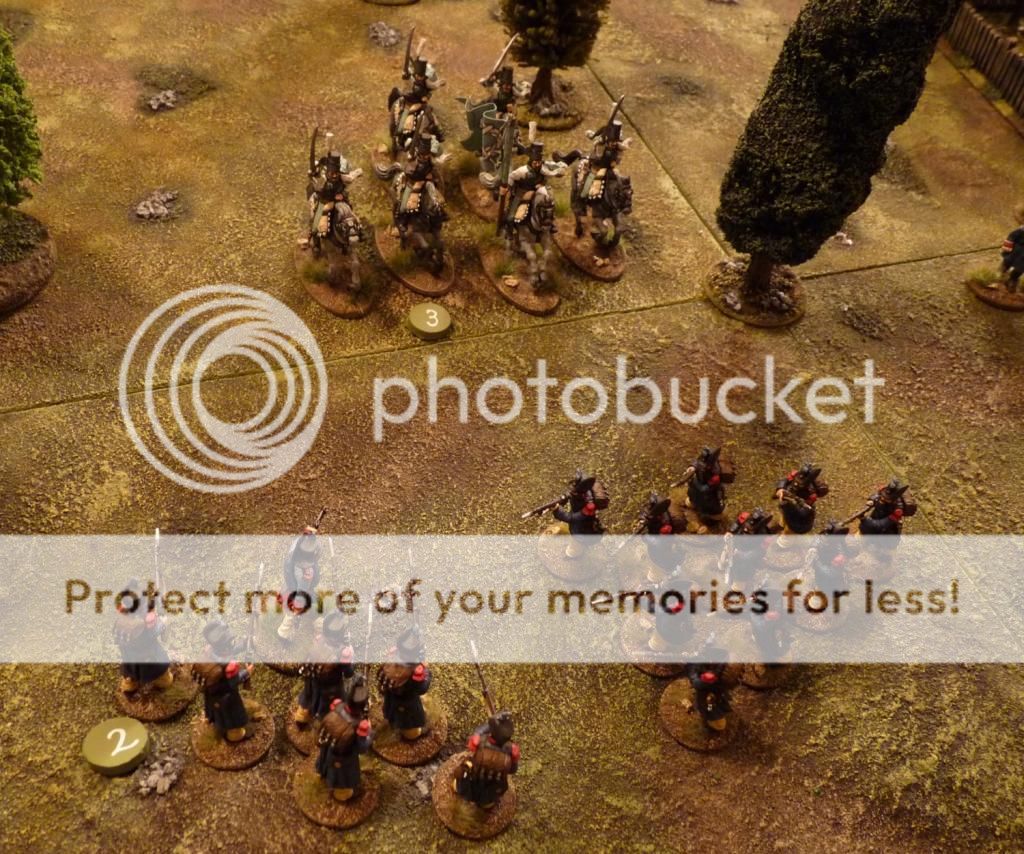
Iain’s Gateway mob stormed over the bridge, or at least they would have if in front of them his dragoons hadn’t decided to dismount, mount, not move, and dismount again in successive turns. Answers on a postcard if anyone has a clue as to what was going on:

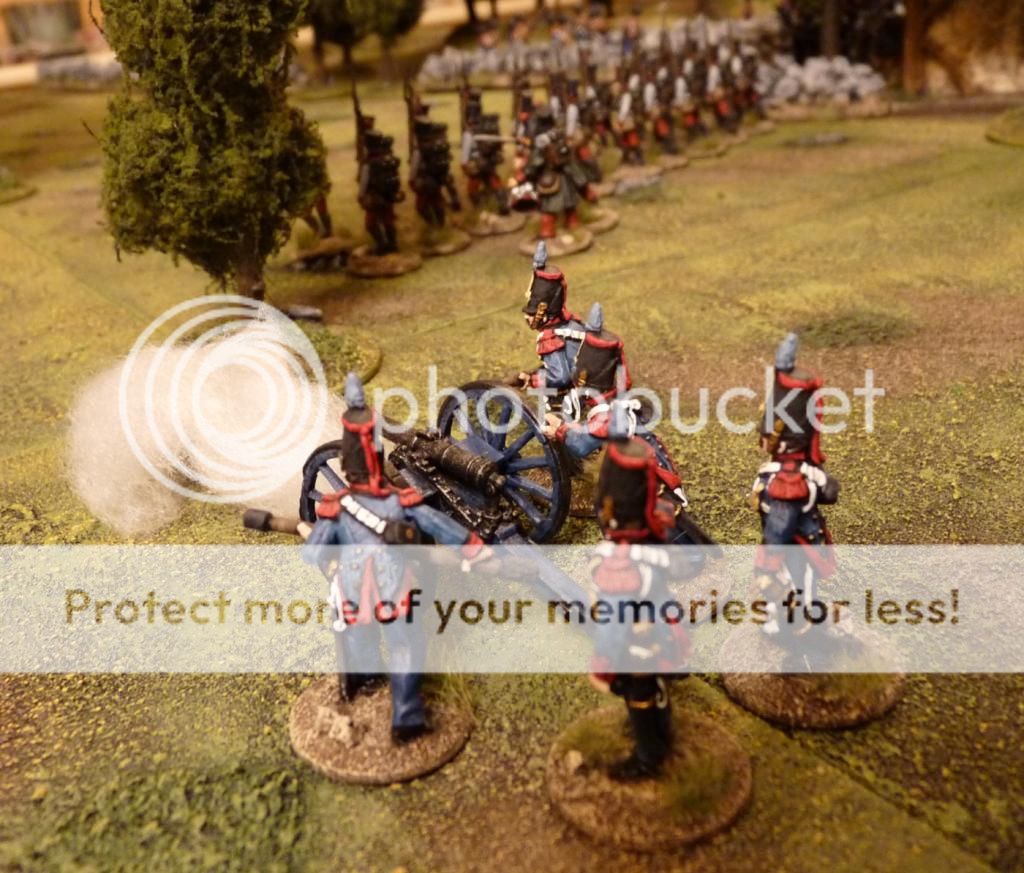
Hey, the rockets were getting more accurate. I’d like to reassure people that no enemy were killed by a rocket during the making of this game (sadly, one Medetian was however), although they did cause a fair bit of panic a couple of times when they zigzagged through a unit!

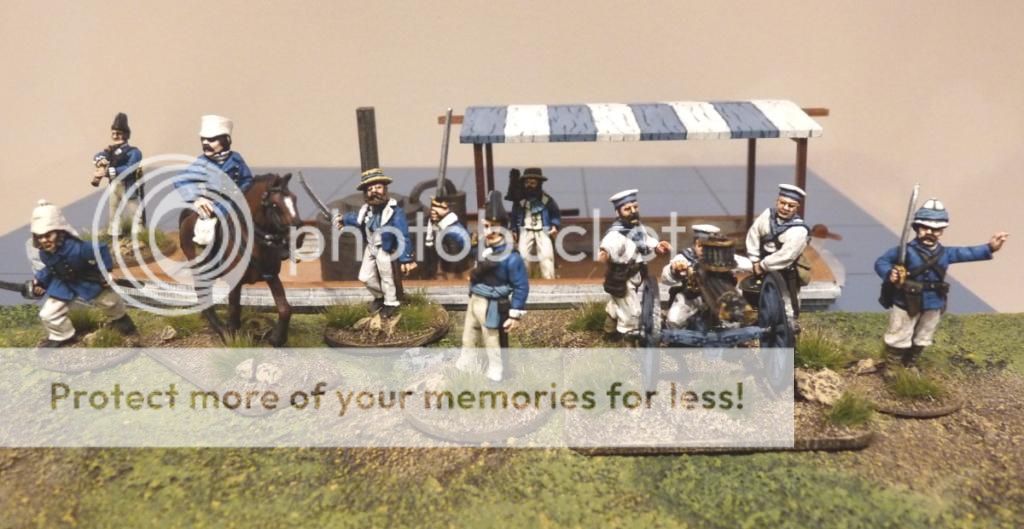
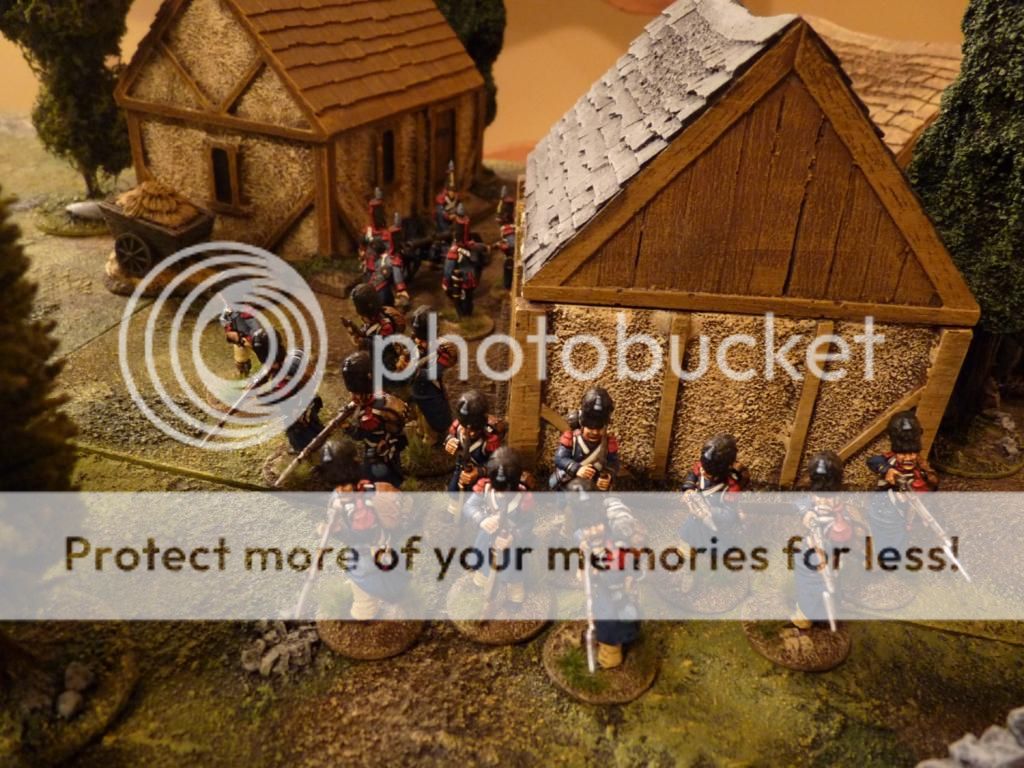
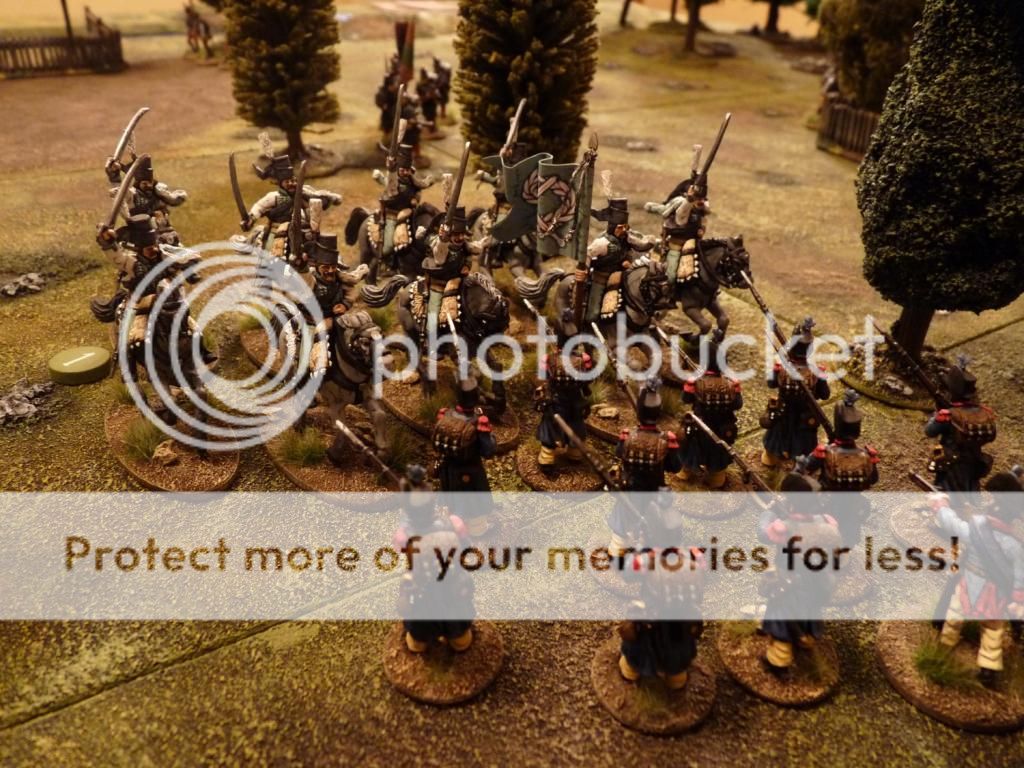
Late on my elite grenadiers finally arrived by boat and soon attracted enemy fire from a variety of sources, as well as a pretty determined cavalry charge by Andy’s lancers. Tough as nails, the grenadiers saw them off though:

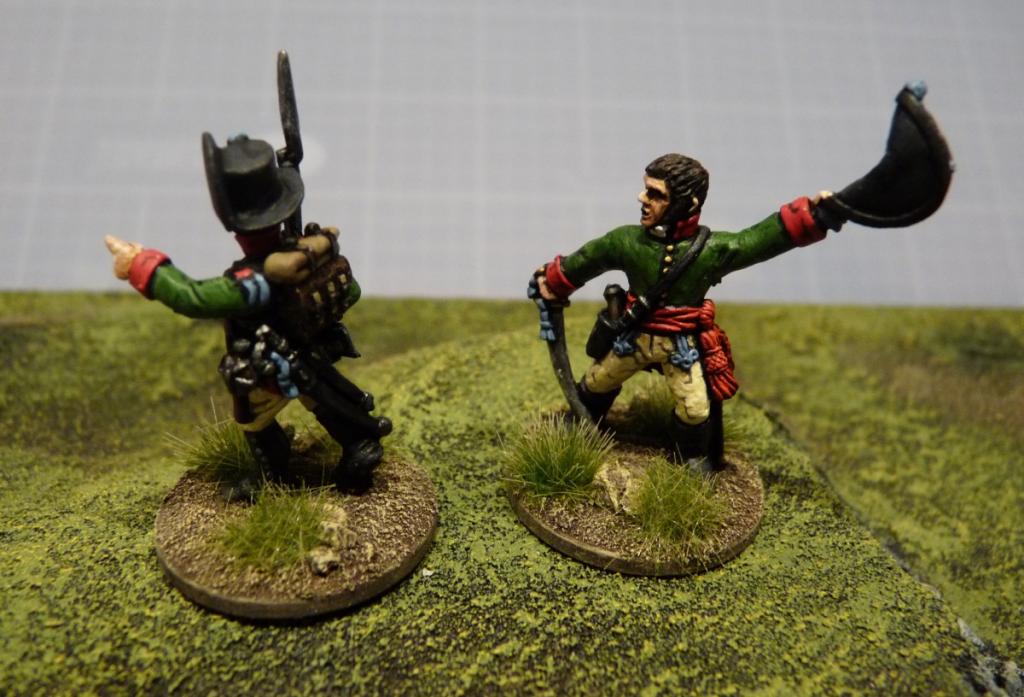
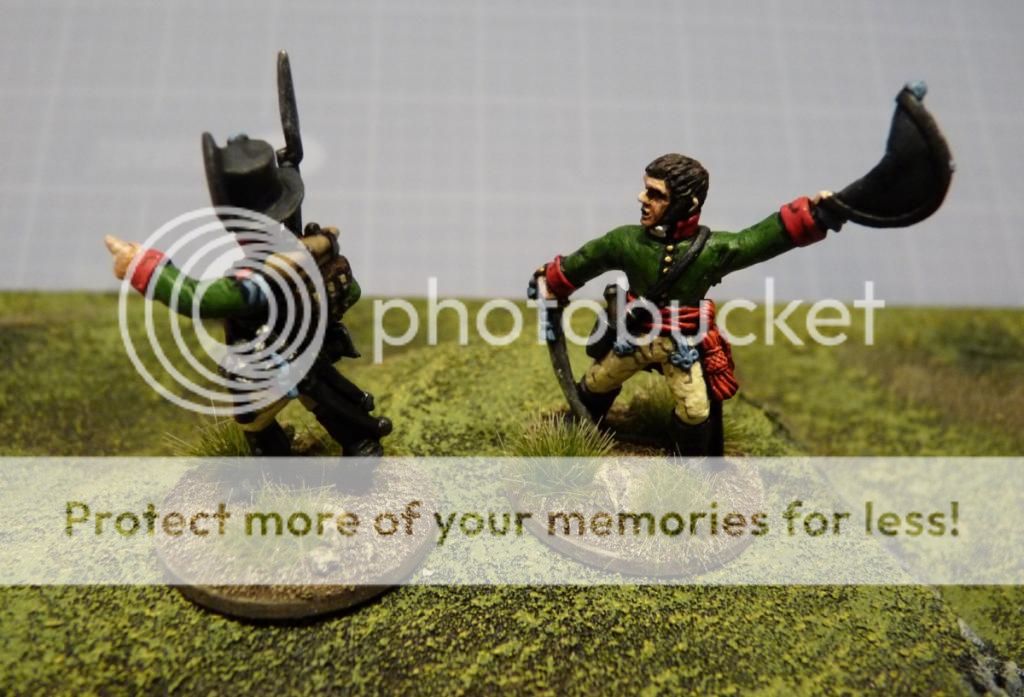
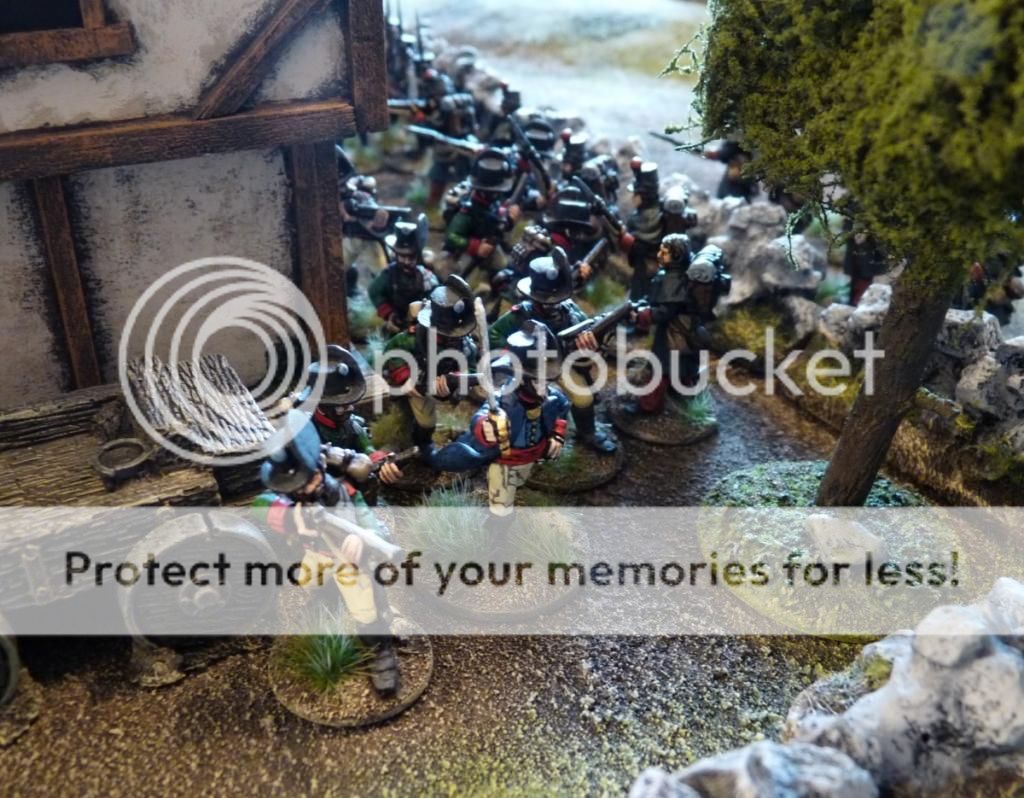
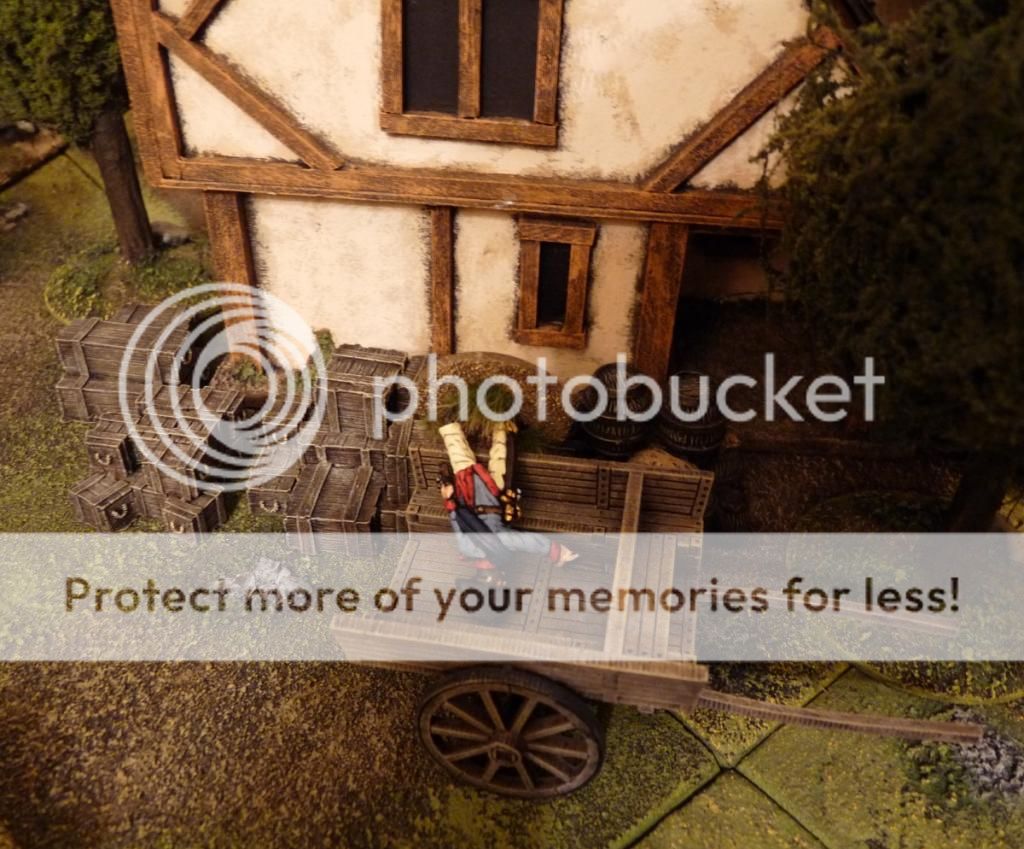
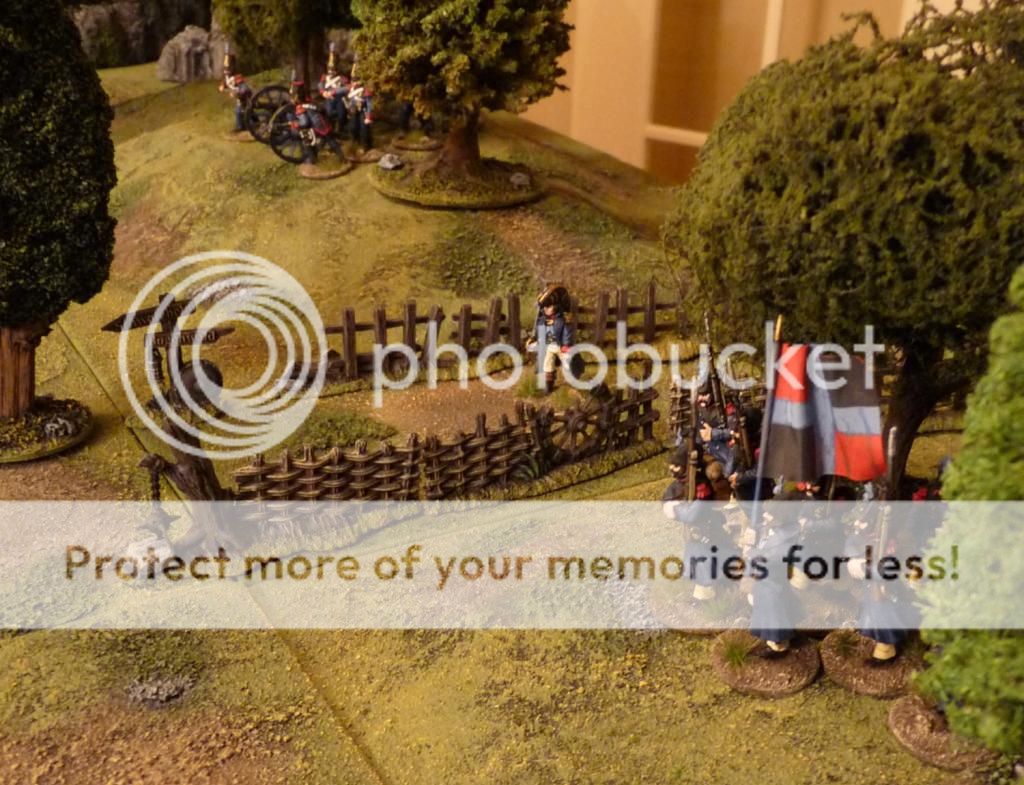
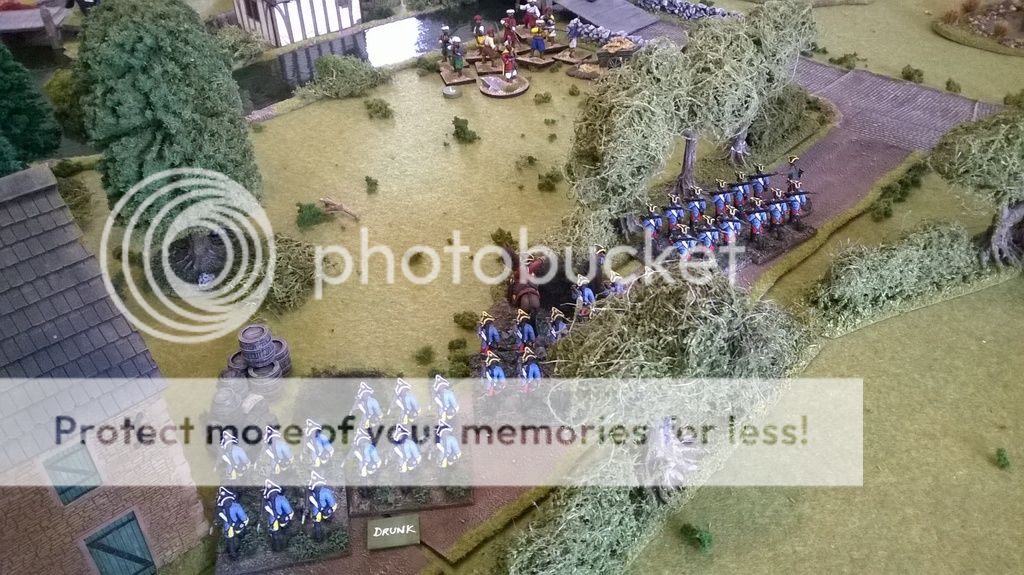
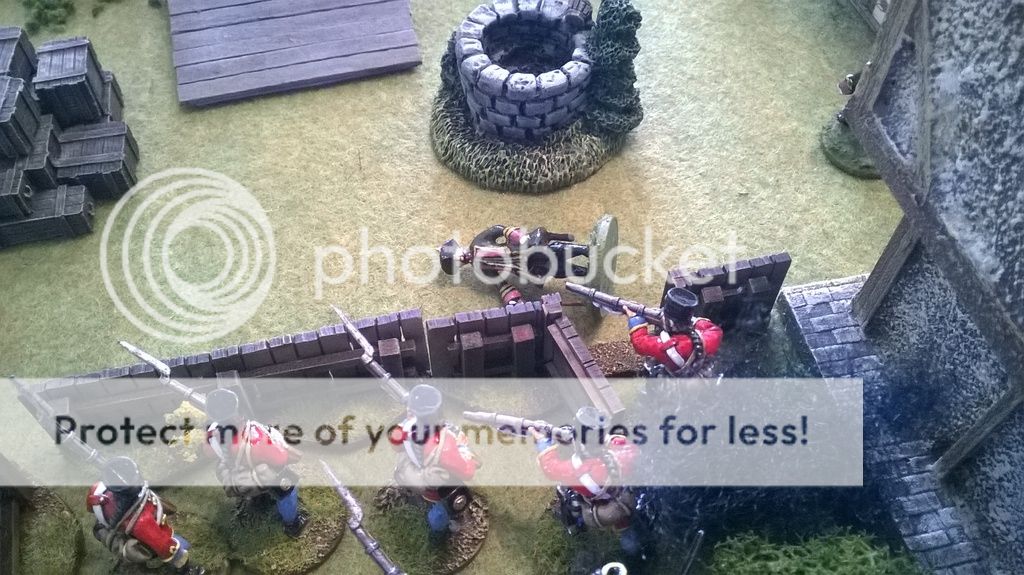
The latest attempt to chase off the Grenzers saw a repeat of the charge of the natives – Iain’s commander was laid low and his men routed. Unfortunately, this chap was less than popular with his men and they were careful to leave him behind when they fled! The Prunklanders reloaded and left him groaning on the other side of the fence, where they could keep an eye on him:

More surprises arrived; locals with an agenda of their own – but who would they side with?

The Gateway traffic jam finally clears the bridge, allowing my grenadiers to pick off sufficient of Iain’s artillery crew to send the remainder packing. At least Prunkland might get a replacement gun at the end of the game! This was the beginning of the end, and the survivors would have to find another route if they were to reach the safety of their ships.

After having a very torrid time (a rocket came awfully close!), Lt Lamm scampered out of harm’s way and rejoined his men just in time to be captured at the end of the battle. At least he wasn’t shot in the back as he legged it into the woods having crossed the river alone (actually he had company for most of the journey but when he reached the far bank and looked behind him, he realised that another close call from a rocket had been the final straw for some of the Savage Swans and he was suddenly Billy von No Mates with a nasty looking bunch of Medetians coming for him!)

A well-oiled machine by the end of the game. Oh yes.

What a great game. Thanks to Simon for all the prep and hosting, and Andy and Iain for providing such good fodder, er, I mean company.

Roll on the next gaming weekend!

The Grenadier Guard

The Medetian Grenadier Guard, that is.

Following on from an earlier post where I mentioned the figures making up this unit, I have now finished the regimental standard and the bases, so they’re ready for the parade ground. This is a ’30’ figure regiment, although there are actually only 29 of them. For Sharp Practice it will provide 2 groups of 12 elite infantry. At Ayton they’ll probably be brigaded with the 1st Grenadiers, who look pretty much the same except for black equipment straps/crossbelts.

These are Victrix Old Guard Chasseurs (which my existing Medetian infantry are based on – albeit most of those have Tyrolean hat head conversions). I bought them on ebay, already painted by a talented chap who turned out to be quite local. I then altered some of the colours; trousers, epaulettes, tassels and some equipment. The flag template was designed in MS Excel, printed out and highlighted.

They’re based singly on washers for Sharp Practice, but for Ayton they’ll be on magnetised group bases for convenience and to fit in with the rules, as shown here. The separate officers and NCOs are Big Men for Sharp Practice but add a bit of style to the main unit.


We Are Sailing

Basing your otherwise finished figures can take an age, can’t it? Even so, I finally got round to completing this merry bunch of Medetian naval types.

They’re a pretty eclectic lot – a mixture of Perry, Mutineer and Victrix figures. Although they’re from a variety of actual historical periods they’ll all be taking part in the Medetian expedition into the back of beyond at the Ayton gathering in May. Let’s just hope there’s a river! I’m trusting you Iain!!

While the gatling gun and anyone in a pith/pipe helmet is clearly going to have limited future use, the others will be able to take part in my post-Napoleonic setting using the Sharp Practice rules. Now I just need to finish the small marine contingent, and I have a plan in motion for some stout sailors to go ashore with them. Oh, and the previously tried, tested and calamitous rocket battery is being handed over to the navy to operate, so there are some crew to paint for that.

It occurred to me that my rocket launchers are painted in two shades of blue, which is appropriate considering that ‘blue on blue’ is their likely contribution to the battles at Ayton. I’d just like to apologise in advance to any allies who’re on the receiving end…

Medetian Bersaglieri Leaders

Recently finished: two leader figures for my post-Napoleonic Medetian light infantry – the Bersaglieri. These troops effectively count the same as British Riflemen in Sharp Practice games, and very effective they are too.

I use Front Rank Austrian Jager figures, as they have the appropriate headgear for my early 19th century Medetians. These two are an officer (Lieutenant Verdicchio) and a sergeant (Rigato), based as Big Men for the rules. The sergeant does actually have a face, I just struggled to get any decent light onto the front of the figure for this quick photo shoot!


This leaves just 20 more rank and file to do next year sometime…

The Vanguard – A Sharp Practice AAR

Before everything got tidied away it would have been rude not to have had a final Sharp Practice bash, so I did.

I decided to try more of a stand up fight so this time the scenario was straightforward – the Medetians were launching a campaign into Fleurian territory and their vanguard needed to clear the way by exiting at least 2 groups and a big man off the Fleurian table edge within 12 turns. The Fleurians needed to stop them of course. It was a deliberate attempt to get a few more figures on the table and see how the rules dealt with it.

The defending Fleurians were partly in place (occupying a roadside farm in the middle of the table) but mostly advancing from their own baseline. They had a force under the newly painted Major Mauzac, made up of:

32 light infantry in 3 groups
20 line infantry in 2 groups
1 light gun and 5 crew
12 militia cavalry in 2 groups
3 additional Big Men

The Medetians were under the fit-again Major Nebbiolo, assisted by a command group of 4 other Big Men. Between them they commanded:

10 bersaglieri riflemen in 1 group
50 line infantry in 5 groups
24 grenadiers in 2 groups
1 light gun and 5 crew
10 hussars in 1 group

I’ve decided to go with fixed group sizes depending on troop quality; elite, average and poor. Infantry are in groups of 12, 10 and 8 respectively and cavalry are in groups of 10, 8 and 6. Some of the Medetian infantry were on group bases to assist with the early moves in particular, and I was trying out some new markers I’d made up for various things (such as for groups who’ve lost their Bottle and to keep track of some of the random events).

With a game limit of only 12 turns, and a card-driven turn sequence that ends on the turning of a certain card, the Medetians had to attack from the start to have a chance of beating the clock. They were in pre-determined groupings that would be allocated at random once the blinds were successfully spotted by the enemy. With more troops involved I managed to use formations for the first time, each side forming a line during the battle to ease command and control and increase firepower.


The fighting built up slowly but became pretty intense once the Medetian infantry advanced into the open. The Fleurian elite voltigeurs were particularly unfortunate, being targeted by the bersaglieri rifles and eventually being run down by the hussars. Equally, the Medetian grenadiers were badly shot up in front of the farm, and the right flank was very slow in coming forward to support them (held up by poor luck with the cards and the fire from the Fleurian light gun). These right flank troops seemed to suffer from a general lack of discipline on the day, with a man passing out drunk and careless musketry causing the adjacent barn to catch fire and burn down!


Despite the grenadiers’ woes a Medetian success looked likely, however, with numbers beginning to tell on the left. However, a few unexpected reverses and a surprisingly tough stand by the Fleurian militia cavalry put everything in doubt. Two groups of infantry were therefore ordered to form up in line and marched forward to try to break through. Things then descended into a series of violent melees that saw victory within the Medetians’ reach.


At the start of the 12th turn Major Nebbiolo (sporting a sprained ankle) had to try to get into line of sight to order the hussars to join the rifles in moving off the Fleurian table edge. He had to use all the available Grasp the Nettle cards and roll a big enough move to do it – he rolled an 11 and even with the penalties for his injury he made it and ordered the 2 groups to move, winning the battle and forcing a Fleurian retreat. A close run thing, but very entertaining to play.

The final turn, with Nebbiolo (between the flag and drummer) finding the hussars frustratingly out of sight behind the trees:

Once again there were casualties among the leaders, although still nothing terminal. Notably Ensign Lambrusco again did well but this time succumbed to a bad wound and was carried off the field by his men. I’m sure he’ll be back when I play again. For now, though, I’d better get back to the painting table!

The Attack on the Griffon Inn – a Sharp Practice solo game

With the table still set up I thought I’d have another game of Sharp Practice, like you do. So, the Fleurians decided to take revenge for the recent Medetian reconnaissance raid that had caused so much bother.

A little to the south of the bridge scene from the last game sits the village of Chiesa, with the Griffon Inn (a favourite haunt of off-duty Medetian officers and a regular stop-over for wealthy merchants) nearby. Burning the inn down, capturing idle officers and possibly making off with a bit of loot would be a good way to pay the enemy back – and in the detested, but tough, Major de Grenache, the Fleurians had just the man for the job.

The Griffon:

De Grenache gathered a raiding party from his regiment, made up of 20 line infantry, with a further 20 chasseurs and 12 elite voltigeurs drawn from the light companies. He was assisted by a junior officer and a veteran sergeant. The force approached the inn at dawn, entering the table on blinds and moving swiftly forward.

The unsuspecting Medetians were scattered and asleep, with only a single sentry (who turned out to be sleeping on the job..) posted. Major Nebbiolo was in the Griffon after a bawdy night, with some riflemen down in the taproom and a group of line infantry camped in the trees behind the yard. In the village were young Ensign Lambrusco and Sergeant Gerduzzo, who between them commanded a further group of infantry, one of elite grenadiers, and a light gun with its crew.

The sleeping sentry (his card failed to come up for the first 3 turns) was surprised (to say the least) when the Fleurians sprang out of the early morning mist and made straight for him! He legged it and called out his alert but was captured before he get get over the wall and rejoin his comrades. The net was closing in and the Medetians were still stumbling from their beds and blankets.


First to react, the grenadiers looked decently smart when they piled out of their village billets and took up a defensive position:

Table overview at this point, the Medetians haven’t exactly established a defensive line yet:

Things soon descended into typical chaos and violence as the fighting began. The grenadiers held the flank and their fire forced the voltigeurs to seek cover in the trees. In proper grenadier fashion Sergeant Gerduzzo led them in the first of several bayonet charges and routed the enemy skirmishers, before following on to offer support to the beleaguered Major and his rifles at the inn.

The rifles had done well initially, spilling from the front door and shooting down a number of the enemy attackers, Major de Grenache among them. He slumped to the ground where his men, grateful to be freed from his vile oppression, happily left him and followed the second in command over the wall and into melee with Major Nebbiolo and the riflemen.


The Medetian Major was struck down too and his remaining men were pursued into the building where, despite a death-or-glory charge back down the stairs after they’d taken refuge above, the last 3 men dropped their weapons and surrendered to the victorious Fleurians. The new Medetian leader, Captain Verona (also wounded in the fighting) derring-do’d his way out of the upstairs window and hurt himself again as he came down in a merchant’s wagon out the back..

A little dazed, he took charge of the men who’d been camping behind the inn and tried to regain control of the situation. Unfortunately for him, Captain Corbieres had stepped into de Grenache’s shoes, as it were, and led his men on a successful ransack of the Griffon, before setting fire to the spirit store and evacuating again via the front door.

The fighting continued with both sides blazing away and the artillery piece taking pot-shots when any Fleurians wandered (or were chased) into view. There was plenty of hand-to-hand as the Fleurians sought to get away, their mission complete. Both Captain Corbieres and his adversary Ensign Lambrusco (valiantly leading a charge in his first action) received light wounds in these clashes. Eventually the remaining Fleurians who hadn’t already routed made a fighting withdrawal and the exhausted, and equally bloodied, Medetians let them go.

The inn burnt to the ground while the Medetians tended to their wounded (including Major Nebbiolo), and dragged the bleeding and abandoned Major de Grenache into captivity. With both his senior officers wounded, 18 year old Ensign Lambrusco found himself temporarily in charge of the mess but, like any sensible Medetian young gentleman fresh from the academy, he started to make order out of chaos and soon forgot the pain of his bandaged arm. Welcome to the war!

Good fun and plenty going on every turn, the Sharp Practice rules make solo play a pleasure and all the prep has certainly been worthwhile.

Return Journey – Sharp Practice Solo Game, Part 2

Following the steady build-up of troops on the table, after a few turns things started to kick off. I’d rolled randomly for which Fleurian groups were on which blind, and sure enough the cavalry suddenly appeared, making for the middle of the table to cut off the enemy. The Medetians looked warily to their right but were ordered to march on.


The riflemen in the farmyard took a shot as the hussars swept past and managed to empty a saddle, but the rest rode on:

The rifles had problems of their own, however, and an enemy infantry group almost reached them with a charge from the woods. Halting just on the other side of the fence the Fleurians taunted the riflemen, challenging them to a rumble:

Remembering their mission, the rifles said ‘thanks, but no thanks’ and made a hasty departure:

At that point the Hussars hit the lead infantry group, winning the close fight and wounding Captain Gattinara. Although pushed back, the Medetians refused to run and were saved by their comrades in the other infantry group, (and the rifles) who charged the cavalry in turn and saw them off with heavy casualties. That was the last we saw of the horsemen in this game.


At the bridge, the artillery held back the Fleurian Chasseurs and managed to wound Captain Corbieres. A long firefight ensued between the Fleurians trying to close the bridge escape route, and the defending Medetians, who were increasingly aided by their arriving comrades under Captain Gattinara.


The rifles continued their excellent work, acting as rearguard and stopping the pursuit in its tracks:

Several of the final turns were cruel to the Fleurians, with the Cappuccino Card (replacing the Tiffin Card – we are in southern Europe after all) ending them before their Big Men could act. With the Medetians able to pour in enough effective firepower to build up Shock on their pursuers, they eventually managed drive them back from the bridge, and prevent a final counter-attack.

Wounded but victorious, Captain Gattinara was the last to cross the bridge. He turned to salute the similarly injured Captain Corbieres and marched his men off into the woods. The Medetians had suffered only light casualties and had succeeded in their mission, bringing back valuable intelligence from behind enemy lines. The Fleurians had lost many more men, and these units would be in no state to fight again for some time.

The game was great fun, with the cards providing suspense and drama (Captain Gattinara fleeing in fear and dragging his men away with him just as they were nearly at the bridge for the first time, being a particular classic!). The characters have begun to take on a bit of personality already and I look forward to returning to this small part of the Medetian Wars soon. Next post will contain a few summary comments and observations about how I got on with the rules, etc.

Return Journey – Solo Sharp Practice

With the cards and figures done, and the terrain still on the table, there was no excuse but to try a first solo game of Sharp Practice at the weekend. I devised a relatively simple scenario based on a Medetian reconnaissance force making its way back to its own lines after its mission, and a force of Fleurians attempting to cut them off before they could do so.

The Medetians (2 groups of infantry and 1 of rifles) were led by Captain Gattinara, assisted by a Sergeant. Waiting for them back at the bridge they were making for was Lieutenant Apricale with a further group of infantry and a light gun, with orders not to cross the river but to provide covering fire for the recce force.

The Fleurians were under Captain Corbieres of the Chasseurs who was accompanied by a scratch force made up of 2 groups of light infantry, 2 of line infantry, and 1 of hussars. He was assisted by a Lieutenant and a Sergeant.

The Medetians would start in the top left corner of the table, as seen in the (unfortunately slightly blurred) pic below, the Fleurians on blinds in the bottom left along the river bank, and the bridge defence force was tucked into the trees on the Medetian side of the river, with a sentry on lookout duty in the watermill’s attic.

Lt Apricale’s force covering the river crossing:


First on the scene – the Medetian riflemen approach the rear of the farm and dash through to take up a position to cover the flank of the rest of the column (first enemy blinds in the distance making for the mill and the bridge beyond):


First to deploy off their blind are the Fleurian line troops, their paint still fresh(!):

The Medetian sentry has done his bit and races back to warn Lt Apricale that the enemy are coming down the road towards him, with the recce group nowhere in sight. Alone, and chased by enemy Chasseurs, the sentry managed a fear-inspired roll of double 6 for his movement! He slows down and tries to look nonchalant as he makes his report:

A long way off still, the main recce group starts hot-footing it towards the river, Captain Gattinara urging them on:

Fleurian Chasseurs are already at the mill though..

The rifles take the first shot of the day, earning their pay by putting a good amount of shock on the nearest enemy as they try to sneak close through the trees:

Back at the bridge, Apricale sees the enemy for himself and calls out to ready his men, ordering the gun crew to traverse left a little:


Things are about to hot up!

Part 2 to follow, mainly to keep the number of pictures to a manageable number per post.

Cards for Sharp Practice

As I’m just about ready for a first solo game of Sharp Practice I thought it was time to get a key component sorted – the cards. The game requires quite a few, in two decks. The Bonus cards are generally for random events and national characteristics, and I’ve generally done those with simple text on a white background.

The Game deck is more interesting as it has specific cards for each side, the key ones being those that activate each Big Man (named leader). For these I’ve nicked an idea I’d seen previously – putting a picture of the associated miniature on the card so it can be easily identified during the game. The last thing you want is constantly having to check which figure is ‘blue big man no.3’. So all my leader figures have been to a photo shoot and had their images pasted into a national colour-specific card containing important information about the character.

All the cards are printed from computer (prepared in Excel as you can format things with quite a lot of freedom) and put into card trading game wallets for protection, and so they can be shuffled, etc.

Line Infantry Batch 1 Done at Last!

..And I am very glad to see them off the painting table, they’ve been there a while!

These are the first Fleurian line infantry, to go with the light troops I did in August and September. I started them in early October (I think) and although they haven’t been unpleasant to paint, it was a big batch and I struggled to keep my momentum up. That said, it may have been a good thing as over the same period I have fitted in some other painting and figure prep while avoiding them! The NCO and men are plastic Perry Austrian Napoleonics and the 2 officers are from their metal ranges.

20 done then, and plenty more to do, but there’s no urgency for those. I will need a handful more to make this lot into a regiment of 30 (including command) for next year’s Ayton game, but for now I have what I need: 2 groups of 10 and a few Big Men for Sharp Practice: Medetia vs Fleurie. I’ve finished a couple more Big Men as well but haven’t based them yet.

I hope to have a first solo game of SP at the weekend. Having made some alterations to the St Evian table from last week’s game I intend to play a small-ish scenario just to get used to the rules again.

A few more pics, taken with varied lighting as you can see: